Welcome to this step-by-step guide on how to draw a plate! Whether you’re a beginner or an experienced artist, drawing objects can help improve your skills and understanding of shape, perspective, and shading. In this tutorial, we will break down the process of drawing a plate into simple and easy-to-follow steps. So, grab your pencils and let’s get started!
Materials Required
Before we dive into the steps, let’s make sure you have all the necessary materials:
- Drawing paper
- Pencils of varying hardness (HB, 2B, 4B)
- Eraser
- Ruler
- Compass
- Optional: Colored pencils or markers for shading and adding details
Now that we have our materials ready, let’s move on to the steps for drawing a plate.
Step 1: Draw the Outline
Start by drawing a circle in the center of your paper. To ensure a perfect circle, you can use a compass or trace a circular object such as a lid or a small plate. Make sure the circle is proportionate to the size you want your plate to be.
Step 2: Add Depth with a Rim
To give the plate some depth and dimension, draw a slightly curved line around the edge of the circle. This line will represent the rim of the plate. Make the rim thicker at the bottom to create a sense of perspective.
Step 3: Divide the Plate
Using a ruler, draw a straight line across the middle of the plate. This line will divide the plate into two halves, creating the illusion of depth. Make sure the line is parallel to the bottom edge of the paper.
Step 4: Create a Shadow
To make the plate appear more realistic, add a shadow underneath it. Determine the direction of the light source and draw a curved line along the bottom of the plate, opposite the light source. This curved line will represent the shadow and add depth to the drawing.
Step 5: Add Details to the Rim
Now that we have the basic shape of the plate, let’s add some details to the rim. Start by drawing small, evenly spaced lines along the outer edge of the rim. These lines will give the plate a textured appearance. Make sure the lines are consistent in length and angle.
Step 6: Texture the Plate
To make the plate look more realistic, add texture to its surface. You can do this by drawing small, curved lines or dots on the plate’s surface. Experiment with different directions and densities of lines to create the desired effect.
Step 7: Shade the Plate
Now it’s time to add shading to our plate to give it depth and volume. Determine the direction of the light source and shade one side of the plate slightly darker than the other side. This will create a sense of three-dimensionality. Start by lightly shading the darker areas and gradually build up the darkness by adding more layers of shading.
Step 8: Refine the Drawing
Take a step back and assess your drawing so far. Look for any areas that need improvement or adjustment. Use your eraser to correct any mistakes or smudges. Pay attention to the proportions and make any necessary adjustments to ensure a well-balanced and realistic-looking plate.
Step 9: Add Highlights and Shadows
To make the plate look even more realistic, add highlights and shadows. Identify the areas of the plate that are hit by the light source and add small, white highlights using an eraser. Conversely, darken the areas that are in shadow by adding more layers of shading with your pencil. This will further enhance the sense of depth and make the plate pop.
Step 10: Final Touches
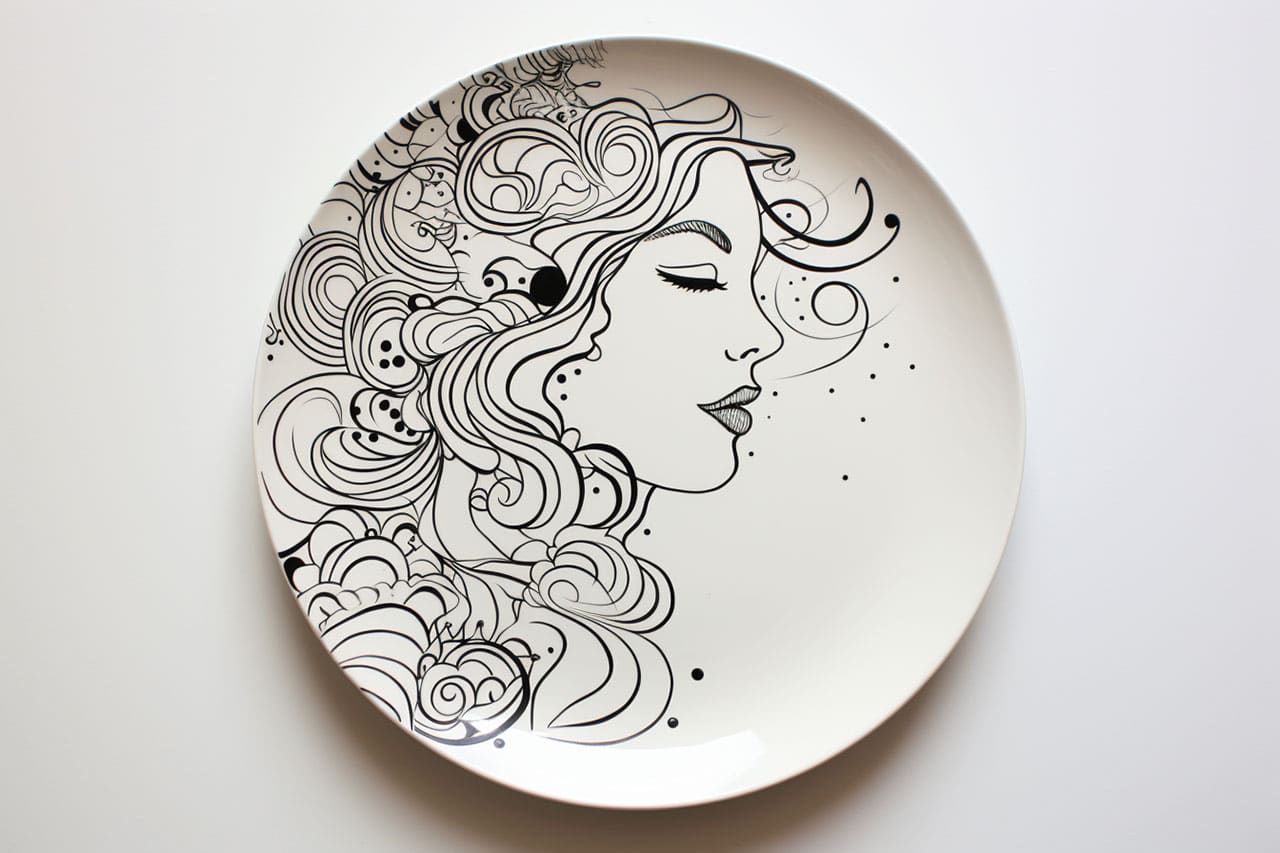
Now that you have the basic plate drawn, you can add any additional details or elements to your liking. Consider adding a pattern to the rim, decorative designs, or even some food on the plate to make it more interesting and personalized.
Congratulations! You have successfully drawn a plate. With practice, you’ll continue to improve your skills and be able to draw more complex objects with ease.
Conclusion
Drawing a plate may seem like a simple task, but it provides a great opportunity to practice foundational drawing techniques. By following these step-by-step instructions, you can create a realistic and visually appealing plate drawing. Remember to take your time, be patient, and enjoy the process of bringing everyday objects to life on paper.
So, grab your pencil and paper, and start drawing your own plate masterpiece today!

