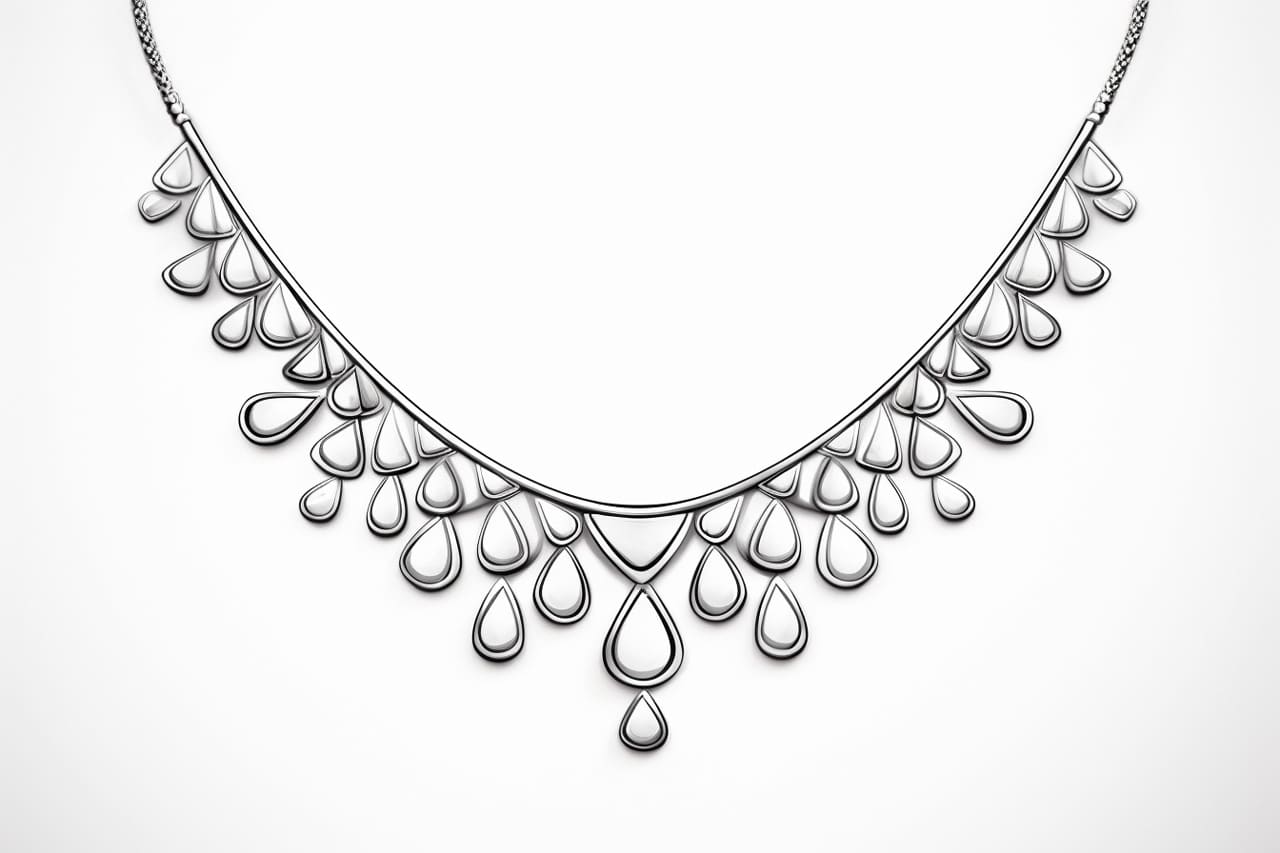
Drawing a necklace can be a fun and creative way to express your love for jewelry or practice your drawing skills. In this step-by-step guide, we will walk you through the process of drawing a beautiful necklace. Whether you want to draw a simple pendant or a fancy beaded necklace, this tutorial will provide you with all the necessary instructions to create your own masterpiece.
Materials Required
To draw a necklace, you will need the following materials:
- Drawing paper or sketchbook
- Pencil
- Eraser
- Fine-tipped black pen or marker (optional)
- Colored pencils or markers (optional)
Make sure you have these materials ready before you start drawing, as it will make the process much easier and enjoyable.
Step 1: Start with the Pendant
Begin by drawing the pendant of your necklace. The pendant can be any shape or design you like. It can be a simple heart or a more intricate design like a flower or a butterfly. Use your pencil to lightly sketch the outline of the pendant on your drawing paper. Take your time and make any necessary adjustments until you are satisfied with the shape and size.
Step 2: Add Details to the Pendant
Once you have the basic shape of the pendant, it’s time to add some details. You can add gemstones, engravings, or any other decorative elements that you like. Use your pencil to sketch these details on your pendant. Take your time and pay attention to the proportions and symmetry of the design. Don’t worry about making it perfect – remember, this is your own unique creation.
Step 3: Draw the Necklace Chain
Next, draw the chain of the necklace. The chain can be a simple chain with round or oval links, or it can be a more complex design like a rope chain or a snake chain. Again, use your pencil to lightly sketch the chain around the pendant. Pay attention to the perspective and make sure the chain looks natural and balanced.
Step 4: Refine the Pendant and Chain
Once you have the basic shapes of the pendant and chain, take a closer look at the details and refine them. Use your pencil to darken the lines and add shading to create depth and dimension. Pay attention to the light source and add highlights and shadows accordingly. Take your time with this step, as it will greatly enhance the overall appearance of your drawing.
Step 5: Add Color (Optional)
If you want to add some color to your necklace, now is the time to do it. Use colored pencils or markers to add shades and hues to the pendant and chain. You can also experiment with different color combinations to create a more vibrant and eye-catching necklace. Be creative and have fun with it!
Step 6: Outline with Pen (Optional)
If you want to give your necklace a more defined and finished look, you can outline the pencil lines with a fine-tipped black pen or marker. This step is optional, but it can make your drawing appear more polished and professional. Take your time and carefully trace over the pencil lines, making sure to erase any overlapping lines or mistakes.
Step 7: Erase and Clean Up
Once you are satisfied with your drawing, use an eraser to remove any remaining pencil lines and smudges. Clean up any stray marks or smudges to give your drawing a clean and polished look.
Conclusion
Drawing a necklace can be a fun and rewarding experience, allowing you to unleash your creativity and practice your drawing skills. By following the step-by-step instructions in this guide, you can create your own unique necklace drawing. Remember to have fun with it and don’t be afraid to experiment with different shapes, designs, and colors. So grab your materials and start drawing your own beautiful necklace today!


