Welcome to this step-by-step guide on how to draw a Mexican flag! Drawing the Mexican flag is a great way to show your appreciation for Mexican culture and celebrate various events such as Mexican Independence Day. Whether you are an experienced artist or just starting out, this tutorial will provide you with the necessary instructions to create a beautiful and accurate drawing of the Mexican flag.
Materials Required
To begin, gather the following materials:
- Drawing paper or sketchbook
- Pencil
- Eraser
- Ruler
- Compass
- Red, white, and green colored pencils or markers
- Mexican flag reference (optional but helpful)
Now that you have everything ready, let’s get started!
Step 1: Draw the Outline
Start by drawing a rectangular shape for the flag. Use your ruler to ensure straight lines and maintain proportion. The Mexican flag has a ratio of 4:7, so keep this in mind while drawing the rectangle. This means that the width of the flag should be twice the length of the height.
Step 2: Divide the Rectangle
Divide the rectangle into three equal vertical sections. Use your ruler to draw two straight lines from top to bottom, splitting the flag into three columns.
Step 3: Add the Colors
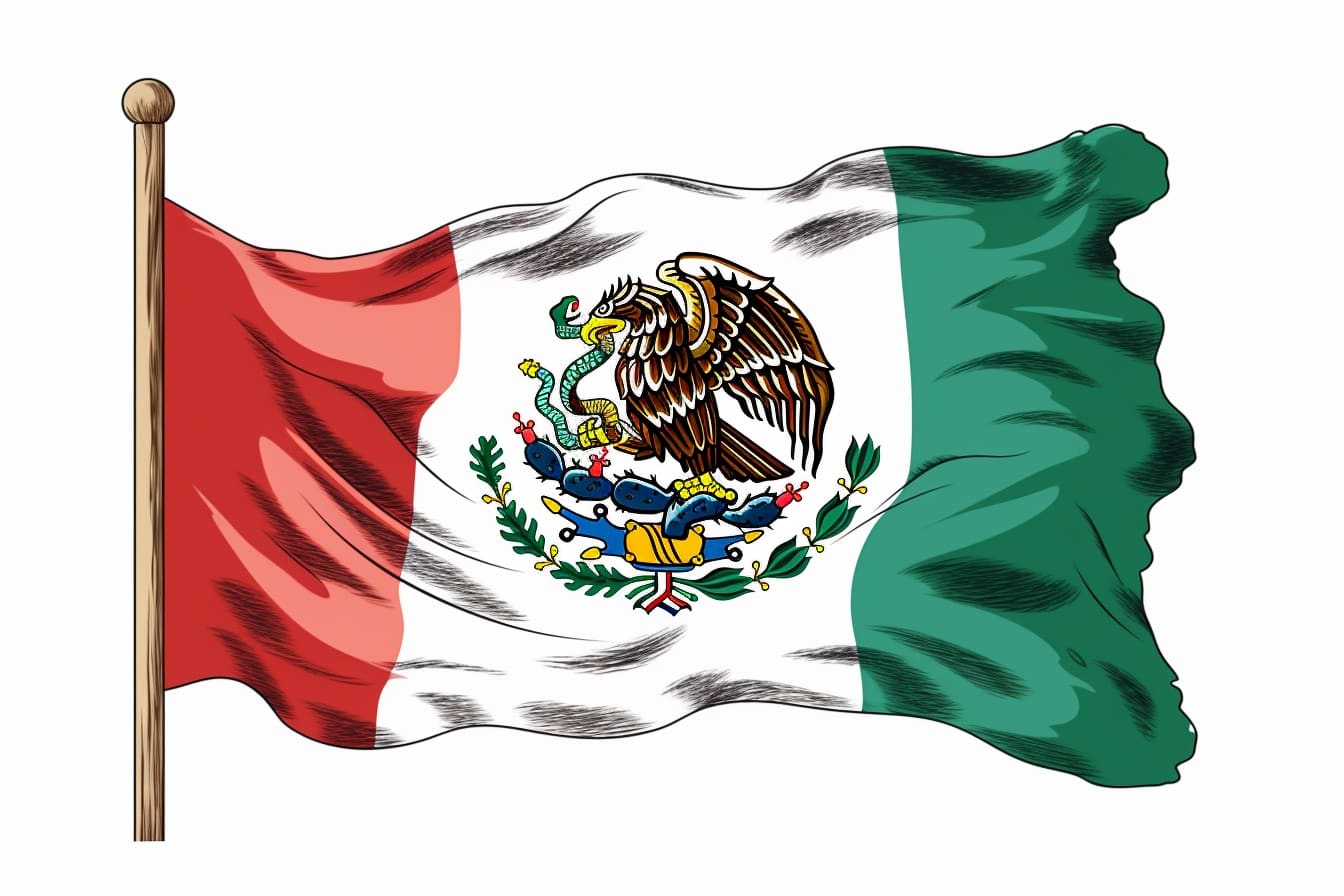
Color the left section of the flag green, the middle section white, and the right section red. The Mexican flag has vertical stripes, with the green stripe on the left side, the white stripe in the middle, and the red stripe on the right side. Remember to stay within the lines to create a neat and precise drawing.
Step 4: Draw the Coat of Arms
The Mexican flag features a coat of arms at the center of the white stripe. Start by drawing a small square in the middle of the white section using your ruler. This square should be one-fourth the width of the flag.
Step 5: Draw the Eagle
Inside the square, draw an eagle in the center facing towards the right side of the flag. Begin by sketching the outline of the eagle using light pencil strokes. Then, carefully add details to its body, wings, and feathers. Take your time and refer to a reference image if needed.
Step 6: Add Details to the Eagle
Once you have the basic shape of the eagle, add details such as its beak, eyes, and legs. Pay attention to the proportions and placement of these features. The Mexican coat of arms has specific details on the eagle, so try to replicate them as accurately as possible.
Step 7: Highlight the Details
After drawing the main features of the eagle, use a darker pencil or marker to go over the lines, emphasizing the details and creating a bolder outline. This will make the drawing stand out and give it a more polished look.
Step 8: Add Color to the Eagle
Now it’s time to add color to the eagle. The Mexican coat of arms uses a combination of brown and gold tones. Use colored pencils or markers to carefully fill in the different areas of the eagle, making sure to blend the colors smoothly.
Step 9: Final Touches
Once you have finished coloring the eagle, review your drawing and make any necessary adjustments. Erase any stray pencil lines and clean up the edges. Take a step back and admire your work!
Congratulations! You have successfully drawn the Mexican flag with its coat of arms. Display your artwork proudly or use it for various crafts and projects.
Conclusion
Drawing the Mexican flag is a wonderful way to explore your artistic skills while showcasing your appreciation for Mexican culture and history. By following this step-by-step guide, you have learned how to create an accurate representation of the flag and its coat of arms. Remember to practice and experiment with different techniques to enhance your drawing abilities.
Now it’s your turn to grab your materials and start creating your own Mexican flag masterpiece. Enjoy the process and have fun expressing your creativity!