Welcome to this step-by-step guide on how to draw a Spanish flag! Whether you are a beginner artist or simply interested in learning a new skill, this tutorial will walk you through the process of creating a detailed and accurate representation of the Spanish flag. With easy-to-follow instructions and a clear breakdown of each step, you’ll soon be able to create your own impressive rendition. So, let’s get started!
Materials Required
Before we begin, let’s gather the materials you’ll need to draw a Spanish flag. Make sure to have the following supplies:
- A clean sheet of white paper or a sketchbook
- Pencil
- Eraser
- Ruler
- Red and yellow colored pencils, markers, or paints
Now that we have everything we need, let’s dive into the step-by-step instructions.
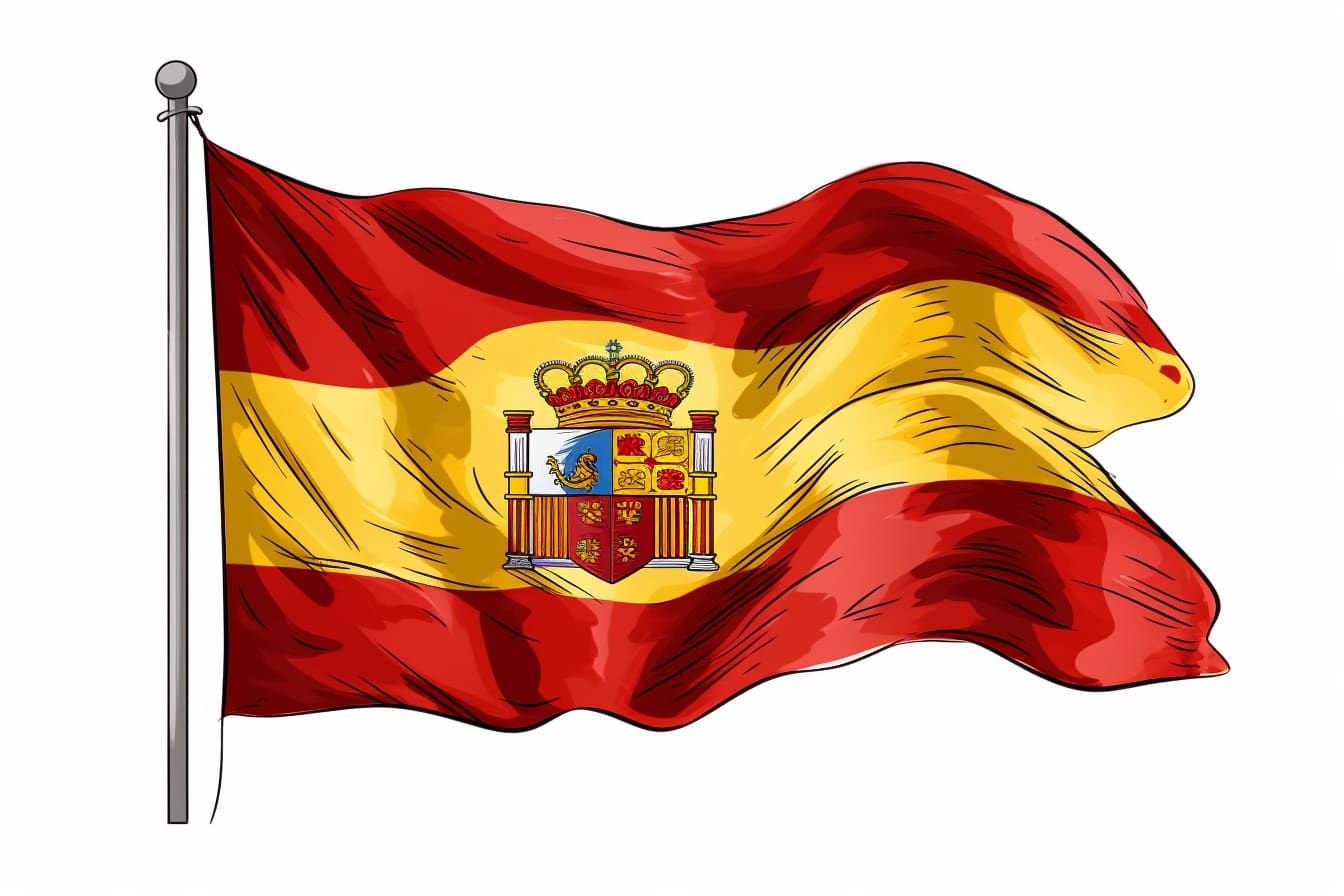
Step 1: Draw the Flag Outline
Start by drawing a rectangle in the center of your paper. Use a ruler to ensure the sides are straight and the proportions are accurate. The dimensions of the Spanish flag are typically 3:2, so you can determine the size of your rectangle accordingly.
Step 2: Color the Top and Bottom Stripes
Divide the rectangle into three equal horizontal sections. The top and bottom sections should be colored yellow. Use your yellow colored pencil, marker, or paint to fill in these areas.
Step 3: Color the Middle Stripe
The middle section of the Spanish flag is red. Use your red colored pencil, marker, or paint to fill in this section, ensuring an even coverage.
Step 4: Add the Coat of Arms
In the middle of the red stripe, draw a smaller rectangle that is one-fifth the width of the entire flag. This rectangle is known as the “escutcheon” and represents the national coat of arms.
Step 5: Draw the Coat of Arms Details
Inside the escutcheon, draw a shield shape using your pencil. The top part of the shield should be curved, while the bottom part should end in a point. Then, draw a diagonal line from the top left corner to the bottom right corner of the shield, dividing it into two triangular sections.
Step 6: Add the Castle
In the top left section of the shield, draw a castle shape. Begin by drawing a rectangular tower with curved corners. Then, add three smaller towers on top of the main tower, each decreasing in size. Connect the towers with thin vertical lines.
Step 7: Include the Lion
In the top right section of the shield, draw a lion. Start by drawing the body, which should resemble a rectangle with curved corners. Then, add the lion’s head, mane, and tail. Don’t forget to draw the lion’s paws as well.
Step 8: Insert the Pillars
In the bottom section of the shield, draw two pillars known as the “Pillars of Hercules.” Begin by drawing two vertical lines side by side. Then, add curved lines at the top and bottom of each line to create the base and capital of the pillars.
Step 9: Add the Motto
Below the shield, draw a ribbon across the flag, slightly overlapping with the escutcheon. Inside the ribbon, write the national motto of Spain, “PLUS ULTRA.” You can use a thinner tipped pen or marker for this step to ensure clear and precise lettering.
Step 10: Finalize the Flag
Go over your drawing with a darker pencil or pen to emphasize the outlines and details. Erase any unnecessary lines or mistakes. Take your time to ensure the flag looks neat and accurate.
Congratulations! You have successfully drawn a Spanish flag. Feel free to customize your drawing by adding shading, textures, or additional details if desired.
Conclusion
Drawing a Spanish flag is a fun and engaging activity that allows you to explore your artistic skills. By following the step-by-step instructions outlined in this guide, you can create a beautiful representation of the flag of Spain. Remember to be patient, take your time, and have fun during the process. Enjoy your artistic journey!