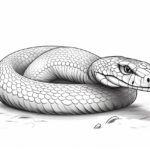
Welcome to this step-by-step guide on how to draw a ball python! In this tutorial, I will be your expert artist and drawing instructor, taking you through the process of creating a realistic and captivating drawing of this beautiful snake.
Drawing animals can be a challenging yet rewarding experience, and the ball python is no exception. Also known as the royal python, this African snake is famous for its gentle nature and striking color patterns. By following these steps, you’ll learn how to capture the essence of a ball python in your own artwork.
Materials Required
Before we begin, let’s gather all the materials you’ll need for this drawing:
- Drawing paper – Choose a smooth, heavyweight paper that is suitable for your preferred drawing medium.
- Pencils – A range of graphite pencils, including H, HB, and B, will be useful for achieving different tones.
- Eraser – A kneaded eraser is ideal for softening and lifting graphite marks without damaging the paper.
- Pencil sharpener – Keep your pencils sharp for precise lines and details.
- Blending tools – You can use blending stumps or even a piece of tissue paper to blend and smoothen your shading.
Now that we have everything ready, let’s get started on our ball python drawing!
Step 1: Reference Study
Begin by gathering visual references of ball pythons. This could include photographs or illustrations of the snake from various angles. Study the snake’s body structure, patterns, and any distinguishing features. Understanding your subject thoroughly will help you create a more accurate and detailed drawing.
Step 2: Basic Shapes
Start your drawing by lightly sketching the basic shapes that make up the snake’s body. Use simple shapes like circles and ovals to outline the head, body, and tail. Avoid pressing too hard on the paper at this stage, as these initial lines will be refined and adjusted in later steps.
Step 3: Outline and Proportions
Using the basic shapes as a guide, begin outlining the contours of the snake’s body. Pay attention to the proportions and curves, making sure they align with your reference study. Take your time and use light, confident strokes. Remember, it’s easier to make adjustments in the early stages of the drawing.
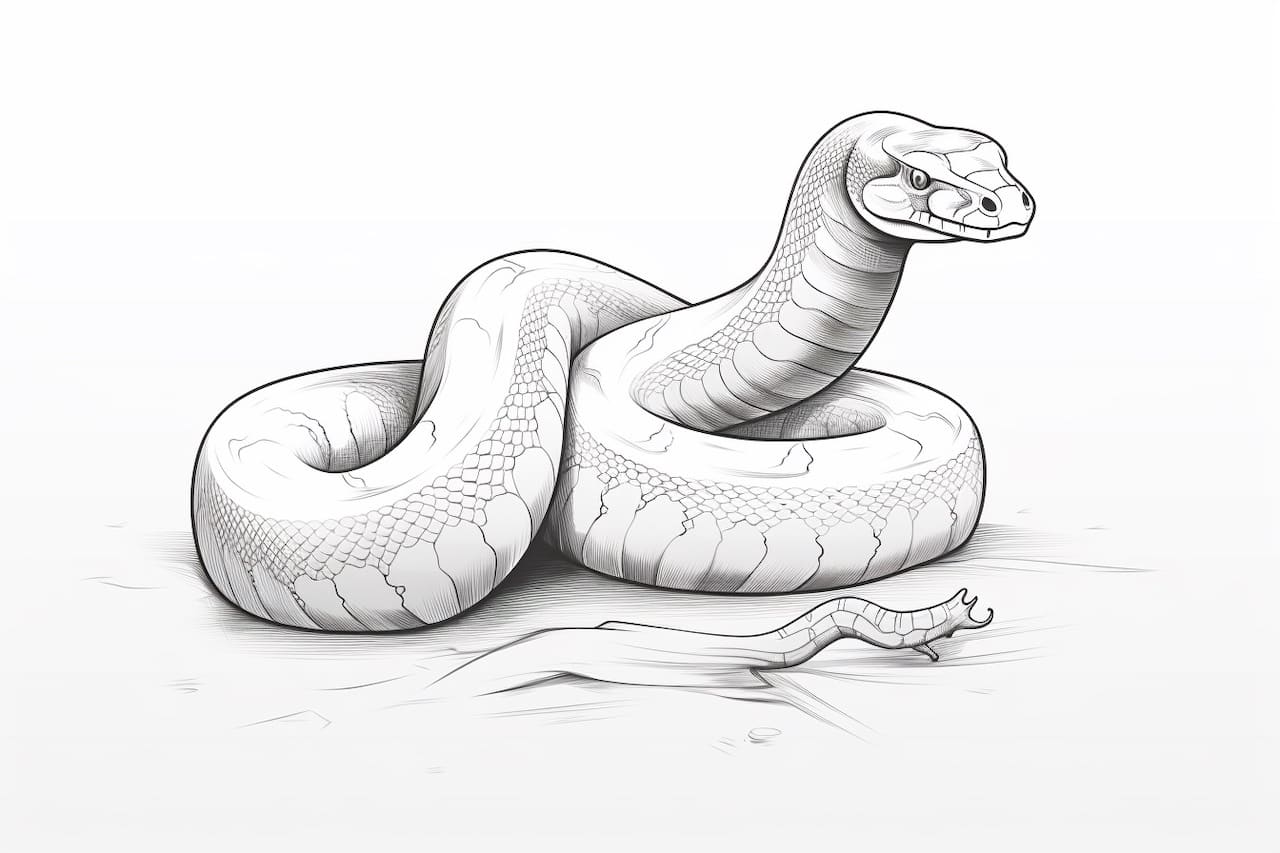
Step 4: Details and Patterns
Once you have the main body shape outlined, it’s time to start adding the intricate details and patterns that make the ball python unique. Carefully observe your reference study and recreate the snake’s scales, markings, and textures. Start with the head and work your way down the body, using a combination of curved and straight lines to represent the scales.
Step 5: Shading and Depth
To bring your drawing to life, it’s essential to add shading and depth. Begin by identifying the light source in your reference study. This will help you determine which areas will be in shadow and which will be illuminated. Use a range of pencils, from hard (H) to soft (B), to achieve different tones. Start with light shading and gradually build up the darker values, paying close attention to the transitions and gradations.
Step 6: Refine and Adjust
Take a step back and evaluate your drawing as a whole. This is the perfect time to refine any areas that need more attention. Look for any inaccuracies in proportions, details, or shading. Use your eraser to make corrections and adjustments as needed. Remember, drawing is a process, and it’s completely normal to make changes along the way.
Step 7: Final Touches
With the main elements of your drawing complete, it’s time to add the finishing touches. Pay close attention to any small details that will enhance the realism of your ball python. Add highlights to the scales to make them appear shiny, and use additional shading to create depth in specific areas. Take the time to add any necessary final touches to complete your artwork.
Conclusion
Congratulations on completing your ball python drawing! By following these steps and practicing regularly, you will continue to improve your drawing skills and capture the beauty of animals in your artwork. Remember to be patient with yourself and enjoy the process. With time and dedication, you’ll be able to create stunning drawings of various animals, starting with this majestic ball python.
I hope you found this tutorial helpful and enjoyable. Now, grab your art supplies and start drawing your very own ball python masterpiece!