Welcome to this step-by-step guide on how to draw a flag! Whether you want to create your own flag design or simply capture the beauty of an existing flag, this tutorial will provide you with the necessary instructions to bring your artistic vision to life. So grab your drawing materials, let your creativity soar, and let’s get started!
Materials Required
Before we begin, gather the following materials:
- Drawing paper or sketchbook
- Pencil
- Eraser
- Ruler
- Colored pencils or markers (optional)
Now that you have your materials ready, let’s dive into the process of drawing a flag.
Step 1: Research and Prepare
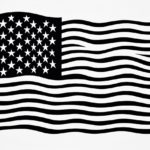
Start by researching the flag you want to draw. Look for reference images online or in books to familiarize yourself with the flag’s design and proportions. Take note of any symbols or patterns that are present on the flag, as these details will be important when sketching and coloring.
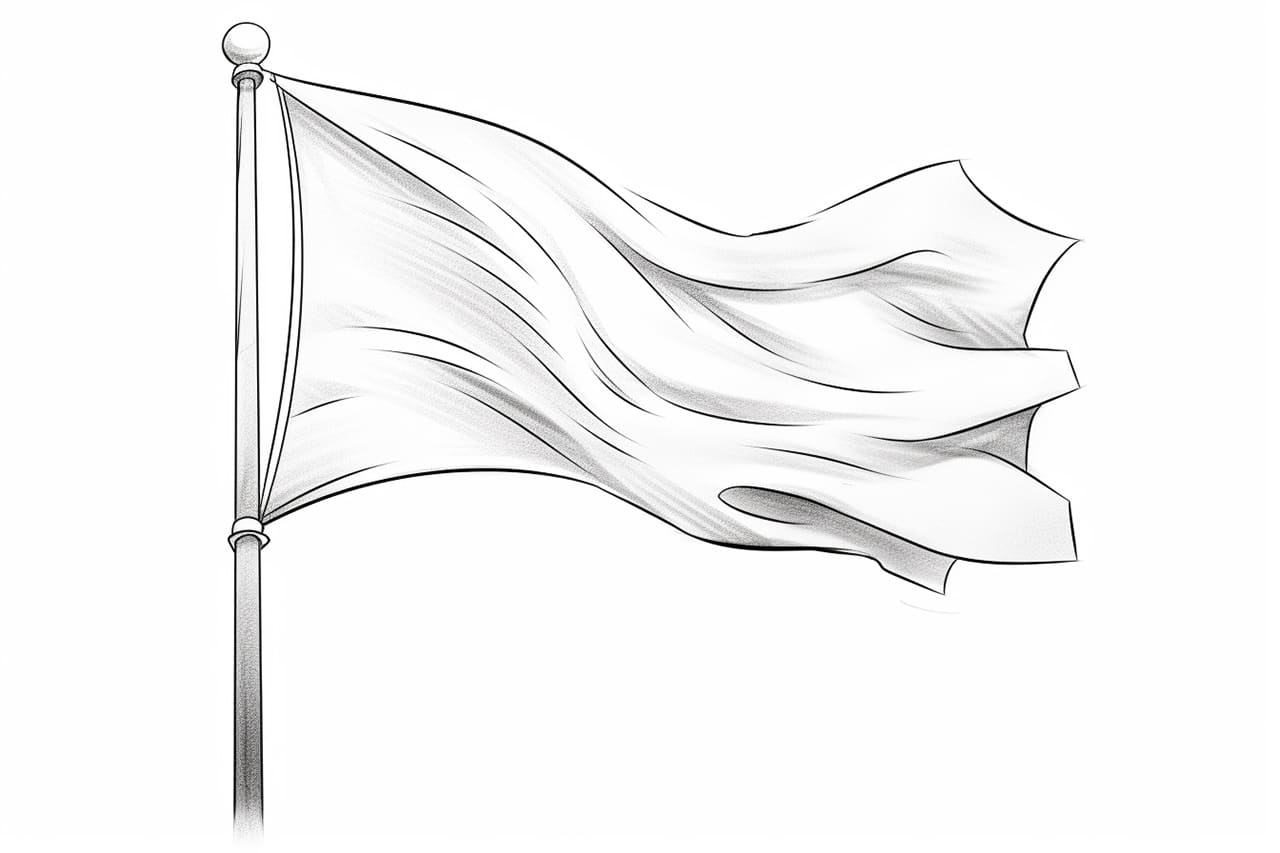
Step 2: Draw the Flag’s Outline
Using a pencil and ruler, lightly sketch the outline of the flag on your drawing paper. Pay attention to the proportions and dimensions to ensure accuracy. Remember, the flag may have different shapes such as rectangular, square, or even triangular, depending on the country or organization it represents.
Step 3: Add Symbols and Patterns
Next, add any symbols or patterns that are present on the flag. Use your reference image as a guide and sketch them lightly with a pencil. Take your time and pay attention to the details, as these elements will bring the flag to life.
Step 4: Refine the Details
Once the symbols and patterns are in place, go over your sketch and refine the details. Use an eraser to remove any unnecessary lines or smudges, and make any necessary adjustments to ensure the proportions are accurate. This step is crucial in achieving a polished and professional-looking flag drawing.
Step 5: Choose Your Coloring Method
Now it’s time to decide how you want to color your flag drawing. You can choose to use colored pencils, markers, or any other coloring medium of your preference. If you’re using colored pencils, remember to layer and blend the colors to achieve depth and shading.
Step 6: Color the Flag
Begin coloring your flag by filling in the background color. This is typically the main color of the flag. Use smooth and even strokes, ensuring that there are no visible pencil or marker lines. If your flag has multiple colors, work on one section at a time, carefully filling in each area with the appropriate color.
Step 7: Add Shading and Highlights
To add dimension to your flag drawing, shade the areas that would naturally have shadows. Use a slightly darker shade of the base color and create gradual transitions to achieve a realistic effect. Conversely, add highlights to areas that would catch light, using a lighter shade of the base color or even white. This will make your flag appear three-dimensional.
Step 8: Final Touches
Once you’re satisfied with the colors and shading, take a step back and evaluate your drawing as a whole. Make any final adjustments or touch-ups if necessary. You can also add more details, such as texture or additional symbols, to enhance the overall appearance of the flag.
Conclusion
Congratulations! You have successfully learned how to draw a flag. By following these step-by-step instructions, you can now create stunning flag drawings that capture the essence of any country or organization. Remember to practice and experiment with different flag designs to further develop your skills as an artist. Happy drawing!