Drawing is a wonderful form of creative expression that allows you to bring your imagination to life on paper. If you’re interested in learning how to draw everyday objects, such as a soup bowl, you’ve come to the right place! In this step-by-step guide, we’ll walk you through the process of drawing a realistic and appealing soup bowl. So grab your pencil, paper, and let’s get started!
Materials Required
Before we dive into the steps, let’s gather the materials you’ll need for this drawing tutorial. Here’s a list of essential items:
- Drawing paper: Choose a high-quality paper that is suitable for your preferred drawing medium. A smooth surface is recommended for creating fine details.
- Pencils: It’s best to keep a range of pencils with different hardness levels, like HB, 2B, 4B, and 6B. These will allow you to achieve various shades and tones in your drawing.
- Eraser: Have a kneaded or art gum eraser handy for correcting mistakes and cleaning up your sketch.
- Blending tools: Some artists prefer using blending stumps or tortillons to smooth out shading, while others use tissues or cotton swabs. Experiment and find what works best for you.
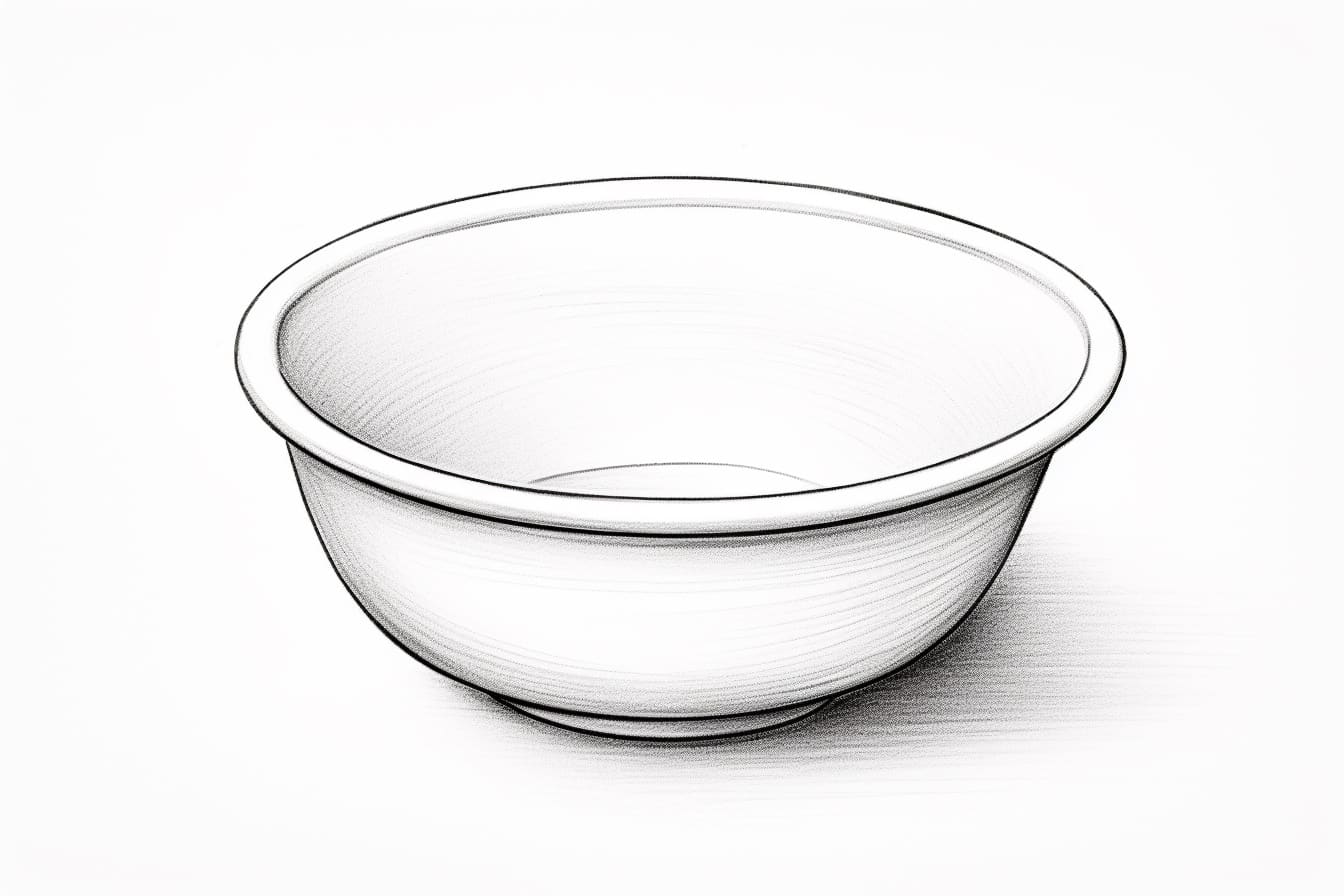
- Reference image: Find a clear reference photo of a soup bowl to guide your drawing. You can search for one online or use a real bowl as a reference.
Now that you have your materials ready, let’s begin the process of drawing a soup bowl!
Step 1: Basic Shapes
Start by lightly sketching a horizontal oval shape to form the top of the bowl. This will help you establish the proper proportions. Then, draw a vertical line down the center of the oval to indicate the bowl’s symmetry.
Step 2: Bowl Sides
Next, add two curved lines on either side of the center line to create the bowl’s sides. These lines should be slightly parallel to each other and gradually slope downward as they move away from the top of the oval. Remember to keep your lines light and subtle at this stage.
Step 3: Bottom of the Bowl
To give the bowl some depth, draw a curved line at the bottom of the oval shape. This line should connect the two sides of the bowl, forming a rounded bottom. Make sure the bottom curve is smooth and continuous.
Step 4: Rim of the Bowl
Now, it’s time to draw the rim of the soup bowl. Start by lightly sketching an elongated oval shape just above the top of the bowl. This oval should be narrower than the top of the bowl and slightly tilted towards the viewer.
Step 5: Inner Rim
Inside the elongated oval shape, draw another smaller oval to represent the inner rim of the soup bowl. This smaller oval should be parallel to the outer rim and closer to the center of the bowl.
Step 6: Thickness
To add thickness and structure to the bowl, lightly sketch two parallel lines running along the sides of the bowl. These lines should start at the top of the bowl and should be spaced out slightly from the bowl’s sides.
Step 7: Handle
If your reference photo includes a bowl with a handle, you can draw it now. Typically, soup bowls have a handle on one side. Draw a curved shape that extends from the top of the bowl, slightly curving outward. Then, connect the handle to the bowl with a small curved line at the base of the handle.
Step 8: Refining the Shape
Take a moment to step back and assess the overall shape of your soup bowl. Make any necessary adjustments to ensure that the proportions look accurate. Use a kneaded eraser to lighten any incorrect lines or areas that need refinement.
Step 9: Shading and Textures
Now that you have the basic structure of the soup bowl, it’s time to add some shading and textures to make it look more three-dimensional and realistic. Pay close attention to the light source in your reference photo to determine where the shadows and highlights fall.
Begin by shading the inside of the bowl, focusing on the areas that are farthest from the light source. Use a lighter touch and gradually build up the value, creating a smooth transition from light to dark areas. Then, proceed to shade the outside of the bowl, again paying attention to the direction of the light source.
For added realism, you can include subtle textures like small imperfections, specks, or reflections on the surface of the bowl. These details will make your drawing appear more lifelike and interesting.
Conclusion
Congratulations! You have successfully drawn a realistic soup bowl from scratch. Drawing everyday objects is a great way to develop your artistic skills and attention to detail. Remember to practice regularly and experiment with different styles and techniques to further enhance your drawing abilities.
We hope you found this step-by-step guide helpful and inspiring. Now, go grab your pencils and start drawing your own beautiful soup bowls! Happy creating!