Drawing a waving flag may seem like a daunting task, but with a few simple steps, you can create a realistic and dynamic representation. Whether you’re an aspiring artist or just looking to try your hand at something new, this guide will walk you through the process of drawing a waving flag from start to finish. So grab your materials and let’s get started!
Materials Required:
- Drawing paper
- Pencil
- Eraser
- Ruler
- Compass
- Colored pencils or markers
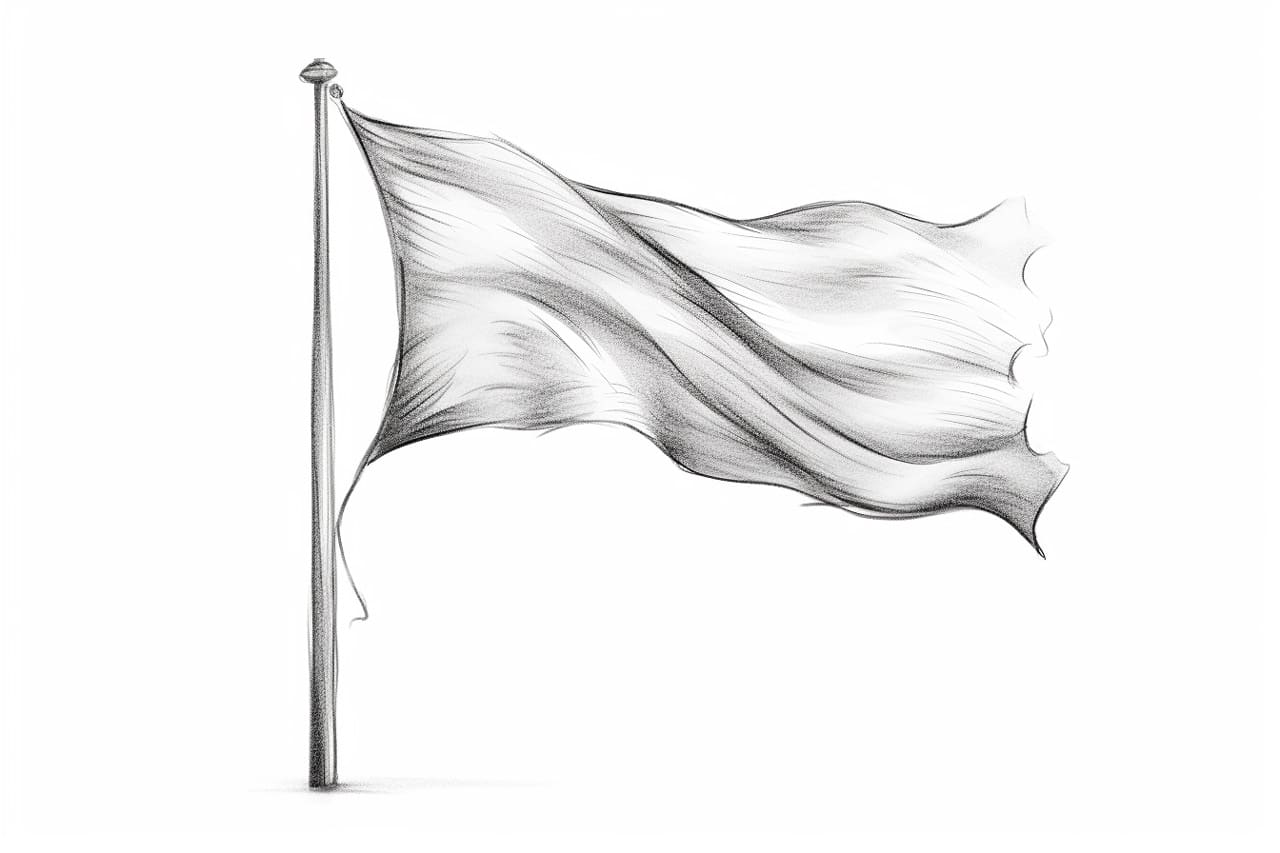
Step 1: Start with the Flagpole
To begin, position your drawing paper horizontally. Use a ruler and a pencil to draw a vertical line down the center of the paper to represent the flagpole. Make sure the line is straight and extends from top to bottom of the page.
Step 2: Add the Flag’s Outline
Using the ruler and the pencil, draw a rectangle shape on the top portion of the flagpole. This rectangle will serve as the outline for the flag. The width and height can be adjusted according to your desired proportions.
Step 3: Create the Waving Effect
To create the illusion of a waving flag, it’s important to add a sense of movement to the flag’s outline. Start by drawing a series of curves along the top and bottom edges of the rectangle. These curves should be wavy and irregular to mimic the natural flow of a flag in the wind.
Step 4: Draw the Flagpole Details
Next, add some details to the flagpole to make it more realistic. Draw small horizontal lines at regular intervals along the length of the pole to represent the metal rings that attach the flag to the pole. You can also add a finial or a decorative ornament at the top of the flagpole if you’d like.
Step 5: Add Folds and Shadows
To give your flag dimension and depth, it’s important to add some folds and shadows. Use your pencil to lightly sketch some diagonal lines within the flag, following the direction of the waving effect. These lines will represent the folds in the fabric. Add some shading along the folds to create shadows and enhance the three-dimensional appearance of the flag.
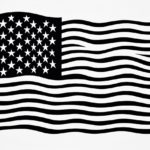
Step 6: Outline the Flag’s Design
Now that you have the basic shape of the flag, it’s time to add the design or pattern. Whether it’s a national flag, a sports team emblem, or any other design, use your pencil to carefully outline the shapes and elements within the flag. Take your time and pay attention to the details.
Step 7: Color the Flag
Once you’ve outlined the flag’s design, it’s time to bring it to life with color. Use colored pencils or markers to carefully fill in the shapes and elements within the flag. Pay attention to color accuracy, especially if you’re drawing a national flag or a flag with specific colors.
Step 8: Add Highlights and Shadows
To make your waving flag appear more realistic, it’s essential to add highlights and shadows. Use a lighter shade of the flag’s color to add highlights along the top edges of the folds and ridges. Similarly, use a darker shade to add shadows along the bottom edges of the folds and ridges. Blend the colors smoothly to create a natural and seamless effect.
Step 9: Final Touches
Take a step back and assess your drawing. Make any necessary adjustments and refine the details. Erase any unwanted pencil lines or smudges to clean up your drawing. This is also a good time to add any additional embellishments or details to enhance the overall composition.
Conclusion
Drawing a waving flag may seem challenging at first, but with the right technique and a bit of practice, you can achieve impressive results. By following these step-by-step instructions, you’ll be able to capture the dynamic motion and beauty of a waving flag. So grab your materials and start creating your own masterpiece!