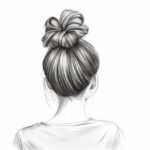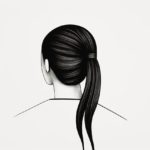
Welcome to this tutorial on how to draw a messy bun! The messy bun is a popular hairstyle that gives off a relaxed and effortless vibe. Whether you are a beginner or an experienced artist, this step-by-step guide will help you create a realistic and stylish representation of a messy bun. So, grab your drawing materials and let’s get started!
Materials Required
Before we dive into the steps, let’s go over the materials you will need for this drawing:
- Pencil: Select a soft lead pencil, such as a 2B or 4B, for sketching and shading.
- Eraser: A kneaded eraser works best for removing unwanted lines and mistakes without damaging the paper.
- Paper: Choose a smooth surface paper, like drawing or sketch paper, that suits your preferred medium.
- Blending Stump: Optional but useful for blending and creating smooth transitions in your shading.
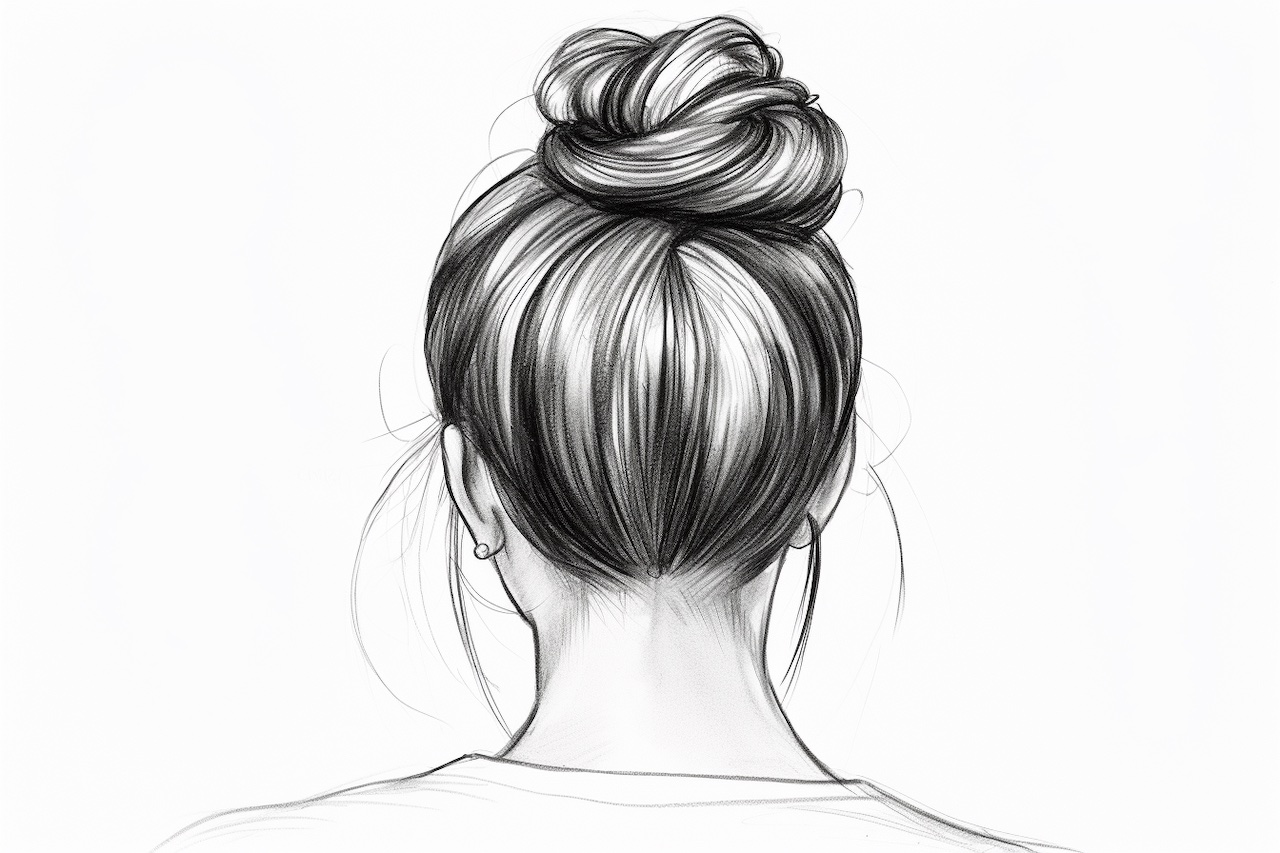
- Reference Image: Find a clear image of a messy bun hairstyle to use as a reference during the drawing process.
Now that we have all the materials ready, let’s move on to the step-by-step process of drawing a messy bun!
Step 1: Outline the Basic Shape
Start by lightly sketching an oval shape on your paper to represent the head. This will serve as the foundation for placing the messy bun. Keep the lines loose and light, as they will eventually be blended into the drawing.
Step 2: Add the Hairline and Bangs
Using light, delicate strokes, draw the hairline and any bangs that may be falling onto the forehead. Pay attention to the direction and flow of the hair, as it will add realism to your drawing.
Step 3: Establish the Bun’s Placement
Next, determine where the messy bun will be positioned on the head. Observe your reference image to ensure accuracy. Sketch a circular shape for the bun, making it slightly larger than the head’s width.
Step 4: Draw the Strands of Hair
To create a messy bun effect, draw loose strands of hair flowing out of the bun. These strands should be irregular and vary in thickness and length. Use light, curvy strokes to suggest movement and texture.
Step 5: Add Detail to the Bun
Now it’s time to add some details to the bun itself. Start by lightly sketching the bun’s outline and then gradually add shadows and highlights to give it dimension. Remember to keep the strokes loose and soft to achieve a messy appearance.
Step 6: Define the Face
With the messy bun established, focus on defining the face. Sketch the eyebrows, eyes, nose, and mouth using light strokes. Pay attention to the proportions and symmetry of the features to create a realistic representation.
Step 7: Shade the Hair
To add depth and volume to the hair, begin shading. Start by lightly shading the areas of the hair that are in shadow or under the bun. Gradually build up the layers of shading, emphasizing the lighter areas where the light hits the hair.
Step 8: Add Texture and Highlights
To create texture in the messy bun, lightly sketch small strokes or lines to suggest individual strands of hair. This technique will add dimension and movement to the overall drawing. Additionally, use an eraser to create highlights on the bun and strands of hair that catch the light.
Step 9: Refine the Details
Take a moment to observe your drawing as a whole. Make any necessary adjustments to the proportions, shadows, or highlights to enhance the overall appearance. Pay attention to small details such as flyaway hairs or wisps around the face to add realism and personality to your drawing.
Conclusion
Congratulations! You have successfully learned how to draw a messy bun. By following these step-by-step instructions and incorporating your own artistic style, you can create stunning representations of this trendy hairstyle. Remember to practice regularly and experiment with different techniques to further improve your drawing skills. Happy drawing!