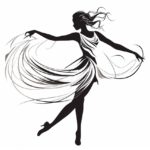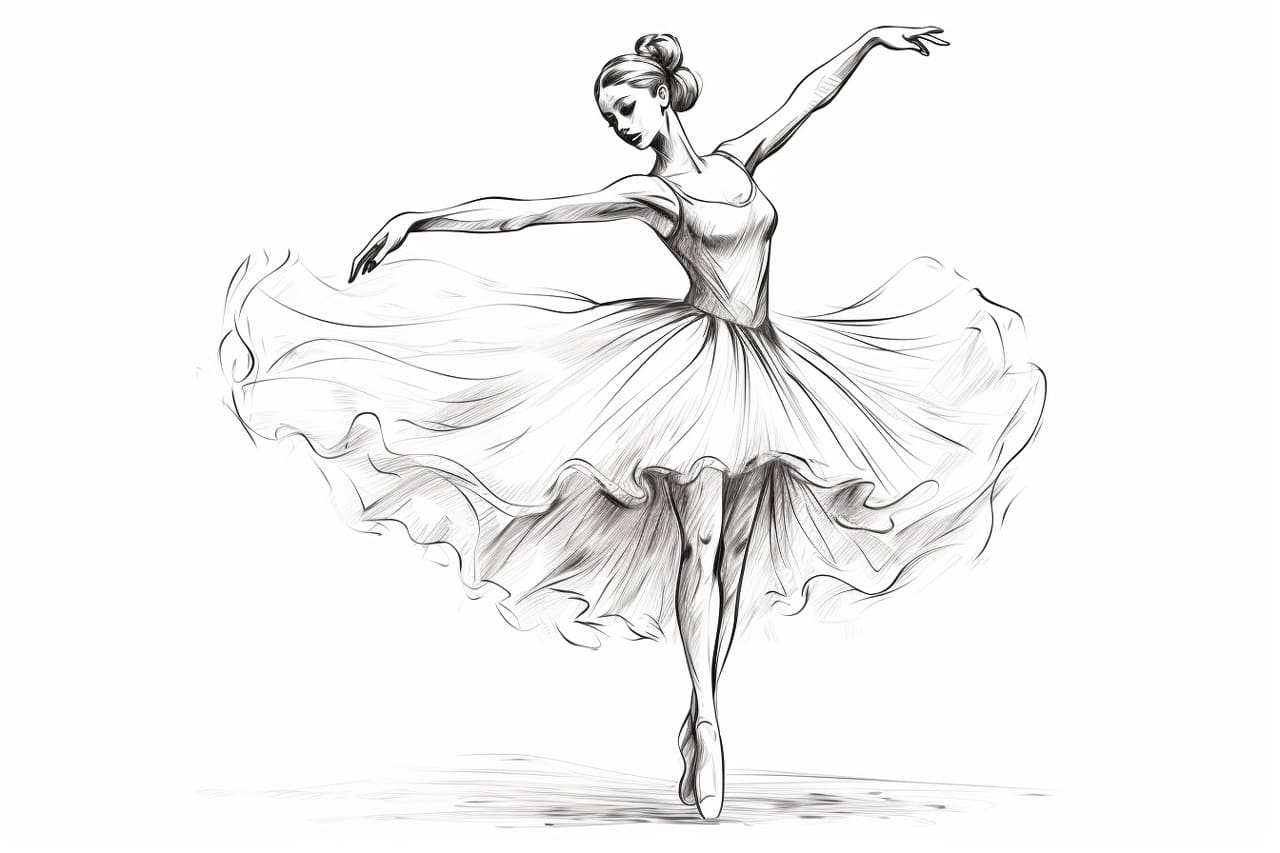
Whether you’re a beginner or an experienced artist, learning to draw a ballerina can be a rewarding and enjoyable process. Ballet dancers are graceful and elegant, making them a wonderful subject to capture on paper. In this step-by-step guide, I will walk you through the process of drawing a ballerina, from sketching the basic shapes to adding details and shading. So let’s get started and create a beautiful representation of a ballerina on our canvas!
Materials Required
Before we begin, let’s gather the materials you’ll need to draw a ballerina:
- Paper: Choose a high-quality drawing paper that can handle pencil, ink, or other drawing mediums.
- Pencils: A set of graphite pencils ranging from 2H (light) to 6B (dark) will give you a good range of shading options.
- Eraser: A kneaded eraser is ideal for lifting and removing graphite marks without damaging the paper.
- Sharpener: A pencil sharpener will help you maintain a sharp point for precise lines.
- Ruler: A straight ruler is useful for measuring and drawing straight lines.
- Drawing Mannequin (Optional): If you struggle with drawing proportions, a small mannequin can be helpful for reference.
Now that you have your materials ready, let’s dive into the step-by-step process of drawing a ballerina.
Step 1: Sketch Basic Shapes
Start by lightly sketching the basic shapes to establish the overall pose of the ballerina. Begin with an oval for the head, followed by a long vertical line that represents the spine. Add circles for the shoulders, chest, hips, and joints at the knees and elbows. Use simple shapes to outline the limbs, keeping them light and basic.
Step 2: Refine Body Proportions
Using the basic shapes as a guide, refine the proportions of the ballerina’s body. Pay attention to the length of the limbs and the angles they create with the torso. Use light, loose strokes to adjust the length or positioning of the limbs until you achieve the desired proportions. Remember that ballet dancers have long and slender bodies, so emphasize their graceful physique.
Step 3: Add Details to the Face
Now, let’s focus on the ballerina’s face. Sketch in the eyes, nose, and mouth using simple shapes and guidelines. Pay close attention to the placement and proportions of these features. Add the ears and lightly indicate the hairline. Remember to keep the lines light and easily erasable, as we will be refining these features later.
Step 4: Define the Silhouette
Using bolder lines, define the outline of the ballerina’s body, including the head, neck, arms, and legs. Pay attention to the natural curves and contours of the body to capture the gracefulness of a ballet dancer. Take your time and make confident strokes, following the basic shapes and proportions you established earlier.
Step 5: Refine the Facial Features
Now that the silhouette is taking shape, it’s time to add more detail to the facial features. Use lighter lines to define the eyes, nose, and mouth, paying close attention to the subtle shapes and contours. Add the eyebrows and eyelashes to give the face more expression. Use a kneaded eraser to lift any excess graphite and create highlights, bringing the face to life.
Step 6: Draw the Hair and Ballerina’s Outfit
Sketch in the ballerina’s hair, paying attention to its flow and movement. Keep in mind that ballet dancers often wear their hair in an elegant bun or updo. Once the hair is complete, add the details of the ballerina’s outfit, such as the leotard, tutu, and ballet shoes. Use light, flowing lines to capture the delicate fabric and folds.
Step 7: Add Shading and Texture
To give your drawing depth and dimension, add shading and texture. Observe the light source and imagine where the shadows would fall on the ballerina’s body and outfit. Use a range of pencils from light to dark to create smooth transitions and gradients. Remember to blend the shading with blending stumps or your fingers for a more realistic look.
Step 8: Final Details
Take a step back and assess your drawing. Make any necessary adjustments to the proportions, details, or shading. Add any additional elements, such as stage props or a ballet barre, to enhance the composition. Pay attention to small details like the patterns on the outfit or the reflections in the eyes. Take your time to refine these details and bring your drawing to its full potential.
With these steps, you have successfully drawn a ballerina! Remember that practice is key, and each drawing will bring you closer to mastering the art of capturing the grace and elegance of a ballet dancer. So keep exploring, experimenting, and honing your skills.
Conclusion
Drawing a ballerina can be a challenging yet gratifying experience. By following these step-by-step instructions, you can learn how to capture the beauty and grace of a ballet dancer on paper. Remember to start with basic shapes, refine proportions, add details, and incorporate shading to bring your drawing to life. With practice and patience, you’ll continue to improve your skills and create stunning representations of ballerinas. So grab your materials and let your creativity flow as you embark on this artistic journey!