Have you ever wanted to draw a realistic and detailed beard in your artwork? Drawing a beard can add depth and character to your portraits, illustrations, or sketches. While it may seem challenging at first, with the right techniques and practice, you can master the art of drawing beards.
In this step-by-step guide, we will walk you through the process of drawing a beard. We will cover everything from the initial sketch to adding texture and shading to create a realistic look. So grab your pencils and let’s get started!
Materials Required
Before we begin, make sure you have the following materials on hand:
- Drawing pencils (HB, 2B, 4B, and 6B)
- Paper or sketchbook
- Eraser
- Blending stump or tortillon
- Reference photo or model (optional)
Now that you have everything you need, let’s move on to the first step.
Step 1: Basic Outline
Start by lightly sketching the basic outline of the beard using a 2B or HB pencil. Pay close attention to the shape and direction of the beard. Is it long or short? Does it have any distinctive features like a mustache or sideburns? Take your time and adjust the proportions as needed.
Step 2: Outline Individual Hair Strands
Using a 4B or 6B pencil, start outlining individual hair strands within the beard. Focus on capturing the flow and direction of the hair. Beards often have a natural curve or wave, so make sure to incorporate those details into your drawing. Keep your lines loose and sketchy for now, as we will refine them later.
Step 3: Refine the Outline
With a 2B or HB pencil, go over the initial outline and refine it. Pay attention to the shape and thickness of the individual hair strands. Experiment with different line weights to create variation and depth. Make sure to erase any unnecessary guidelines or stray lines from the previous steps.
Step 4: Add Detail and Texture
Now it’s time to add detail and texture to your beard drawing. Start by shading the areas where the beard is darker or has more depth. Use a combination of light and dark pencil strokes to create a realistic texture. Pay attention to the direction of the hair and adjust your strokes accordingly.
Step 5: Blend and Soften
To create a smoother and more realistic look, use a blending stump or tortillon to blend the pencil strokes. This technique helps to soften harsh lines and creates a more seamless transition between different shades of the beard. Be careful not to over-blend, as it can make the texture look flat.
Step 6: Add Highlights and Shadows
To make your beard drawing appear three-dimensional, add highlights and shadows. Identify the light source in your reference photo or imagine one if you’re drawing from imagination. Use a white pencil or an eraser to create highlights on the areas where the light hits the beard. Shade darker areas with a 4B or 6B pencil to create shadows.
Step 7: Adjustments and Final Touches
Take a step back and evaluate your drawing. Are there any areas that need adjusting or refining? Use your eraser to lighten or correct any mistakes. Pay attention to the overall shape, proportions, and shading of the beard. Take your time and make any necessary adjustments before considering your drawing complete.
Conclusion
Drawing a beard can be a challenging yet rewarding experience. By using the step-by-step instructions provided in this guide, you can create a realistic and detailed beard in your artwork. Remember to practice regularly and experiment with different techniques to improve your skills.
So, grab your pencils and start drawing! With patience and dedication, you’ll be able to master the art of drawing beards in no time.
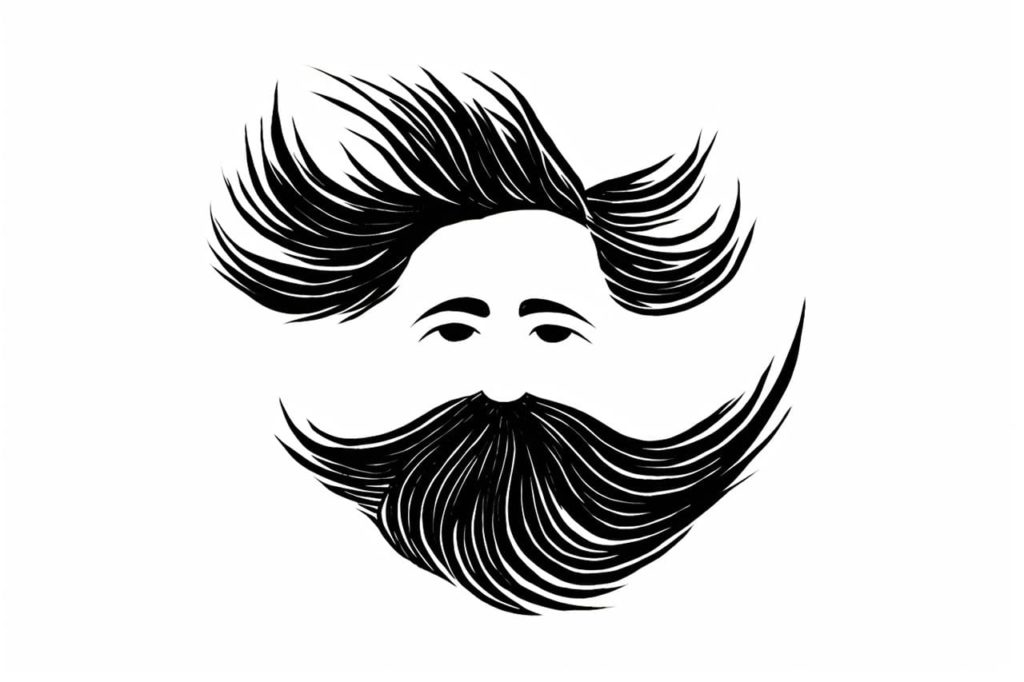
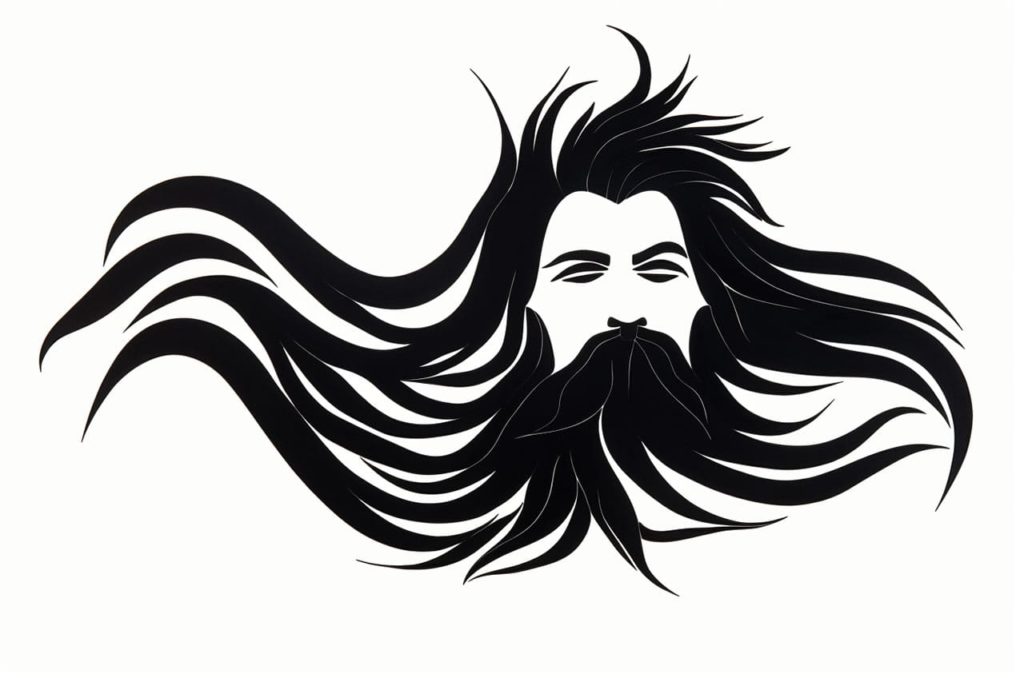
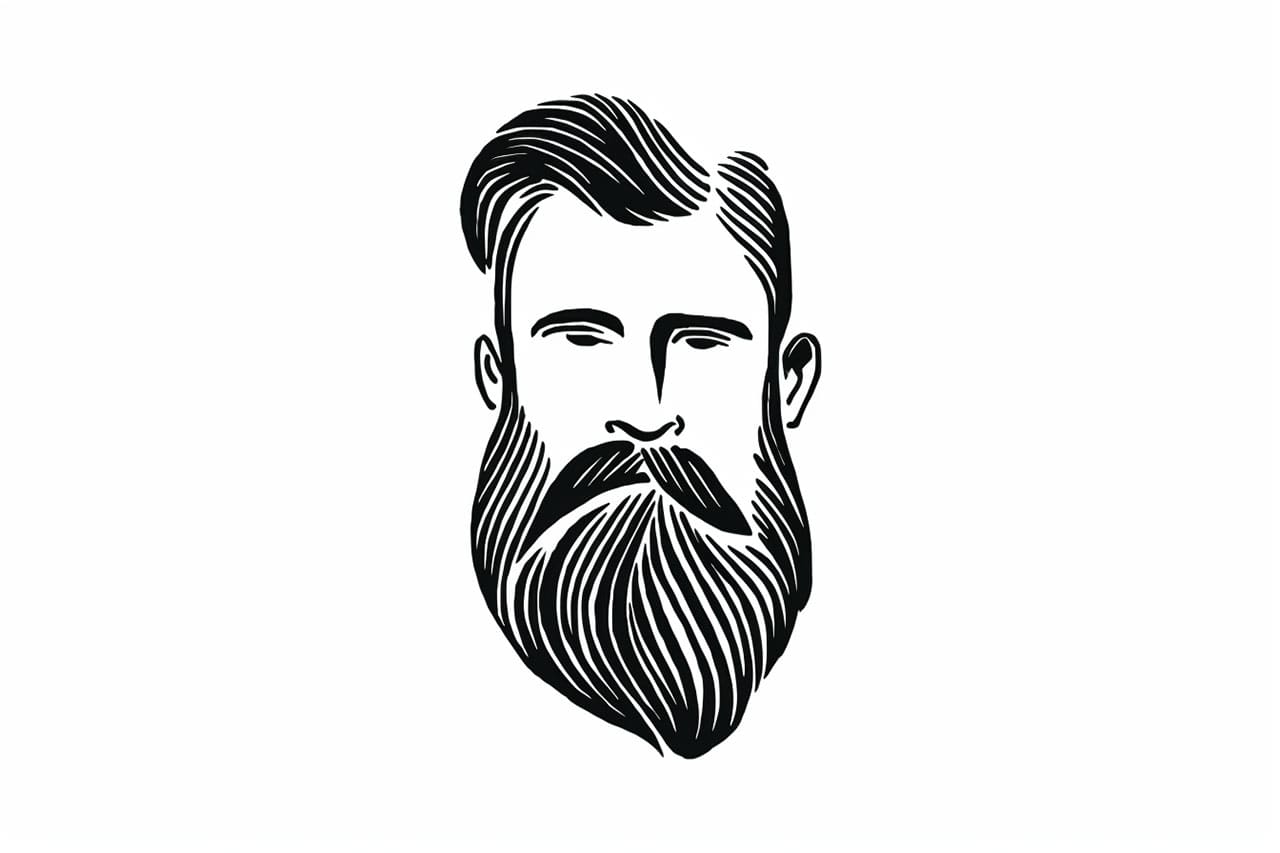
Gallery of Beard Drawings