Welcome to this step-by-step guide on how to draw a hawk. In this article, I will walk you through creating a realistic and detailed representation of this majestic bird. Whether you are a beginner or an experienced artist, with a bit of practice and patience, you can master the art of drawing a hawk. So grab your drawing materials, and let’s get started!
Materials Required
Before we begin, make sure you have the following materials:
- Drawing paper or sketchbook
- Pencils (preferably graphite pencils of varying hardness, such as 2H, HB, 2B, and 4B)
- Eraser (a kneaded eraser is recommended for clean and easy erasing)
- Pencil sharpener
- Reference image of a hawk (you can find high-quality images online)
Now that you have your materials ready, let’s dive into the step-by-step process of drawing a hawk.
Step 1: Basic Shapes
Start by lightly sketching a circle for the hawk’s head and an oval for its body. These shapes will serve as the foundation of your drawing and help you establish the correct proportions.
Step 2: Outlining the Body
Using the basic shapes as a guide, start adding more details to the hawk’s body. Carefully sketch the outline of the body, paying attention to the curvature of the wings, tail, and feathers. Remember to keep your lines light and loose for easy corrections.
Step 3: Drawing the Head
Focus on the hawk’s head and sketch the beak and eyes. The beak should be long and slightly curved, while the eyes should be small and expressively placed. Take your time to capture the hawk’s fierce and intense look.
Step 4: Adding Feather Details
Next, begin adding feather details to the hawk’s body. Start from the head and work your way down, observing the direction and texture of the feathers. Use short, curved lines to represent the feathers and vary the length and thickness to create a realistic effect.
Step 5: Shading and Texture
Now it’s time to add depth and dimension to your hawk drawing by shading and adding texture. Study your reference image carefully and observe the areas of light and shadow. Use different grades of graphite pencils to create contrast and create realistic textures, such as the roughness of the hawk’s feathers.
Step 6: Refining the Details
Take a step back and evaluate your drawing so far. Use this opportunity to make any necessary adjustments and refine the details. Pay close attention to the hawk’s eyes, beak, and feathers, ensuring that they accurately represent the bird’s appearance.
Step 7: Final Touches
In this final step, add any remaining details and make your drawing come to life. Add additional shading and texture as needed, making sure to blend the tones smoothly. Take the time to sharpen your lines and erase any unwanted marks to achieve a clean and polished look.
Congratulations! You have successfully drawn a hawk. With practice, you will become even more skilled at capturing the beauty and grace of these magnificent creatures.
Wrapping Up How to Draw a Hawk
Drawing a hawk can be a challenging but rewarding experience. By following these step-by-step instructions, you have learned how to create a detailed and lifelike representation of this majestic bird. Remember to be patient with yourself and practice regularly to improve your skills. So keep honing your artistic abilities and continue exploring the fascinating world of drawing. Happy sketching!
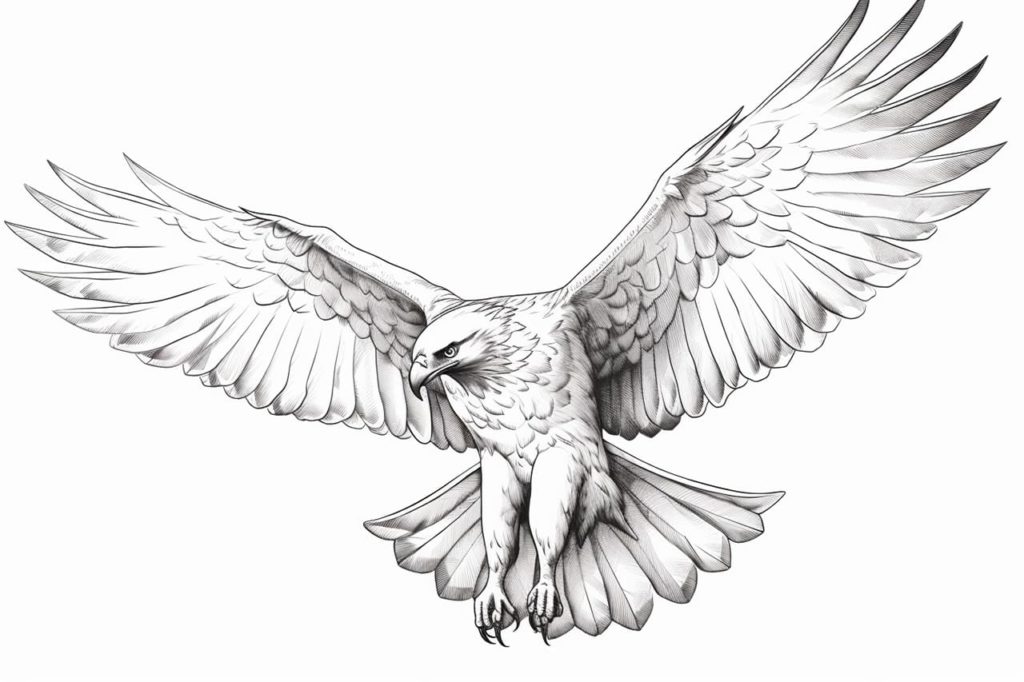
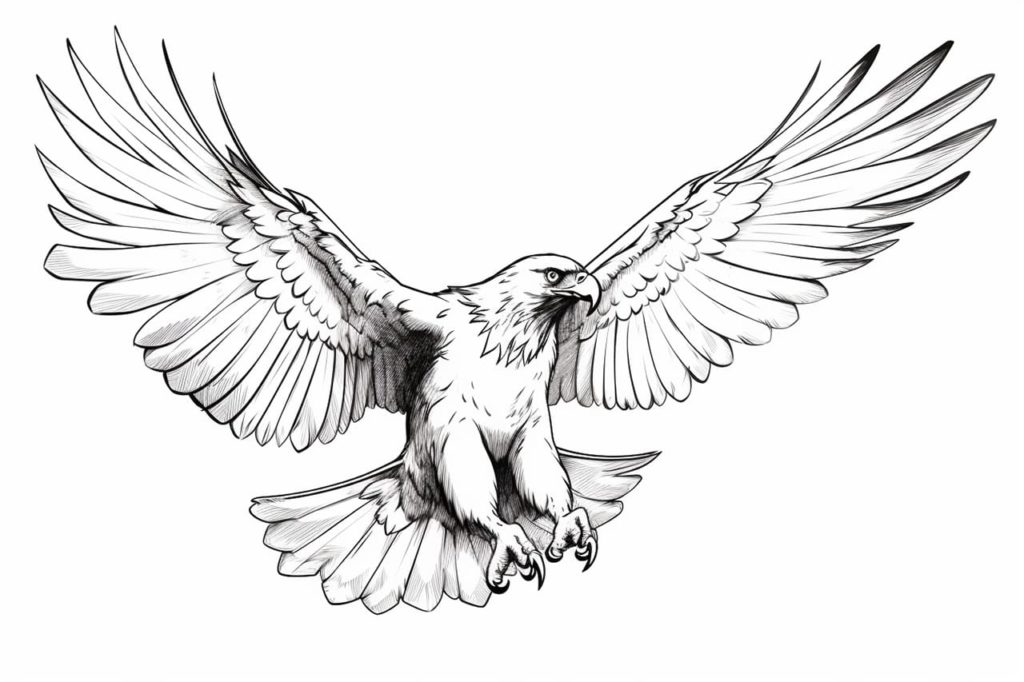
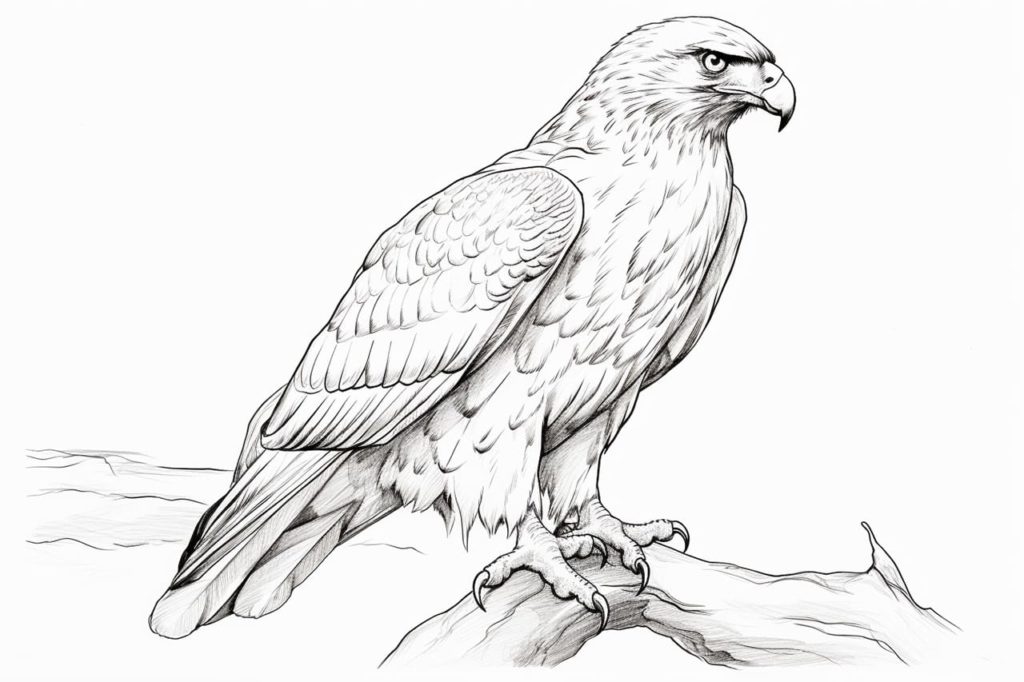
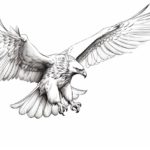
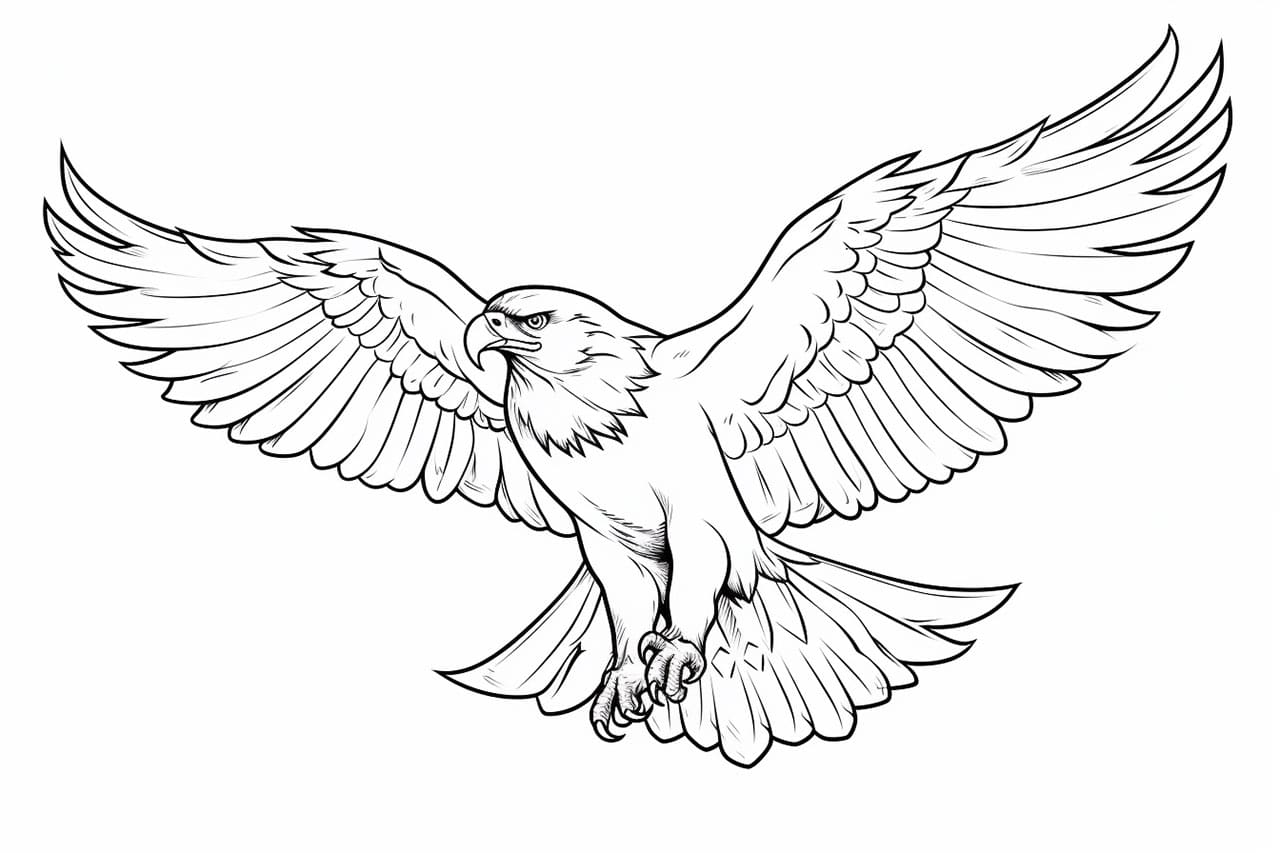
Gallery of Hawk Drawings