Welcome to this step-by-step guide on how to draw a mandrill! Mandrills are fascinating primates with distinctive facial features and vibrant colors. In this tutorial, we will go through the process of drawing a mandrill, breaking it down into simple steps that anyone can follow. So, grab your art supplies and let’s get started!
Materials Required
Before we begin, make sure you have the following materials ready:
- Drawing paper or sketchbook
- Pencil
- Eraser
- Fine-tip black marker or pen
- Colored pencils or markers (optional)
Now that you have all the necessary materials, let’s dive into the drawing process.
Step 1: Outline the Basic Shape
Start by lightly sketching an oval shape for the head of the mandrill. This oval should be slightly tilted to one side. Next, draw a curved line for the back and add a larger oval shape below it for the body. Connect the two shapes with curved lines to form the neck and shoulders of the mandrill.
Step 2: Add Facial Features
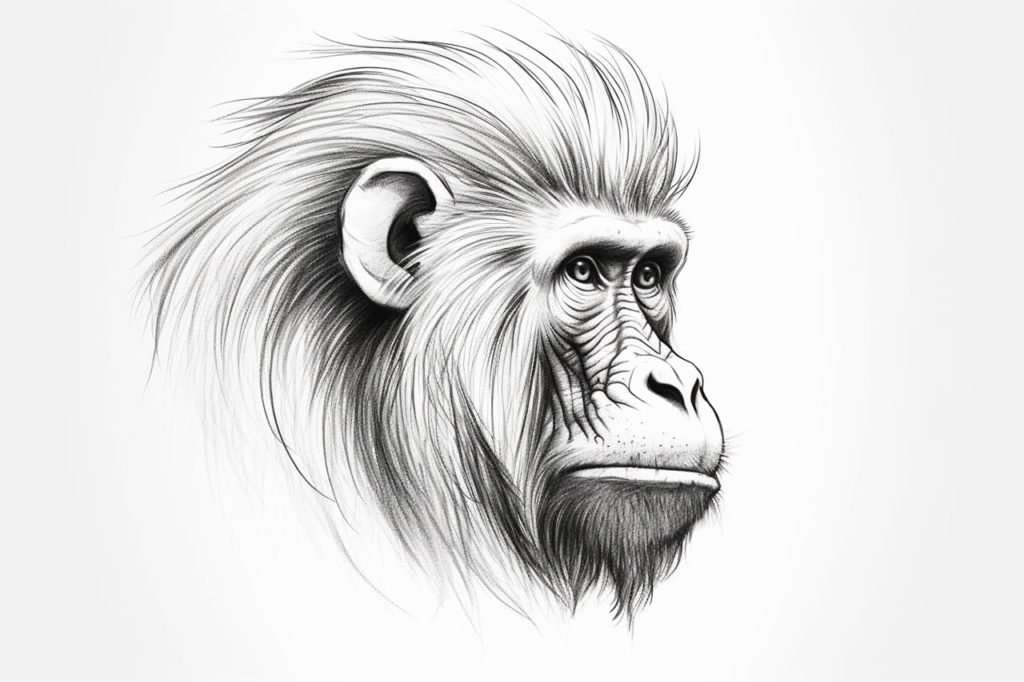
Using the basic shape as a guide, sketch the facial features of the mandrill. Begin by drawing two large circles for the eyes. Place them towards the upper part of the head, closer to the left side. Inside each eye, draw a smaller circle for the iris and a smaller dot for the pupil. Add curved lines above each eye for the eyebrows.
Below the eyes, draw a triangular-shaped nose with rounded corners. Extend a curved line from each side of the nose to form the mandrill’s snout. Add a curved line above the nose for the upper lip and a slightly longer line below the nose for the lower lip.
Step 3: Draw Ears, Hair, and Details
To create the mandrill’s ears, draw two curved shapes on each side of the head. Inside each ear, draw a few small curved lines to represent the inner structure.
Next, add some hair on top of the mandrill’s head. Draw a series of small, curved lines that start from the top of the head and flow towards the right side. These lines should give the impression of wild hair.
Now, it’s time to add some details. Sketch a few small curved lines around the mandrill’s eyes to define the skin folds. Add a curved line above each eye for the crease of the eyelids. Draw a few lines on the snout to indicate wrinkles and texture.
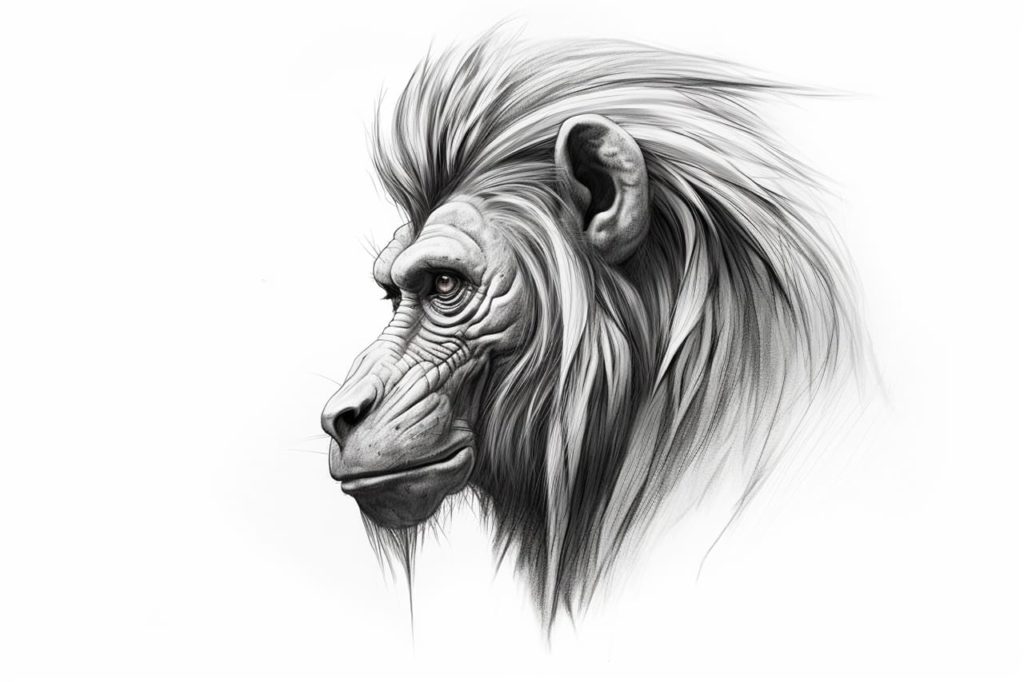
Step 4: Refine the Face and Body
Using the initial sketch as a guide, start refining the outline of the mandrill’s face and body. Draw smooth, flowing lines to define the contours and shape of the head, body, and limbs. Take your time with this step to ensure that the proportions and anatomy of the mandrill are accurate.
Step 5: Add Fur Texture
To give the mandrill a realistic touch, add some fur texture. Start by shading in the dark areas, such as the mandrill’s nose, mouth, and ears. Use light, short strokes to mimic the appearance of fur. Gradually build up the shading, paying attention to the direction of the fur. Use a variety of strokes to create depth and dimension.
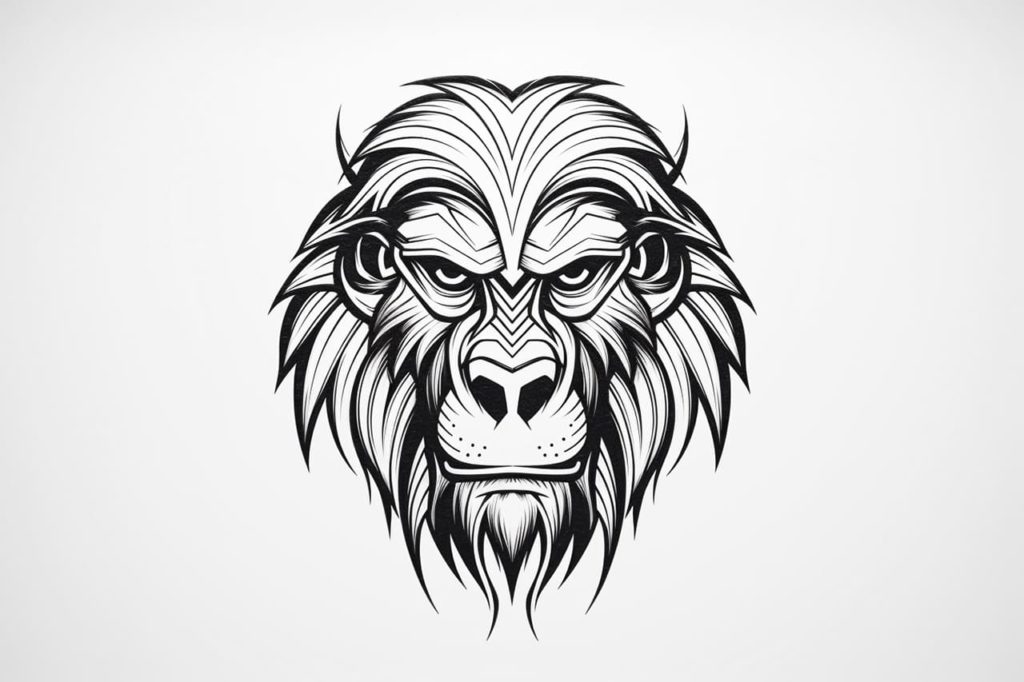
Step 6: Finalize the Drawing
At this point, your mandrill drawing is almost complete. Erase any unnecessary lines and smudges, leaving behind only the clean lines and shading. If you prefer a more finished look, you can outline the main features with a fine-tip black marker or pen to make them stand out.
Conclusion
Congratulations on completing your mandrill drawing! By breaking down the process into simple steps, we have explored how to capture the unique features and character of this fascinating primate. Remember, practice makes perfect, so don’t be afraid to keep experimenting and refining your technique. With time, you’ll be able to create even more detailed and realistic animal drawings. Have fun and keep exploring your artistic abilities!
Gallery of Mandrill Drawings