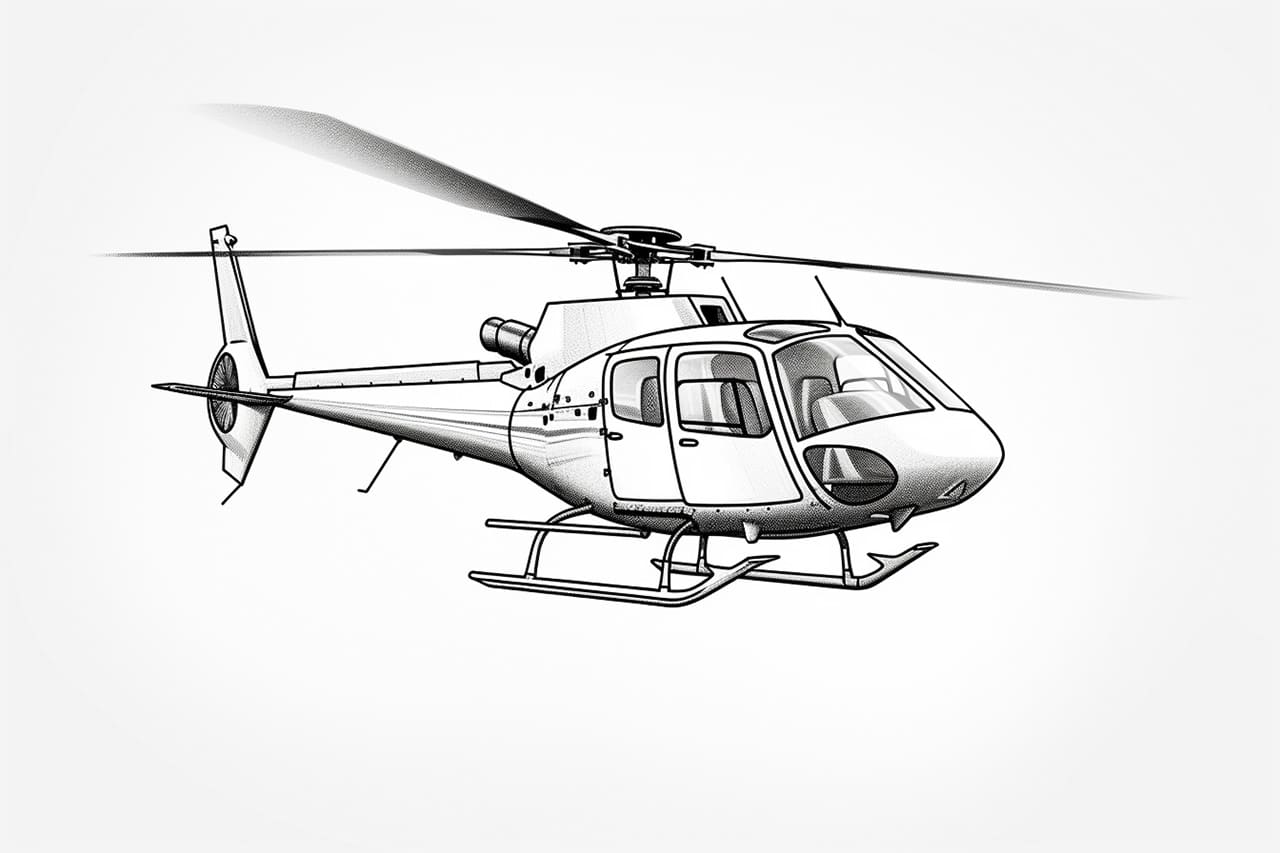
Drawing a helicopter can be a fun and rewarding experience. Whether you are an aspiring artist or simply looking to improve your drawing skills, this step-by-step guide to how to draw a helicopter will help you create a realistic and detailed helicopter illustration. By following these instructions and using some basic drawing materials, you can draw your very own helicopter in no time.
Materials Required
Before we begin, gather the following materials:
- Drawing paper or sketchbook
- Pencil
- Eraser
- Fine-tip black pen
- Colored pencils or markers (optional)
Now that you have your materials ready, let’s get started on drawing a helicopter!
Step 1: Sketch the Basic Shapes
Begin by lightly sketching the basic shapes of the helicopter. Start with a large oval shape for the body of the helicopter, slightly elongated horizontally. Then, draw a small rectangular shape on top of the oval for the cockpit. Finally, add two small circles for the engine compartments on either side of the body.
Step 2: Add Details to the Body
Next, start adding more details to the body of the helicopter. Add a vertical line down the center of the oval shape to create the division between the two halves of the body. Then, draw two horizontal lines near the bottom of the body to represent windows. Don’t forget to add some small rectangles on either side of the cockpit for additional windows.
Step 3: Define the Cockpit
Now it’s time to define the cockpit area. Add a curved line at the front of the rectangular shape you drew earlier to form the windshield. Then, draw another curved line below the windshield to create the nose of the helicopter. Connect the nose to the body with a curved line on each side. Finally, add some small circles or dots near the nose to represent headlights.
Step 4: Draw the Tail Boom
Moving on to the tail section of the helicopter, draw a long, curved line extending from the back of the body. This line represents the tail boom. At the end of the tail boom, draw a horizontal line to create the tail rotor. Add a small circle at the center of the tail rotor for more detail.
Step 5: Sketch the Main Rotor
The main rotor is an essential part of a helicopter’s design. To draw it, start by sketching a large circle above the cockpit area. Then, add several straight, diagonal lines extending from the circle to create the rotor blades. Make sure the lines are evenly spaced around the circle.
Step 6: Refine the Details
Now that you have the basic structure of the helicopter, it’s time to refine the details. Go over your initial sketch, adding more definition to the body, windows, and other areas. Use bold lines to outline the shape of the helicopter, and erase any unnecessary guidelines or overlapping lines. This step will give your drawing a more polished and professional look.
Step 7: Add Shadows and Highlights (Optional)
If you want to take your drawing to the next level, consider adding shadows and highlights. This step is optional but can add depth and dimension to your illustration. Use a fine-tip black pen to darken certain areas of the helicopter, such as the shadows underneath the body or cockpit. Use lighter strokes to create highlights on the main rotor blades and other reflective surfaces. You can also use colored pencils or markers to add color to your drawing.
Conclusion
Congratulations, you have successfully drawn a helicopter! Remember, practice makes perfect, so keep honing your drawing skills and experimenting with different techniques. Drawing helicopters can be challenging, but with patience and practice, you’ll be able to create stunning illustrations. Use this step-by-step guide as a foundation and don’t be afraid to add your own creative touches. Happy drawing!