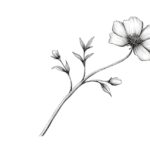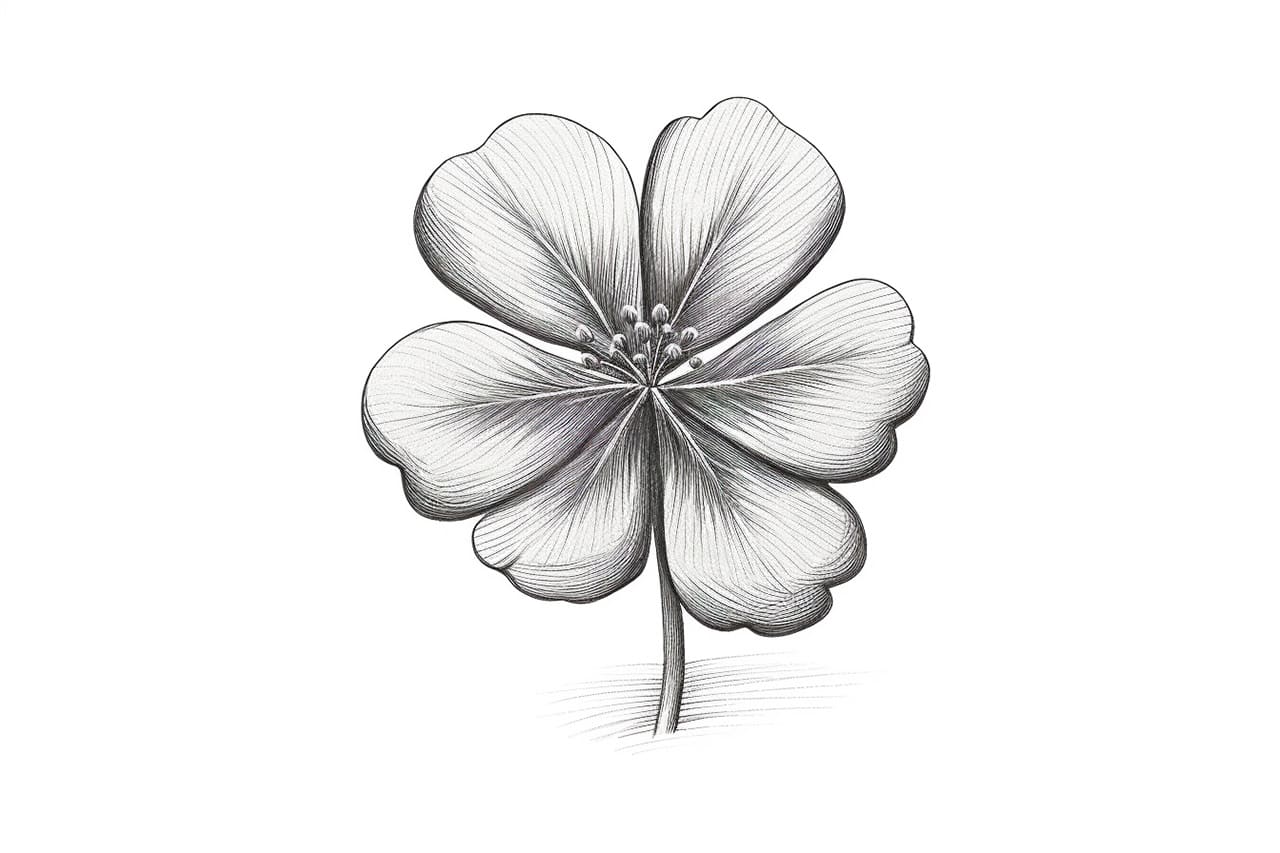
Clovers are beautiful and often associated with luck. Learning how to draw a clover may seem challenging, but anyone can create a stunning clover illustration with a step-by-step approach. In this article, we will guide you through drawing a clover, from the basic shapes to adding details and shading. So grab your materials, and let’s get started!
Materials Required:
To draw a clover, you will need the following materials:
- Pencil
- Eraser
- Drawing paper
- Fine-tipped markers (optional)
- Colored pencils or markers (optional)
Now that you have your materials ready, we can begin the step-by-step process of drawing a clover.
Step 1: Draw the Stem
Start by drawing a straight vertical line in the center of your paper. This line will serve as the stem of the clover. Make sure it is long enough to accommodate the entire clover shape.
Step 2: Create the First Leaf
At the top of the stem, draw a curved line that extends to the left. This line will form the first leaf of the clover. Think of the shape as similar to a heart, but without the pointed bottom.
Step 3: Add the Second Leaf
Repeat the previous step, but this time draw a curved line extending to the right. The second leaf shape should mirror the first leaf, creating a symmetrical appearance.
Step 4: Draw the Third Leaf
Bring your focus back to the top of the stem. Draw another curved line that extends upwards and slightly to the right. This line will form the third leaf of the clover. Again, imagine a symmetrical heart shape.
Step 5: Complete the Clover Shape
Connect the ends of the two previous lines to form the final leaf of the clover. This leaf should be slightly larger than the previous ones and positioned between them. Adjust the curves and angles to ensure a balanced and aesthetically pleasing shape.
Step 6: Refine the Outline
Go over the pencil lines with a pen or marker to create a clean and defined outline. Erase any unnecessary pencil marks, leaving only the inked lines visible. This step is optional but can add a professional touch to your drawing.
Step 7: Add Details
To make your clover drawing more realistic, add some details. Draw small veins on each leaf, following the curve of the shape. This will give your clover a natural and organic look.
Step 8: Shade the Clover
To give your clover dimension, add shading. Determine the light source in your drawing, then shade one side of each leaf and the stem accordingly. Use a pencil or colored pencils to create the shading effect. Gradually build up the layers of shading to achieve a more realistic look.
Step 9: Optional Coloring
If you prefer a colorful clover, you can use markers or colored pencils to add vibrant hues. Choose shades of green for the leaves, and consider adding highlights and lowlights to create depth. Feel free to experiment with different color combinations to make your clover truly unique.
Conclusion
Drawing a clover is an enjoyable and rewarding artistic endeavor. You can create a beautiful clover illustration by following the step-by-step instructions outlined in this article. Take your time, practice, and have fun with the process. Happy drawing! Want to expand your clover-drawing skills? Check out our tutorial on how to draw a four-leaf clover.