Are you feeling festive and want to add a touch of holiday cheer to your artwork? Look no further than Rudolph the Red-Nosed Reindeer! In this step-by-step guide, I’ll show you how to draw Rudolph, the beloved reindeer with a shiny red nose. So grab your materials and let’s get started!
Materials Required
To begin drawing Rudolph the Red-Nosed Reindeer, gather the following materials:
- Drawing paper
- Pencil
- Eraser
- Colored pencils or markers (optional for coloring)
Now that you have everything you need, let’s dive into the step-by-step process of drawing Rudolph!
Step 1: Head Outline
Start by drawing a large oval shape in the center of your paper. This will be Rudolph’s head. Make sure to leave enough space on the sides for his antlers and ears.
Step 2: Antlers
Add two curved lines, one on each side of Rudolph’s head, to create his antlers. The antlers can be wavy or straight, depending on your preference. They should extend upwards and slightly outwards from the head.
Step 3: Ears
On the sides of Rudolph’s head, draw two small half-oval shapes to represent his ears. Place them just above the antlers, slightly tilted outwards.
Step 4: Eyes
Now it’s time to draw Rudolph’s eyes. Place two circular shapes within the head, slightly towards the bottom. Within each eye, draw a smaller circle for the pupil, leaving a tiny white highlight to add a spark of life.
Step 5: Nose
Rudolph’s red nose is his defining feature. Draw a medium-sized circle at the center of his face, slightly below the eyes. This will be the base of his shiny red nose.
Step 6: Mouth
Beneath the nose, draw a gently curved line to create Rudolph’s mouth. You can give him a friendly smile or keep the mouth neutral if you prefer.
Step 7: Face Details
Add some details to Rudolph’s face to give him character. Draw two small circles above each eye to represent his eyebrows. Then, draw two short curved lines on each side of his nose to create his nostrils.
Step 8: Fur
To give Rudolph’s face a fuzzy, furry appearance, add some short curved lines around his head, antlers, and ears. These lines can be uneven and varied in length to mimic the texture of fur.
Step 9: Neck and Body
Extend two slightly curved lines downwards from Rudolph’s head to create his neck. Then, connect the neck to two more curved lines to form his body. Rudolph’s body should be larger than his head, giving him a robust and sturdy appearance.
Step 10: Legs and Hooves
Draw four legs extending down from Rudolph’s body. Each leg should consist of two parallel lines. Add hooves at the end of each leg by drawing small U-shaped curves.
Step 11: Tail
Rudolph’s tail should be short and bushy. Draw a curved line with several smaller curved lines on top to create his tail. Place it at the back of his body, slightly above the ground.
Step 12: Coloring (Optional)
If you’re using colored pencils or markers, now is the time to bring Rudolph to life! Color his fur in shades of brown, his eyes in a deep shade of brown or black, and his nose in a vibrant red. Feel free to be creative and add some shading or highlights to make your drawing even more impressive.
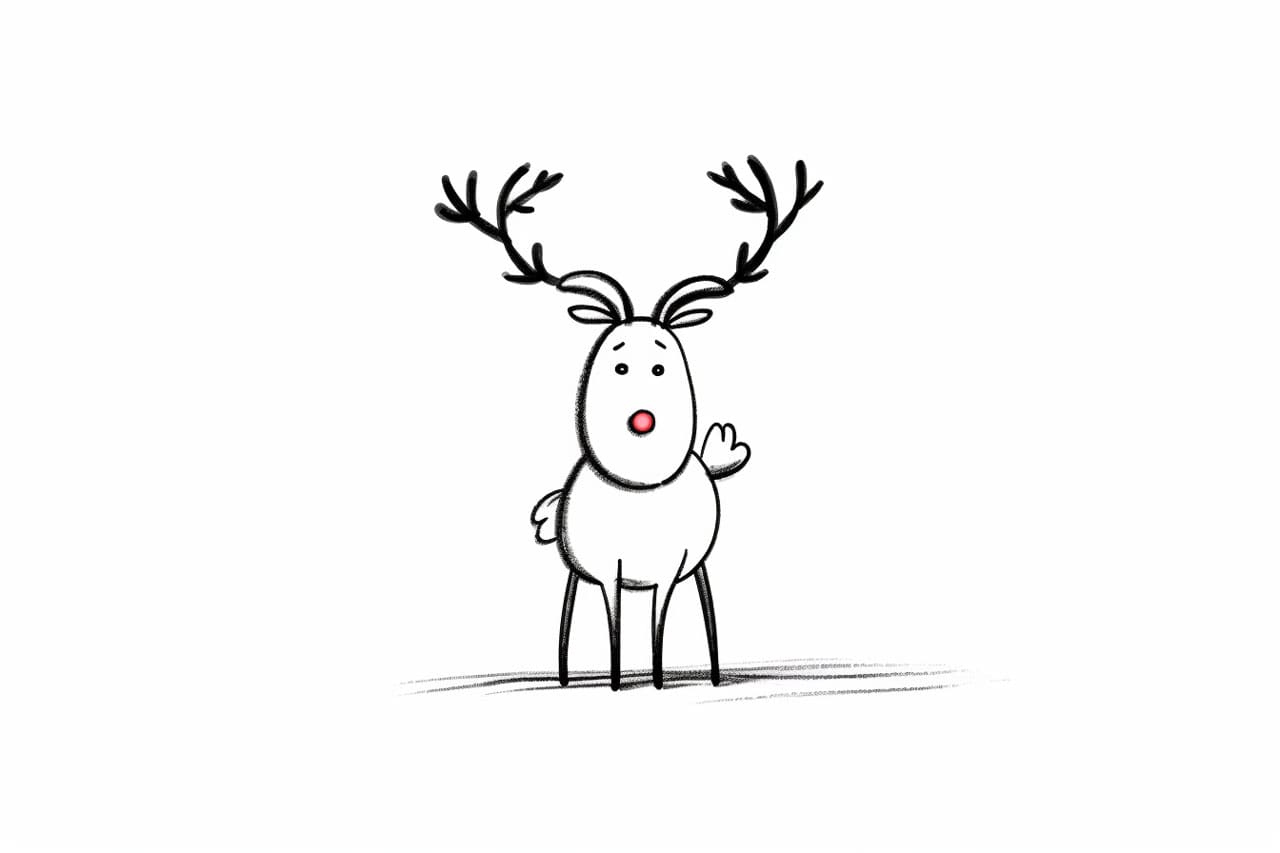
Conclusion
Congratulations, you have successfully drawn Rudolph the Red-Nosed Reindeer! By following these step-by-step instructions, you have created a charming and festive depiction of this beloved holiday character. Whether you’re drawing for fun, as a gift, or to decorate your home, Rudolph will surely bring a smile to everyone’s face.
Remember, practice makes perfect, so don’t hesitate to try drawing Rudolph multiple times. As you gain confidence, you can experiment with different poses and expressions to add your personal touch to this iconic reindeer.
Now go ahead and spread some holiday cheer with your newfound drawing skills! Happy drawing!