Drawing is a wonderful form of artistic expression that allows us to capture the beauty of the world around us. In this tutorial, I will guide you through the process of drawing a log, a common and interesting subject to practice your drawing skills. Whether you are a beginner or an experienced artist, this step-by-step guide will help you create a realistic and detailed drawing of a log. So grab your pencils and let’s get started!
Materials Required
To draw a log, you will need the following materials:
- Drawing paper or sketchbook
- Pencils of various grades (2B, 4B, 6B)
- Eraser
- Blending stump or cotton swabs
Now that you have gathered all the necessary materials, let’s dive into the steps of drawing a log.
Step 1: Outline the Basic Shape
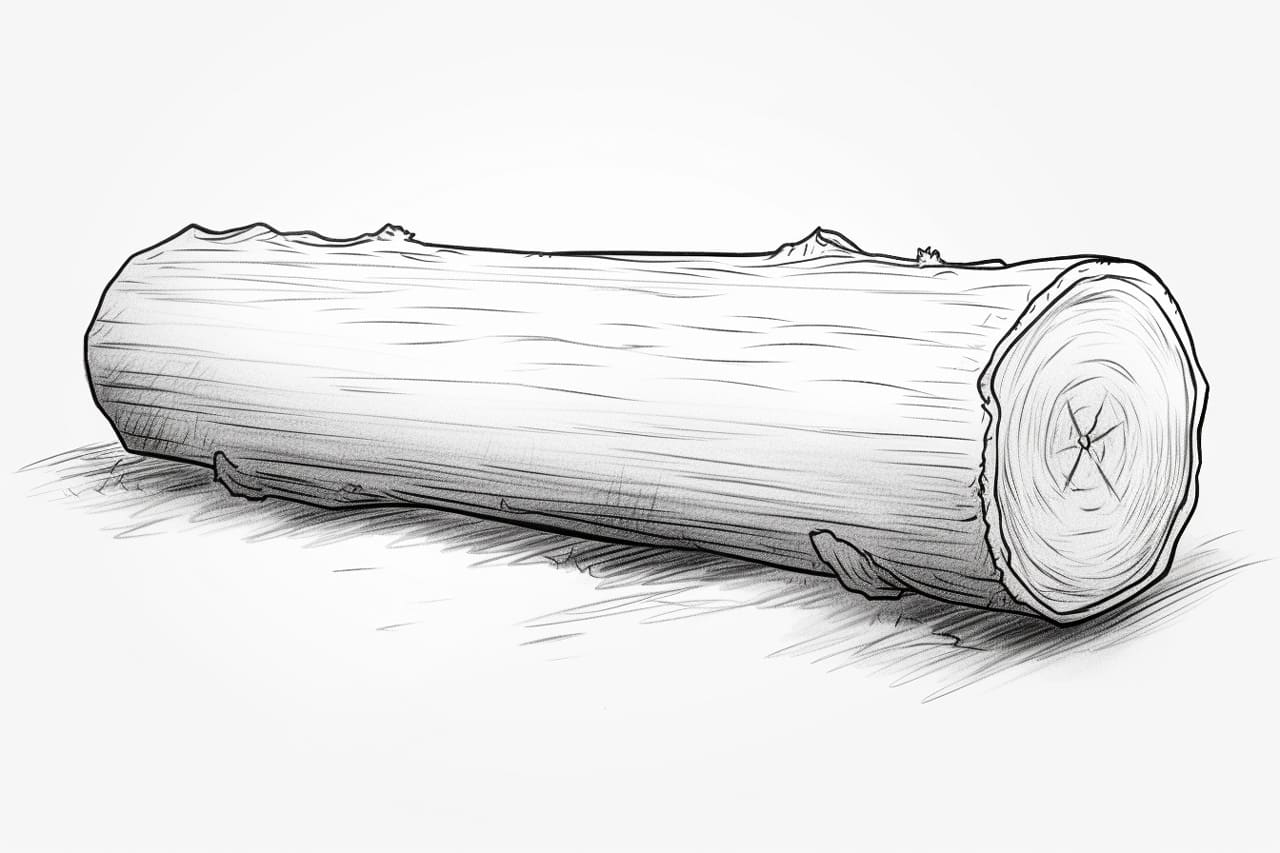
To begin, lightly sketch the basic shape of the log on your drawing paper. Start by drawing a horizontal line for the ground, and then sketch an oval shape on top of it. This oval will be the cross-section of the log.
Step 2: Add Texture and Details
Now that we have the basic shape, let’s add some texture and details to make the log more realistic. Look closely at a reference image of a log or an actual log if you have one, and observe the patterns and details present on its surface.
Using your pencils of various grades, begin by lightly shading the outer edges of the log. Use a softer pencil like a 4B or 6B to create the darker areas, while a 2B pencil can be used for lighter shading. Gradually build up the shading, working from the edges towards the center of the log.
Step 3: Create Knots and Cracks
To make the log look more interesting, let’s add some knots and cracks. Knots are areas where branches used to emerge from the log, and cracks are natural splits in the wood. These features add character to the log.
Using your pencils, draw irregular shapes and lines to represent knots and cracks on the surface of the log. Make sure to vary the thickness and direction of these lines to create a realistic effect.
Step 4: Add Shadows and Highlights
Shadows and highlights play a crucial role in creating depth and dimension in your drawing. Observe how the light falls on the log and identify areas that would be in shadow and areas that would catch the light.
Using a softer pencil, darken the areas of the log that are in shadow, paying attention to the direction and intensity of the light source. Use an eraser to create highlights by gently lifting off some of the graphite. This will give your log drawing a three-dimensional appearance.
Step 5: Refine and Blend
Now that you have the basic forms, texture, and shading in place, it’s time to refine your drawing. Take a step back and assess your work so far. Look for areas that need more detailing or adjustments.
Use a sharp pencil to add more details and refine the texture of the log. Pay attention to the small cracks, grains, and imperfections on the surface. Take your time and work slowly to achieve the desired level of realism.
To smooth out any harsh lines or transitions, use a blending stump or a cotton swab to gently blend the shading. This will help create a more realistic and cohesive look.
Step 6: Final Touches
In this final step, take a moment to evaluate your drawing as a whole. Are there any areas that need further refinement or adjustment? Make any necessary changes to ensure the log looks realistic and visually appealing.
You can also consider adding additional elements to your drawing, such as fallen leaves, moss, or mushrooms around the log, to enhance the overall composition.
Conclusion
Drawing a log is a rewarding exercise that allows you to practice your observation skills and shading techniques. By following the step-by-step instructions in this tutorial, you can create a realistic and detailed drawing of a log. Remember to take your time, be patient, and enjoy the process of bringing nature to life on paper.
So grab your pencils, embrace your inner artist, and start drawing a log today!