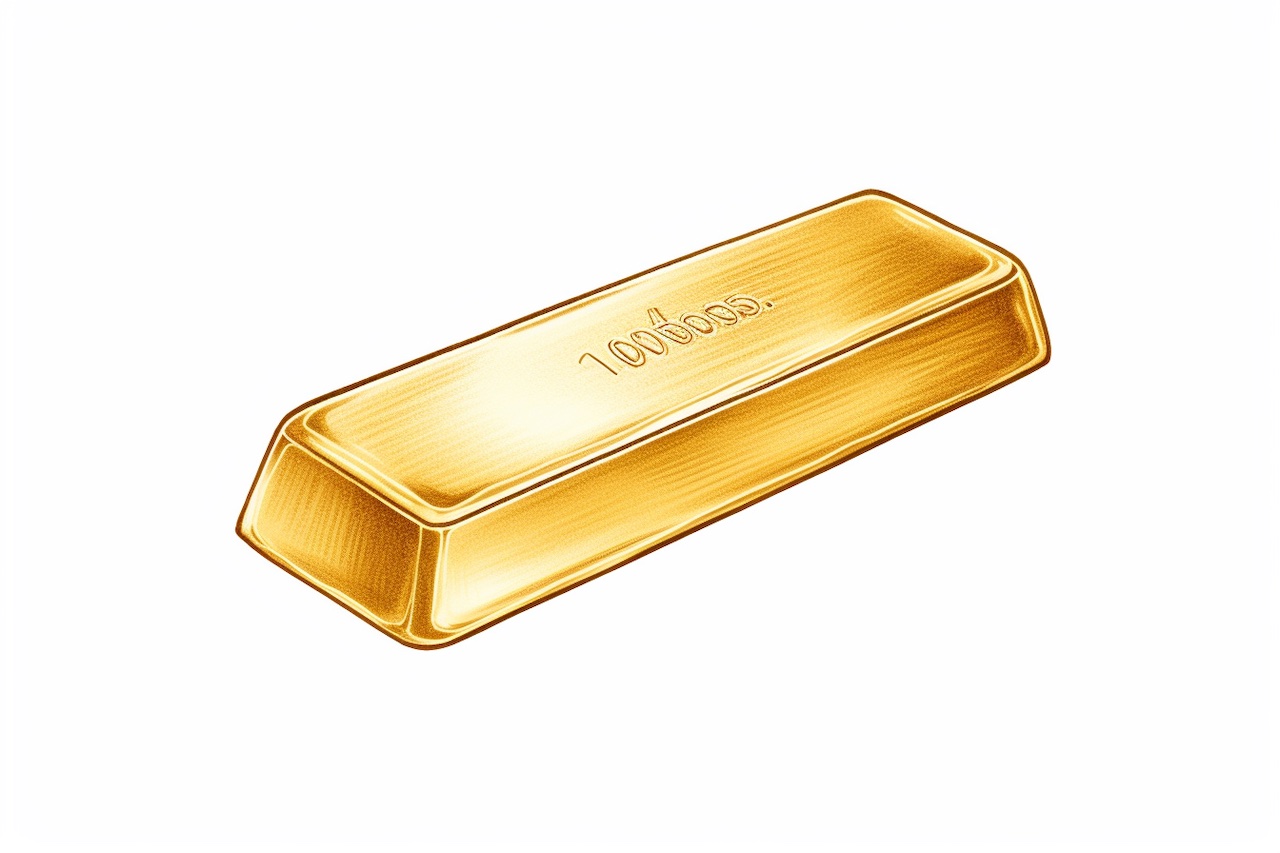
Gold bars are not only valuable in real life, but they can also be an interesting subject to draw. If you want to learn how to capture the shimmering beauty of a gold bar on paper, you’ve come to the right place. In this step-by-step guide, we will walk you through the process of drawing a gold bar. So grab your pencil, eraser, and paper, and let’s get started!
Materials Required
To begin drawing a gold bar, you will need the following materials:
- Drawing paper: Choose a smooth, heavyweight paper that is suitable for pencil drawings.
- Pencils: Get a range of graphite pencils varying in hardness such as HB, 2B, 4B, and 6B.
- Eraser: Use a kneaded eraser, which is soft and can easily be shaped.
- Ruler: A straight ruler will help you draw straight lines and measure proportions accurately.
- Blending stump: This tool is useful for blending and smudging graphite to create smooth shading.
Now that you have all the necessary materials, let’s dive into the step-by-step process of drawing a gold bar.
Step 1: Outline the Basic Shape
Begin by lightly sketching an elongated rectangle to define the basic shape of the gold bar. Use a light pencil, like an HB, and keep the lines faint. This will allow you to make adjustments later without leaving visible marks.
Step 2: Add Dimension to the Bar
To make the gold bar appear three-dimensional, draw two parallel lines lengthwise to represent the top and bottom edges. Then, draw two shorter lines connecting the top and bottom edges on each side. This will give the bar depth and make it look more realistic.
Step 3: Create the Texture
Gold bars typically have a textured surface, so it’s essential to capture that in your drawing. Use short, horizontal lines to create the texture all over the bar. These lines should be closer together in some areas and farther apart in others to mimic the irregularity of the surface.
Step 4: Add the Details
Now it’s time to focus on the smaller details that will bring your gold bar to life. Draw a diagonal line across the top surface of the bar to represent the reflection of light. Additionally, draw a few small, square indents along the sides of the bar to indicate its uniqueness and authenticity.
Step 5: Shade the Bar
To give your gold bar a realistic appearance, you need to add shading. Start by identifying the light source in your drawing, which will determine where the highlights and shadows fall. Shade the areas that are away from the light source with a darker pencil, such as a 4B or 6B. Gradually build up the layers of shading, paying attention to the subtle variations in tone.
Step 6: Blend and Smooth
To create a smooth, polished look, use a blending stump to gently blend the shading. This will soften any harsh pencil lines and create a more realistic texture. Be careful not to over-blend, as you still want to maintain some of the texture of the gold bar.
Step 7: Add Reflections and Highlights
To make your gold bar really shine, add some reflections and highlights. Use an eraser to carefully lift off some of the graphite in the areas where the light hits the bar. This will create a bright, reflective surface. Be mindful of not going overboard with the highlights, as too much can make the drawing look unrealistic.
Conclusion
Drawing a gold bar may seem challenging at first, but with some practice and attention to detail, you can create a stunning representation of this valuable object. Remember to take your time and be patient with the process. By following the step-by-step instructions in this guide and using the right materials, you’ll soon be able to capture the allure of a gold bar on paper.
So go ahead and grab your pencils and start drawing! You’ll be amazed at what you can achieve with a little practice and guidance. Happy drawing!