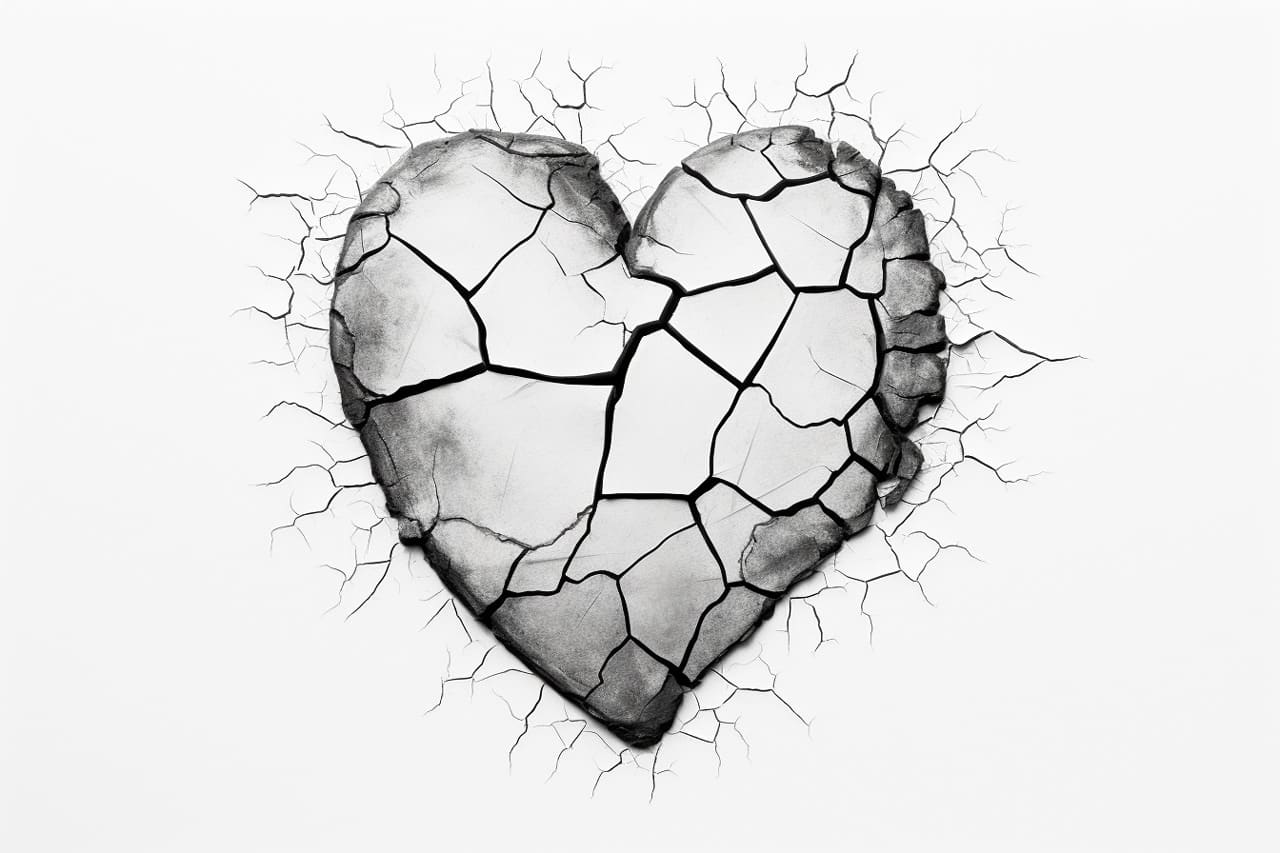
Welcome to this step-by-step guide on how to draw a cracked heart. This heartfelt and symbolic image can be used in various artistic projects, such as illustrations, tattoo designs, or personal artwork. Following these simple instructions can create a visually captivating representation of a cracked heart. So, grab your drawing materials, and let’s get started!
Materials Required:
To complete this drawing, you will need the following materials:
- A pencil
- A sharp eraser
- A fine-tipped marker or pen
- Colored pencils or markers (optional)
Step 1: Sketching the Heart Shape
Start by lightly sketching the outline of a heart shape on your drawing paper. It’s important to keep the lines light and faint at this stage, as they will be erased later. The heart shape should be slightly tilted to give it a dynamic appearance.
Step 2: Creating the Cracks
Next, draw a few jagged lines across the heart shape to represent the cracks. These lines should overlap and vary in thickness to add depth and realism. Remember, there’s no right or wrong way to create the cracks, so let your imagination guide you.
Step 3: Adding Detail to the Cracks
To make the cracks more visually interesting, add some smaller lines branching off from the main cracks. These smaller lines can be irregular and jagged, mimicking the natural patterns found in broken surfaces. Be creative with the placement and direction of the smaller lines.
Step 4: Shading the Cracks
To give the cracks more depth and dimension, add shading along the edges of the cracks. This can be done by darkening the lines with your pencil or by using a slightly darker shade of your colored pencils or markers. Gradually build up the shading, starting with lighter strokes and gradually adding more layers for a realistic effect.
Step 5: Erasing the Heart Outline
Once you’re satisfied with the cracks and shading, carefully erase the faint heart outline you sketched in the first step. Use a gentle touch to avoid smudging the surrounding areas. This will help the cracks stand out and give the illusion of a separate, broken surface.
Step 6: Outlining the Cracks
Trace over the pencil lines of the cracks with a fine-tipped marker or pen. This will make the cracks more defined and bold. Take your time and steady your hand to ensure clean and precise lines. You can also thicken or vary the thickness of certain cracks to add visual interest.
Step 7: Adding Texture and Details
To make the cracked heart more visually appealing, consider adding texture and details to the surface. This can be achieved by adding tiny dots, short lines, or rough scribbles inside the cracks. Experiment with different textures and patterns to find the one that suits your artistic vision.
Step 8: Coloring the Cracked Heart (optional)
If you wish to add color to your drawing, now is the time to do so. You can use colored pencils, markers, or any other coloring medium of your choice. Consider using shades of red for the heart and complementary colors for the cracks to make them stand out. Remember to blend the colors smoothly and use shading techniques to create depth.
Step 9: Final Touches
Take a moment to review your drawing and make any necessary adjustments or refinements. Add any final details or highlights to enhance the overall look of the cracked heart. Once you’re satisfied with the result, gently erase any remaining pencil marks to clean up the drawing.
Drawing a cracked heart is a meaningful and artistic endeavor that allows you to express various emotions and themes. By following these step-by-step instructions, you’ve learned how to create a visually captivating representation of a cracked heart. Feel free to experiment with different styles, colors, and techniques to make your drawing unique. Whether you use it in a personal artwork or incorporate it into a larger design, your cracked heart drawing is sure to convey a powerful message. So, seize your pencils and start drawing your own broken beauty!


