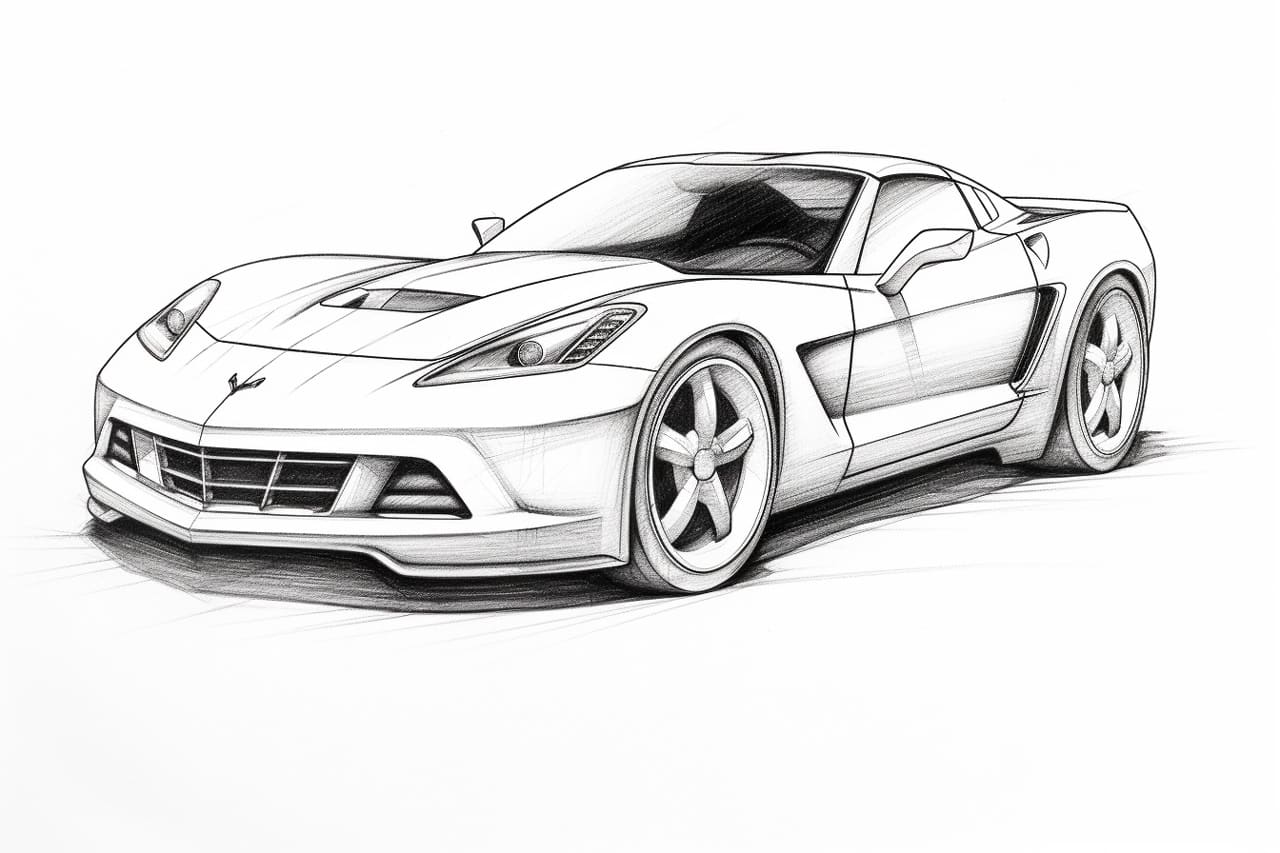
If you’re a car enthusiast with a passion for art, you may have wondered how to draw a Corvette. Drawing this iconic sports car can be a fun and rewarding experience, allowing you to capture its sleek lines and powerful presence on paper. In this step-by-step guide, we will walk you through the process of drawing a Corvette, from the initial sketch to adding the final details. So grab your pencils and paper, and let’s get started!
Materials Required
Before we begin, make sure you have the following materials ready:
- Drawing paper or sketchbook
- Pencils (HB, 2B, 4B)
- Eraser
- Ruler
- Reference image of a Corvette (preferably from different angles)
Step 1: Basic Shapes
Start by lightly sketching the basic shapes that make up the Corvette. Begin with a rectangular shape for the main body, and add circles for the wheels. Use light, loose lines during this stage, as we will refine the drawing later on. Remember to refer to your reference image to get an accurate representation of the car’s proportions and angles.
Step 2: Outline the Body
Using the basic shapes as a guide, begin outlining the body of the Corvette. Start with the front bumper, then move on to the hood and windshield. Next, draw the roofline, curving it smoothly towards the back of the car. Continue by outlining the rear section of the vehicle, including the spoiler and taillights. Take your time and pay attention to the curves and details of the car.
Step 3: Wheels and Tires
Draw the wheels and tires of the Corvette. Start by outlining the rims, using circles as a guide. Then, add the spokes and any other details you see. Next, draw the tires by sketching a curved line that surrounds the rims. Make sure the tires are proportional and aligned with the rest of the car.
Step 4: Side Windows and Doors
Move on to drawing the side windows and doors of the Corvette. Use straight lines and curves to outline the windows, keeping in mind the angle and perspective. Add the door handles and any other details you observe. Remember, the devil is in the details, so take your time to capture the unique features of the car.
Step 5: Front and Rear Details
Focus on the front and rear details of the Corvette. Sketch the headlights, grille, and any other distinctive features that make the car recognizable. Pay attention to the angles and shapes of these elements, as they contribute to the overall look of the vehicle. Don’t be afraid to make adjustments if needed, as this is part of the creative process.
Step 6: Refine and Add Shadows
Now that you have the main structure of the Corvette, it’s time to refine the drawing and add shadows to create depth and dimension. Start by erasing any unnecessary lines and smoothening out the curves. Then, carefully shade the different parts of the car to give it a three-dimensional look. Use your pencils to create light and dark values, gradually building up the shadows for a realistic effect.
Step 7: Final Details
In this final step, add the finishing touches and details to complete your Corvette drawing. Pay attention to the small features like side mirrors, exhaust pipes, and emblems. Use your reference image to ensure accuracy and capture the essence of the car. Take your time to make any necessary adjustments until you’re satisfied with the overall result.
Conclusion
Drawing a Corvette is a fantastic way to combine your love for cars and art. By following these step-by-step instructions, you can create a stunning representation of this iconic sports car. Remember to start with basic shapes, refine the outline, and add details gradually. Don’t forget to use shading to add depth, and pay attention to the small features that make the Corvette unique. With practice and patience, you’ll be able to create a beautiful drawing that captures the spirit of this legendary vehicle.
So why wait? Grab your pencils, and start drawing your very own Corvette today!