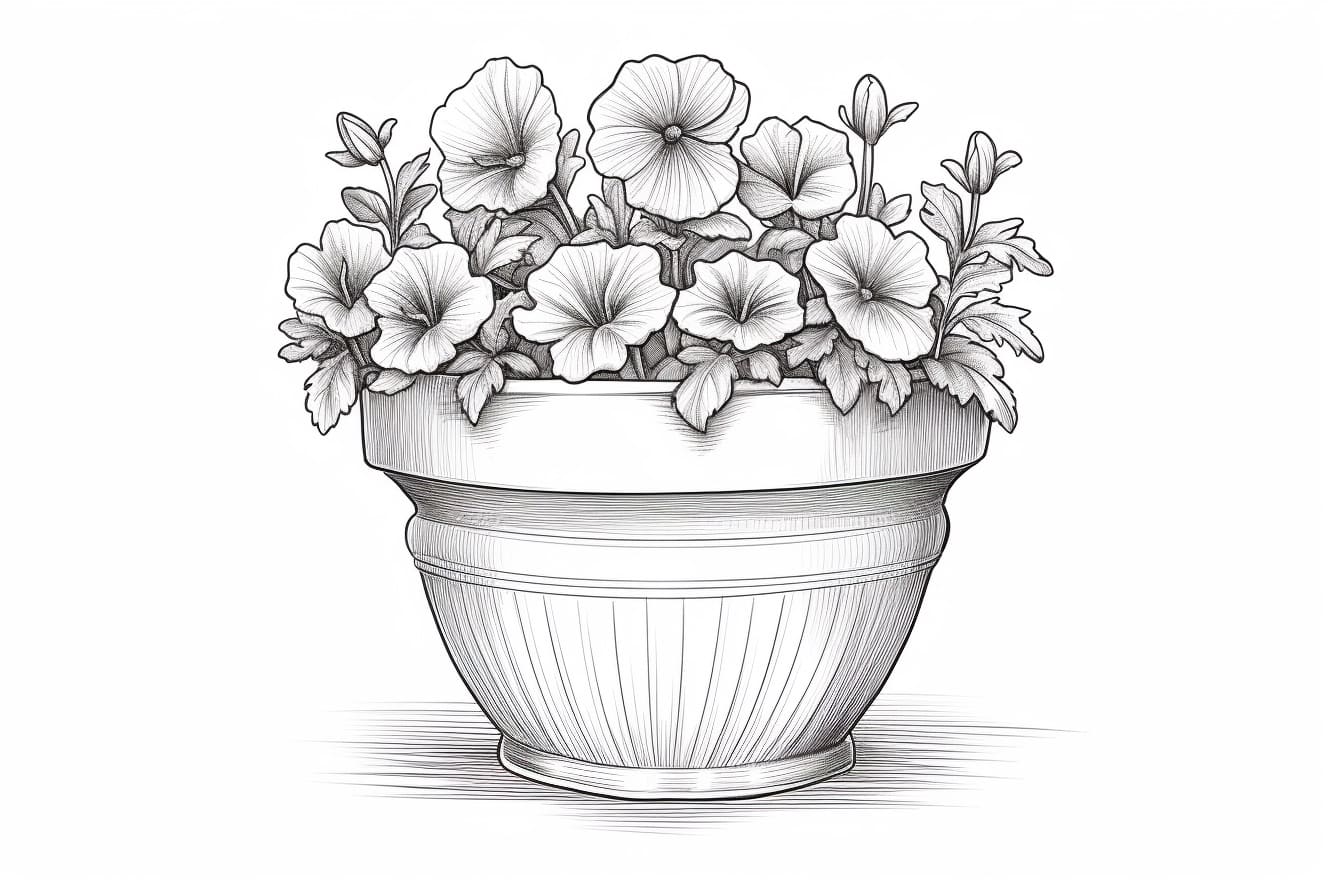
Welcome to this step-by-step guide on how to draw a flower pot! Whether you are a beginner artist or looking to enhance your drawing skills, this tutorial will provide you with clear and concise instructions to create a beautiful flower pot. So, let’s get started!
Materials Required
Before we dive into the drawing process, let’s gather the materials you will need:
- Paper: Use a blank sheet of paper or a sketchbook to draw your flower pot.
- Pencil: A regular HB pencil will work perfectly for this project.
- Eraser: Keep an eraser handy to correct any mistakes and make adjustments.
- Colored pencils or markers: If you wish to add color to your drawing, have a set of colored pencils or markers ready.
That’s all you need to begin drawing your flower pot. Let’s move on to the step-by-step instructions.
Step 1: Basic Shape
Start by drawing a rectangular shape slightly tilted to one side. This will be the base of your flower pot. Make sure the lines are light and easy to erase if needed.
Step 2: Adding Depth
To add depth to your flower pot, draw two parallel lines starting from the top corners of the base and extending upwards. These lines should be slightly curved and meet at a point, creating a triangular shape.
Step 3: Outline the Top
Outline the top of the flower pot by drawing a slightly curved line connecting the endpoints of the two parallel lines you drew in the previous step. This will give your flower pot a more rounded appearance.
Step 4: Rim of the Pot
Next, draw a curved line just below the top outline. This will be the rim of the flower pot. Make sure the line flows smoothly and follows the curvature of the top outline.
Step 5: Texture and Details
To add texture and details to your flower pot, draw horizontal lines across the surface. These lines can be slightly curved to create a more realistic effect. You can also add small dots or dashes to represent cracks or imperfections in the pottery.
Step 6: Design your Pot
Now it’s time to get creative! Add your own personal touch to the flower pot by designing patterns or motifs. You can draw flowers, leaves, or any other designs you like. Let your imagination soar!
Step 7: Adding Color
If you prefer a colorful flower pot, grab your colored pencils or markers and start adding some vibrant hues to your drawing. Use a light touch to layer the colors and blend them smoothly. Experiment with different color combinations to bring your flower pot to life!
Conclusion
Congratulations on completing your flower pot drawing! By following these step-by-step instructions, you have created a beautiful piece of artwork. Remember, practice is key to improving your drawing skills, so don’t be afraid to try new techniques and explore your creativity. Keep drawing and have fun!