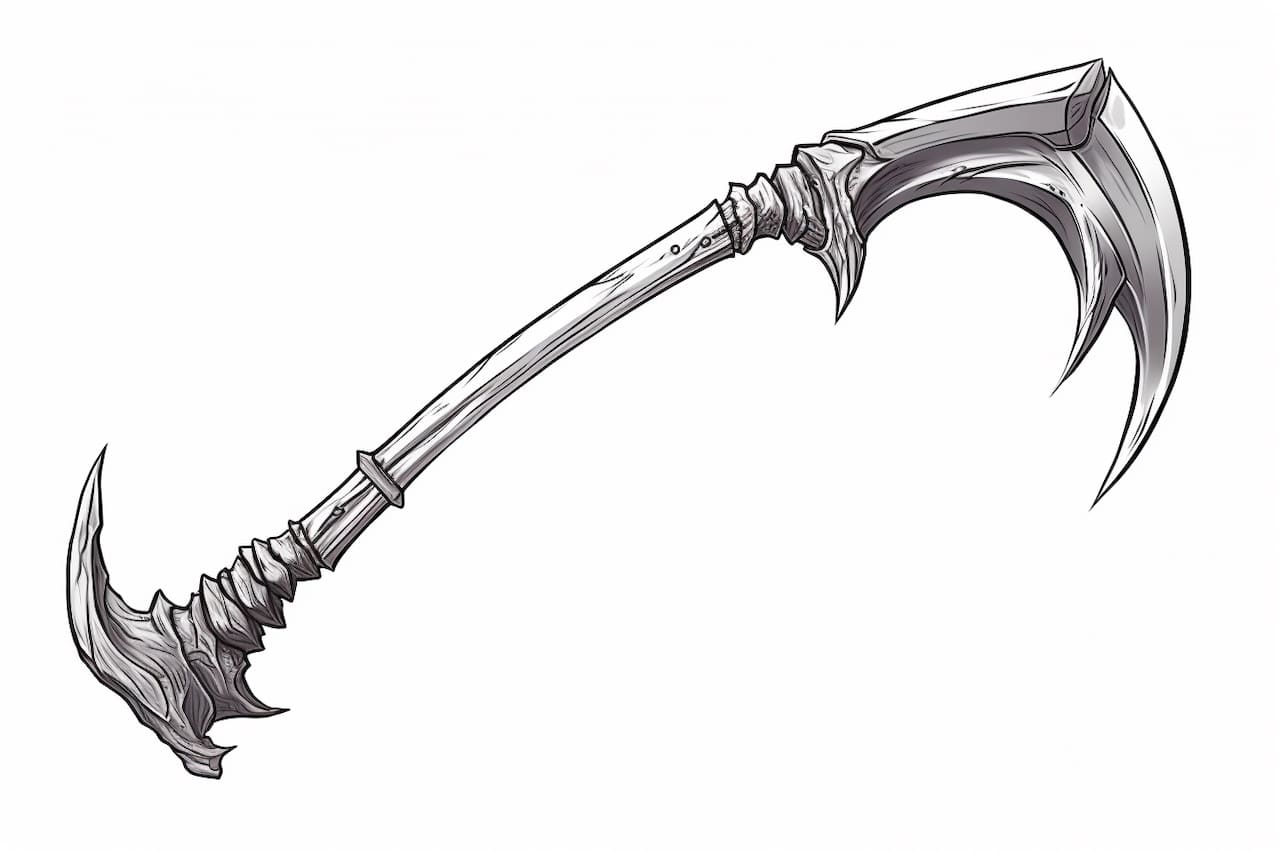
A scythe is a traditional tool with a long, curved blade used for cutting grass, grain, or crops. It has also become a popular symbol in various cultures, representing death or the harvest season. In this step-by-step tutorial, you’ll learn how to draw a scythe with precision and detail. Whether you’re an aspiring artist or simply looking to explore your creative side, this guide will provide you with the necessary techniques to bring this powerful tool to life on paper.
Materials Required
To get started, gather the following materials:
- Pencil
- Eraser
- Paper
- Ruler
- Compass
Now that you have all the necessary materials, let’s dive into the step-by-step process of drawing a scythe.
Step 1: Sketch the Basic Shape
Begin by lightly sketching an arc shape on your paper. This will serve as the scythe’s blade. Use your ruler or compass to create a perfectly curved arc. Ensure that the arc extends slightly upwards on one end, resembling a crescent moon.
Step 2: Add the Handle
Next, draw a long, thin line extending from the bottom of the arc. This line will be the handle of the scythe. Make sure it’s proportionate to the size of the blade. Feel free to use your ruler to create a straight line.
Step 3: Refine the Blade
Now, take a moment to refine the shape of the blade. Start by adding a slight curve at the top of the arc, giving the blade a more organic shape. Then, connect the ends of the arc with two straight lines, forming the cutting edge of the blade.
Step 4: Detail the Handle
To add some depth to the handle, draw a smaller, parallel line next to it. This will give the handle a three-dimensional appearance. Make sure the distance between the two lines is consistent throughout.
Step 5: Define the Grip
In this step, draw a small circular shape where the handle meets the blade. This will be the grip of the scythe. You can use your compass to create a perfect circle. Ensure that the circle is centered and proportionate to the size of the handle.
Step 6: Refine the Grip
Now, add some details to the grip by drawing a series of curved lines within the circular shape. These lines will give the grip a textured look, adding realism to your drawing.
Step 7: Add a Crossbar
Above the grip, draw a horizontal line extending across the handle. This line will act as a crossbar, giving the scythe additional strength and stability.
Step 8: Enhance the Blade
To make the scythe’s blade more realistic, add some subtle curves and notches along the cutting edge. These irregularities will mimic the wear and tear that comes with extended use.
Step 9: Shade the Blade
Now that the basic structure of the scythe is complete, it’s time to add shading to enhance its three-dimensional appearance. Start by shading the bottom part of the blade, using light, horizontal pencil strokes. Gradually increase the pressure as you move towards the cutting edge, creating a gradient effect.
Step 10: Add Shadows and Highlights
To make the scythe even more visually striking, add shadows and highlights. Imagine a light source coming from a specific direction and shade accordingly. Use darker tones on the opposite side of the light source to create shadows, and lighter tones on the side facing the light to indicate highlights.
Conclusion
Congratulations! You’ve successfully learned how to draw a scythe. By following these step-by-step instructions, you’ve been able to create a detailed and realistic representation of this powerful tool. Remember to practice and experiment with different techniques to refine your skills even further. Now go grab your materials and start drawing!