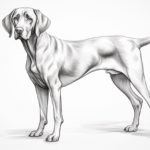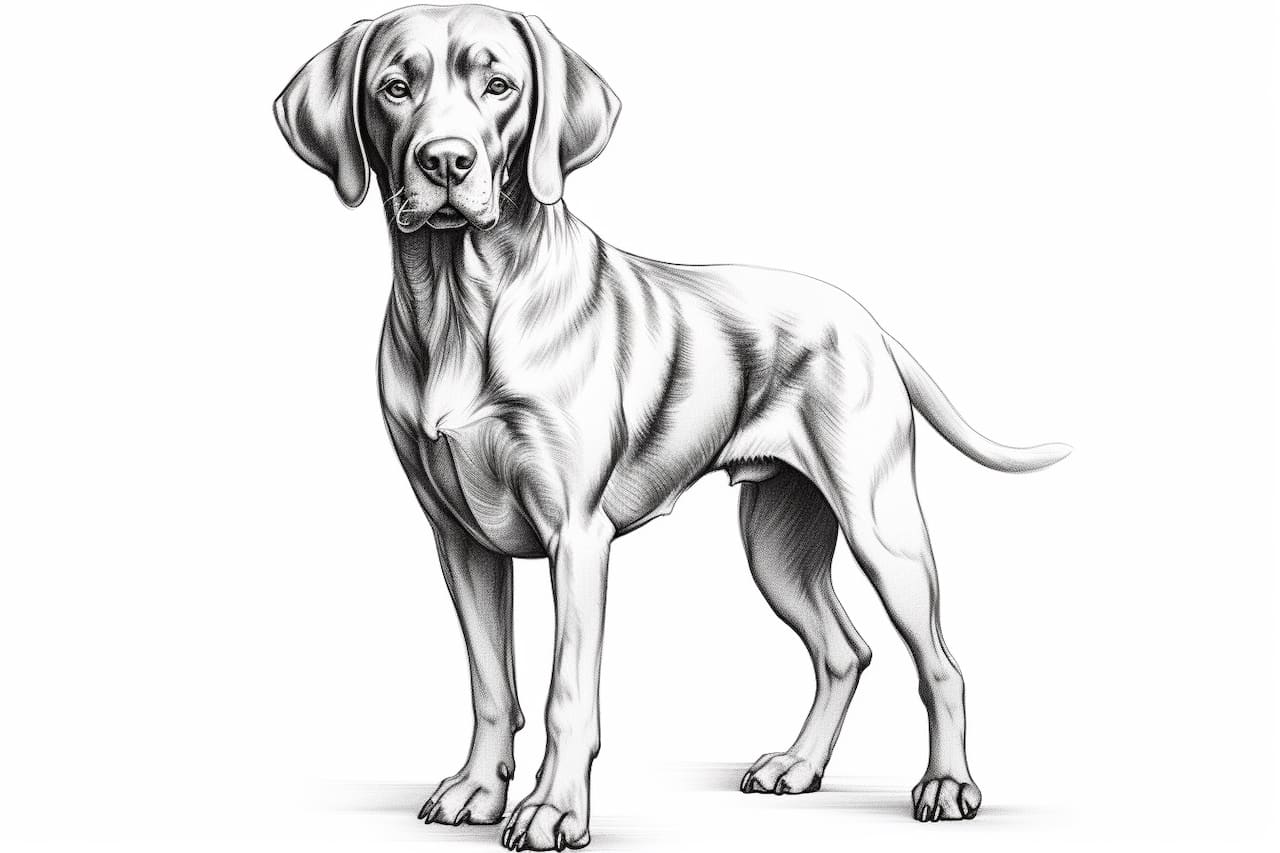
Welcome to this step-by-step guide on how to draw a Pointer! Whether you are a beginner or an experienced artist, this tutorial will walk you through the process of creating a realistic and detailed drawing of this majestic dog breed. So, grab your drawing materials and let’s get started!
Materials Required
Before we begin, make sure you have the following materials ready:
- Drawing paper or sketchbook
- Pencil (preferably a medium or soft graphite pencil)
- Eraser
- Drawing pen or fine-tip marker (optional)
- Colored pencils or markers (optional, for adding color to your drawing)
Now that you have everything you need, let’s dive into the step-by-step process of drawing a Pointer.
Step 1: Start with Basic Shapes
Begin by lightly sketching the basic shapes that make up the body of the Pointer. Start with an oval shape for the head, followed by a large oval for the body. Add two circles for the chest and pelvis, making sure they are proportionate to the body. Finally, sketch lines to indicate the neck, back, and limbs.
Step 2: Define the Head and Eyes
Refine the shape of the head by adding details such as the muzzle and ears. Draw a curved line for the top of the muzzle and add a smaller curved line for the bottom part. Sketch two almond-shaped eyes, making sure they are evenly spaced and proportionate to the head. Add a small circular shape within each eye to represent the pupils.
Step 3: Outline the Body and Limbs
Using the basic shapes as a guide, outline the body of the Pointer. Pay attention to the muscular structure and contours of the breed. Add the details of the limbs, making sure they are in proportion with the body. Don’t forget to include the tail, which is long and slender.
Step 4: Add Facial Features and Ears
Refine the facial features of the Pointer by adding details like the nose, mouth, and eyebrows. Draw a small triangular shape for the nose, slightly above the middle of the muzzle. Sketch a curved line for the mouth, slightly below the nose. Add two small diagonal lines above each eye to represent the eyebrows. Finally, draw the ears, which are long and droopy, starting from the top of the head and curving downwards.
Step 5: Refine the Details
Now it’s time to add more detail to your drawing. Carefully observe the texture and patterns of the Pointer’s coat and add them to your sketch. Use light, feathery strokes to mimic the short, dense fur of the breed. Pay attention to the direction of the fur and the areas of shadow and highlight.
Step 6: Shade and Add Depth
To make your drawing more realistic, add shading to create depth and dimension. Identify the areas of shadow on the Pointer’s body and use a softer pencil or a shading tool to fill them in. Gradually build up the intensity of the shading, paying attention to the light source and the way it interacts with the dog’s form.
Step 7: Finalize and Refine
Take a step back and evaluate your drawing so far. Make any necessary adjustments or corrections to ensure accuracy and proportion. Use an eraser to clean up any stray lines or smudges. If desired, you can outline your drawing with a pen or fine-tip marker for a more defined and finished look.
Step 8: Optional – Add Color
If you prefer, you can add color to your drawing using colored pencils or markers. Research the specific coloration and patterns of Pointers to achieve a more realistic representation. Layer the colors gradually, starting from the lightest to the darkest, to create depth and dimension.
Conclusion
Congratulations on completing your drawing of a Pointer! By following these step-by-step instructions, you have created a realistic and detailed representation of this beautiful dog breed. Remember, practice makes perfect, so keep honing your drawing skills and experimenting with different techniques. We hope you enjoyed this tutorial and found it helpful in improving your artistic abilities.