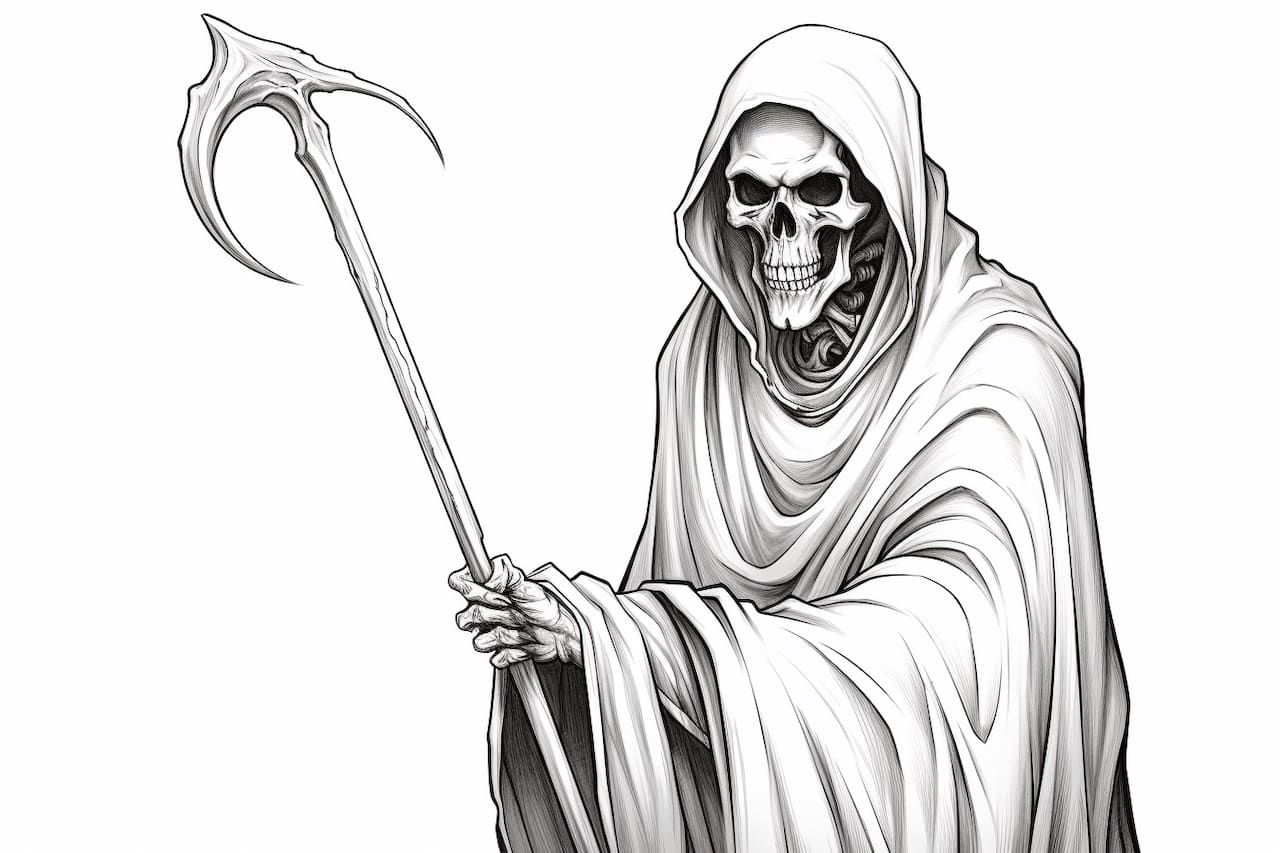
Welcome to this step-by-step tutorial on how to draw a Grim Reaper. The Grim Reaper is a fascinating and iconic figure often associated with death and the afterlife. In this guide, we will break down the process of drawing a Grim Reaper into simple and easy-to-follow steps. So, grab your drawing supplies and let’s get started!
Materials Required
To begin drawing a Grim Reaper, you will need the following materials:
- Drawing paper or sketchbook
- Pencil
- Eraser
- Fine-tip black marker or pen
- Colored pencils or markers (optional)
These materials will help you create a clean and professional-looking Grim Reaper drawing. Now, let’s dive into the step-by-step process.
Step 1: Basic Shape
Start by sketching a rough outline of the Grim Reaper’s body using basic shapes. Begin with a circle for the head, followed by a vertical oval for the torso, and then add two lines to indicate the position of the arms.
Step 2: Facial Features
Next, focus on drawing the Grim Reaper’s face. Add two almond-shaped eyes in the upper portion of the circle and a small curved line for the nose. Draw a wide, sharp curve under the nose to form the mouth. Remember, the Grim Reaper is often depicted as having a skull-like appearance.
Step 3: Hood and Robe
Extend the top part of the circle to form the Grim Reaper’s hood. Draw two long, curved lines that meet at a point to create the characteristic shape of the hood. Then, add flowing lines from the lower part of the hood down to the sides, forming the robe.
Step 4: Arms and Hands
Refine the position of the arms using curved lines. Sketch the bony hands with long, thin fingers. Make sure to give the hands a skeletal appearance by adding joint lines and emphasizing the bones.
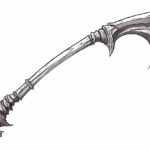
Step 5: Scythe
The Grim Reaper is often portrayed holding a scythe. Draw the scythe by extending a long curved line from one hand, angling it towards the bottom. Then, add a shorter, curved line for the blade of the scythe. Finally, draw a small handle at the top of the blade.
Step 6: Details and Shadows
Now it’s time to add details and shadows to your Grim Reaper drawing. Go over your pencil sketch with a fine-tip black marker or pen to outline the figure and define the features. Use hatching and cross-hatching techniques to create shadows and depth, particularly on the face, hood, and robe.
Step 7: Coloring (Optional)
If you prefer a colored Grim Reaper, you can use colored pencils or markers to bring your drawing to life. Traditionally, the Grim Reaper is depicted in shades of black, gray, and white. Experiment with different shading techniques to achieve a visually striking result.
Conclusion
Congratulations! You have successfully learned how to draw a Grim Reaper step by step. By breaking down the process into simple steps, you were able to create a captivating and iconic figure. Remember to practice and experiment with different styles to make your Grim Reaper drawing unique. Keep up the great work and continue exploring your artistic skills!