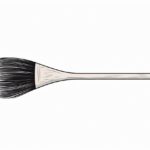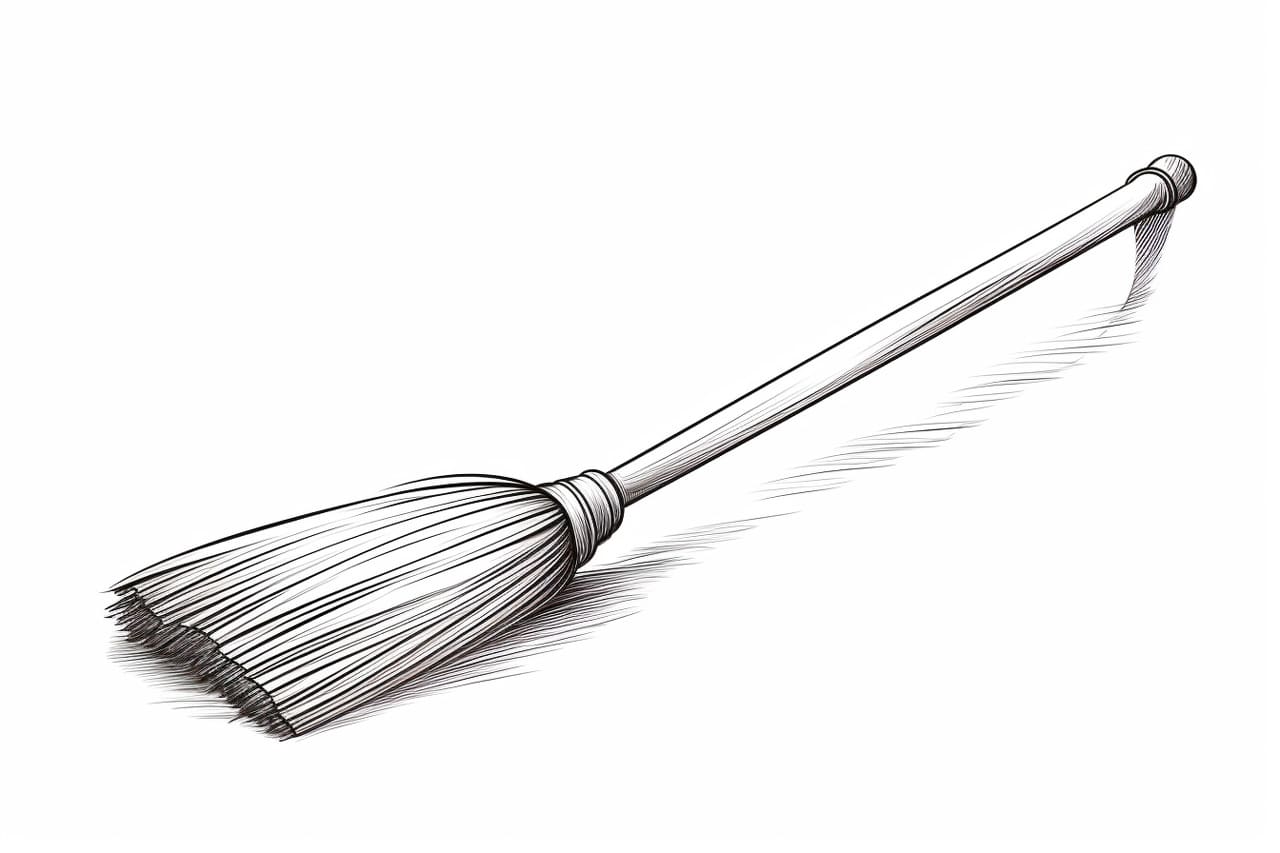
As an expert artist and drawing instructor, I am here to guide you through the process of how to draw a broom. Brooms are everyday objects found in many households and are often associated with witches. But drawing a broom is not just limited to Halloween themes. They can also be used in still-life drawings or even as a decorative element in your artwork. In this step-by-step guide, I will provide clear, clean, and concise instructions to help you create a realistic and detailed broom drawing.
Materials Required
Before we begin, let’s gather the materials you will need for this drawing tutorial. Here’s a list of what you’ll need:
- Drawing paper
- Pencil (preferably a mechanical pencil for more precise lines)
- Eraser
- Ruler
- Fine-tip pen or markers (optional, for inking or coloring)
Now that you have all the necessary materials, let’s get started on drawing a broom!
Step 1: Sketch the Handle
To begin, let’s start by sketching the handle of the broom. Start by drawing a vertical line slightly tilted to the right. This line will be the backbone of the broom’s handle. Make sure to leave enough space on the top and bottom for the bristles and the broomstick.
Step 2: Add Thickness to the Handle
Next, add thickness to the handle by drawing two parallel lines on each side of the vertical line. These lines should follow the curvature of the handle and gradually taper towards the top.
Step 3: Bring in the Bristles
Now it’s time to draw the bristles of the broom. At the bottom of the handle, draw a series of short, curved lines to indicate the individual bristles. These lines should fan out slightly to create a realistic effect. Pay attention to the angle and direction of the bristles to make the drawing more dynamic.
Step 4: Define the Broomstick
Moving on to the broomstick, draw a circle or oval shape at the top of the handle. This shape will serve as the connecting point between the handle and the bristles. Make sure it is proportionate to the overall size of the broom.
Step 5: Add Detail to the Handle
Now let’s add some detail to the handle to give it a more realistic look. Draw vertical lines along the length of the handle to create the appearance of wood grain. You can also add knots or irregularities to make it more visually interesting. Be creative in adding your own unique touches to the handle.
Step 6: Refine the Bristles
To make the bristles more defined, add some longer curved lines within the initial short lines. These longer lines should follow the general direction of the bristles and create depth and texture. Leave some gaps between the bristles to make them appear more natural.
Step 7: Shape the Broomstick
Refine the shape of the broomstick by adding curves and contours. The broomstick can have a slight taper towards the top, so make sure to adjust the thickness accordingly. You can also add some irregularities and highlights to make it look like a worn-out wooden broomstick.
Step 8: Finalize the Details
In this step, pay attention to the little details that will bring your broom drawing to life. Add small lines and shadows to indicate the texture and folds of the bristles. You can also add shading to the handle and broomstick to create depth and dimension. Take your time and observe the reference image or a real broom for inspiration.
Step 9: Ink or Color (Optional)
If you prefer, you can use a fine-tip pen or markers to ink your drawing and make it stand out even more. Outline the main lines and details of your drawing, and erase any unnecessary pencil marks. Alternatively, you can also color your broom using colored pencils, markers, or watercolors. Explore different color combinations and shading techniques to achieve the desired result.
Conclusion
Drawing a broom may seem challenging at first, but with these step-by-step instructions, you can create a realistic and detailed broom drawing. Remember to practice regularly and have fun with your drawings. Brooms can be versatile subjects for various art styles and themes, so don’t limit your creativity. Now, grab your materials and start drawing your own broom masterpiece!