Welcome to this step-by-step guide on how to draw a light switch. Drawing can be a fun and creative way to express yourself, and learning how to draw everyday objects like a light switch can help you improve your observation skills and attention to detail. In this tutorial, we will break down the process into simple steps, making it easy for anyone, regardless of their artistic ability, to follow along and create their own realistic light switch drawing. So grab your pencils and let’s get started!
Materials Required
Before we dive into the steps, let’s gather the materials you will need for this drawing tutorial:
- A sheet of paper
- Pencils (preferably a range of hardness, such as HB, 2B, and 4B)
- An eraser
- A ruler
- Optional: A blending stump or cotton swab for shading
Now that you have everything you need, let’s proceed to the steps.
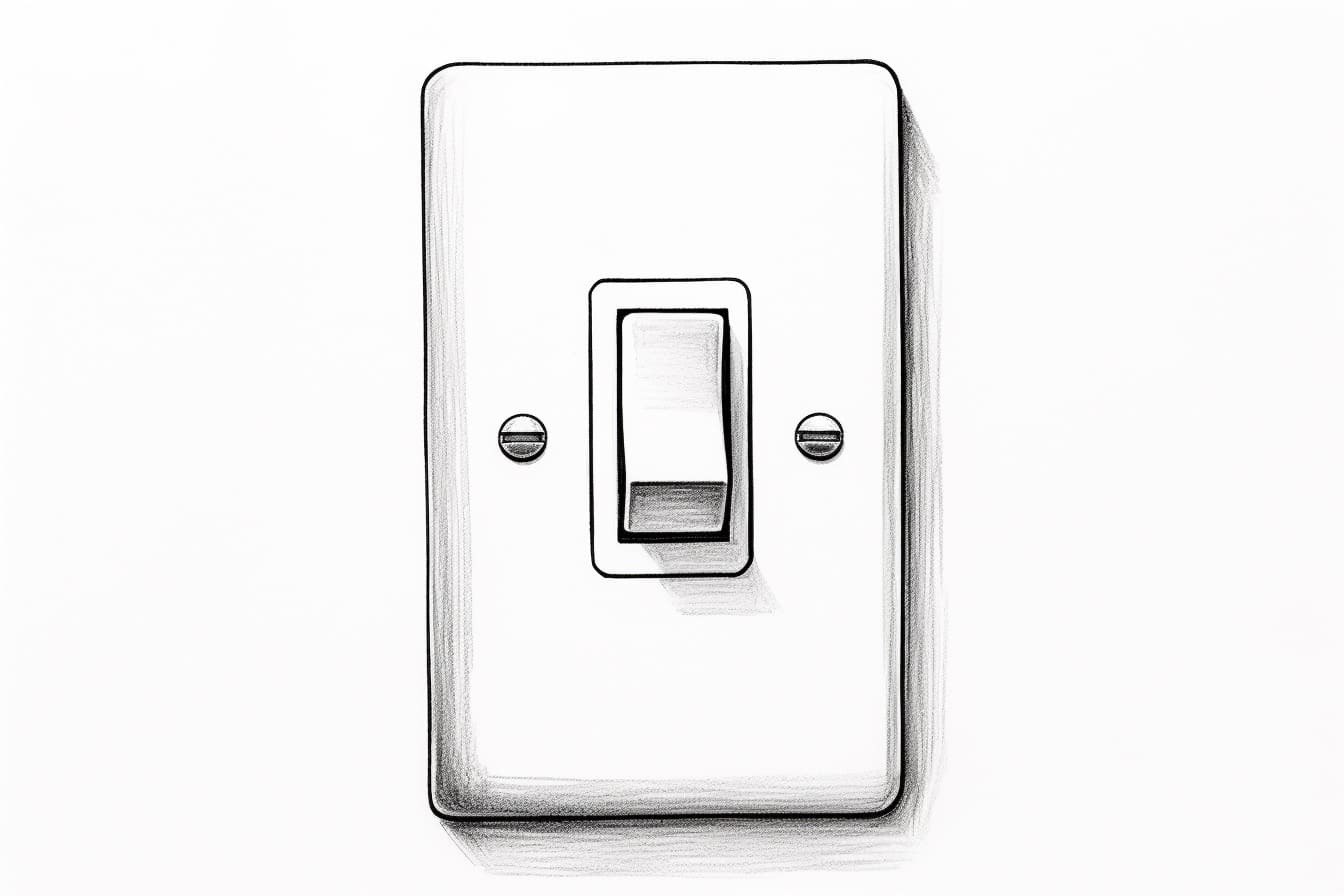
Step 1: Draw the Outline of the Light Switch
To start, draw a vertical line using your ruler to act as the base of the light switch. This line will serve as a guide for the rest of the drawing. Next, draw a rectangular shape at the top of the vertical line to create the switch plate. Ensure that the top edge of the rectangular shape is slightly curved to add a realistic touch to the drawing. Finally, add another rectangle below the switch plate to represent the switch toggle.
Step 2: Add the Switch Components
Now it’s time to add the details to our light switch drawing. Start by drawing a small circle or dot in the center of the switch plate to represent the screw holding the plate in place. Next, draw two vertical lines extending from the top and bottom edges of the switch toggle. These lines will connect to the switch plate in the next step.
Step 3: Connect the Toggle to the Switch Plate
Using straight lines, connect the vertical lines from the switch toggle to the switch plate. These lines should be slightly angled towards each other, giving the appearance of a connection. Add a small rectangular shape at the bottom of the switch plate, just above the bottom edge, to represent the electrical socket.
Step 4: Refine the Switch Plate
In this step, we will refine the details of the switch plate. Start by drawing two horizontal lines at the top and bottom edges of the switch plate, parallel to the curved top edge. These lines will add depth and give the switch plate a three-dimensional appearance. Next, draw two more horizontal lines within the switch plate, dividing it into three equal sections. Finally, add small details like screws or bolts on the switch plate to add realism.
Step 5: Shade and Add Texture
To bring our light switch drawing to life, we need to add shading and texture. Start by identifying the direction of the light source. Once you have determined the light source, use your pencils to add shading accordingly. The areas that are furthest from the light source should be darker, while the areas closest to the light source should be lighter.
To create a smooth transition between light and shadow, use a blending stump or a cotton swab to blend the shades together. Take your time with this step, as shading can greatly enhance the realism of your drawing. Additionally, you can add texture to the switch plate by lightly sketching vertical or horizontal lines to represent the material or paint finish.
Step 6: Final Touches
In this final step, we will add some finishing touches to our light switch drawing. Take a step back and evaluate your drawing. Look for any areas that may need further refinement or adjustments. Use your eraser to remove any unnecessary lines or smudges. Pay close attention to the details, such as the screws, bolts, or any other small elements that will make your drawing more accurate.
Once you are satisfied with your drawing, you can darken some of the lines, especially those that are closer to the viewer, to create more depth and contrast. This step will help emphasize the three-dimensional aspect of the light switch.
And there you have it! You have successfully drawn a realistic light switch. With practice and patience, you can apply these techniques to draw other everyday objects as well. Remember, the key to improving your drawing skills is to keep practicing and experimenting with different subjects and techniques.
I hope you enjoyed this tutorial on how to draw a light switch. Drawing everyday objects can be a great way to practice your skills and enhance your artistic abilities. So grab your pencils, continue exploring, and keep creating amazing artworks!