Welcome to this step-by-step guide on how to draw a wheat field. Whether you are a beginner or an experienced artist, this tutorial will help you create a stunning artwork that captures the essence of a golden wheat field. So let’s get started!
Materials Required
Before we begin, let’s gather the materials you’ll need for this drawing:
- Drawing paper or sketchbook
- Pencil (preferably HB or 2B)
- Eraser
- Fine-tip black pen or marker
- Colored pencils or markers (optional)
Now that we have our materials ready, let’s dive into the steps of drawing a wheat field.
Step 1: Sketch the Horizon Line
Start by lightly sketching a horizontal line across your paper to represent the horizon. This line will serve as a guide for the placement of the wheat field.
Step 2: Draw the Background Sky
Above the horizon line, use your pencil to sketch the sky. You can choose to depict a clear blue sky, a sunset, or even a stormy sky. Add any clouds or other elements you wish to include in your composition.
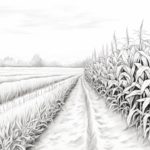
Step 3: Outline the Field
Below the horizon line, draw the outline of the wheat field using gentle and curved lines. Make the edges of the field slightly irregular to add a sense of realism.
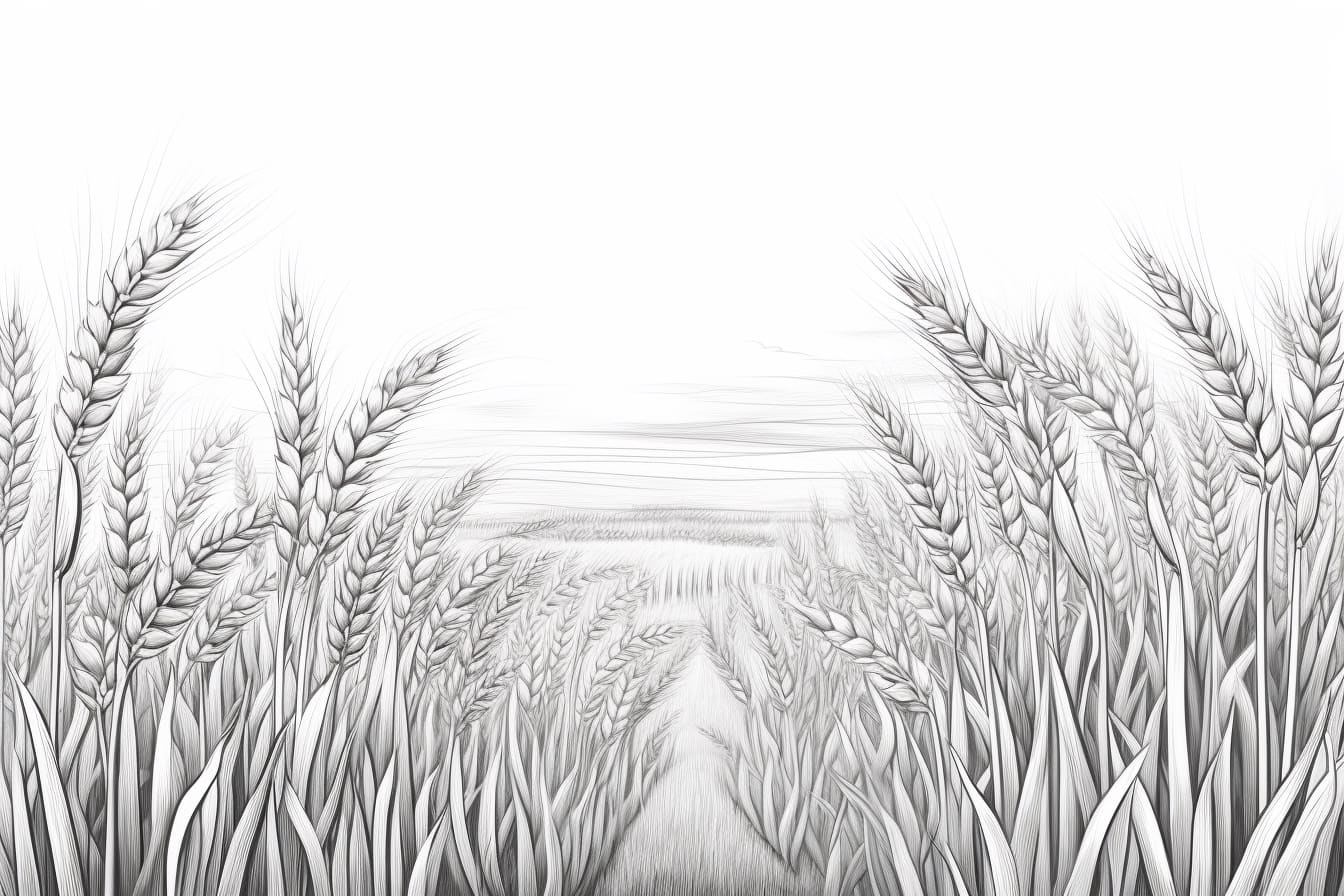
Step 4: Add the Wheat Stalks
Using short and quick strokes, begin adding the individual wheat stalks to the field. Make sure to vary the length and direction of the strokes to create a natural and organic look. Don’t worry about making each stalk perfect – imperfections will add character to your drawing.
Step 5: Define the Wheat Heads
Next, draw small oval shapes at the top of some of the stalks to represent the wheat heads. These should be slightly wider at the top and narrower at the bottom, resembling the shape of real wheat heads. Vary the size and position of the heads to add depth and interest to your drawing.
Step 6: Sketch the Shadows
To create a sense of depth and dimension, lightly sketch some shadows beneath the wheat stalks. This will help make the wheat field appear more three-dimensional.
Step 7: Add Details
Now it’s time to add some details to your wheat field. Use your pencil to lightly draw small lines and dots on the wheat heads to represent the individual grains. You can also add some tiny leaves and stems protruding from the stalks to add realism.
Step 8: Ink the Drawing
Once you are satisfied with your pencil sketch, go over the lines with a fine-tip black pen or marker. This will give your drawing a more finished and polished look. Be careful and steady with your lines, and take your time to trace over the important details.
Step 9: Erase the Guidelines
After the ink has dried, carefully erase any visible pencil lines to clean up your drawing. Use a soft eraser and gentle strokes to avoid smudging the ink.
Step 10: Add Color (Optional)
If you want to add color to your artwork, now is the time to do so. You can use colored pencils, markers, or any other coloring medium you prefer. Add different shades of yellow, brown, and green to the wheat stalks and heads to bring them to life. Also, use shades of blue and orange for the sky, and green for the field’s background.
Conclusion
Congratulations! You have successfully learned how to draw a beautiful wheat field. By following these step-by-step instructions, you have created a realistic and captivating artwork that showcases the serene beauty of nature. Feel free to experiment with different compositions, colors, and styles to make your drawing unique. Happy drawing!