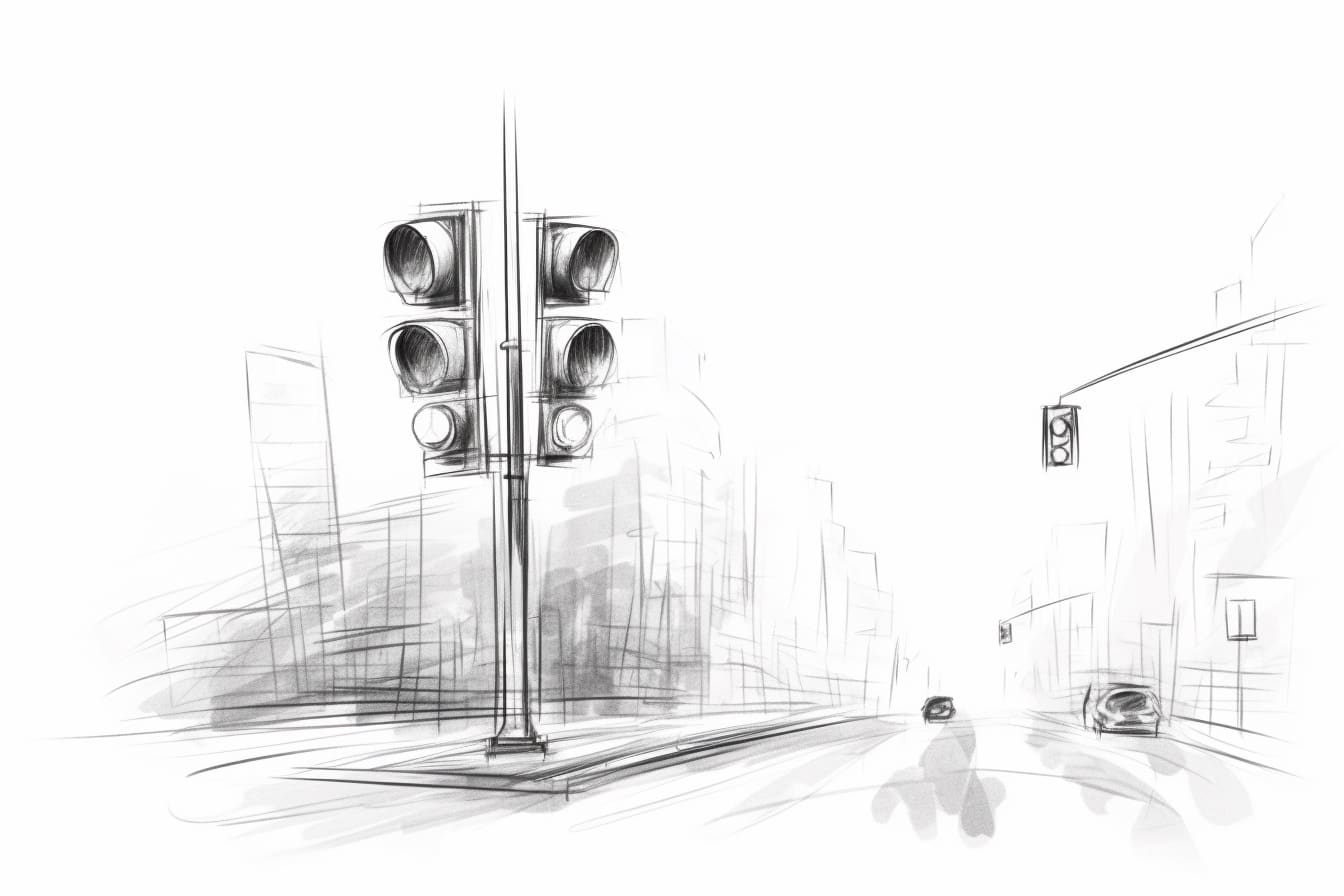
Drawing is a wonderful and expressive form of art that allows you to bring your imagination to life on a piece of paper. In this step-by-step guide, I will show you how to draw a traffic light. Whether you are a beginner or a seasoned artist, this tutorial will help you create a colorful and realistic representation of a traffic light. So, let’s get started!
Materials Required
To draw a traffic light, you will need the following materials:
- Paper or sketchbook
- Pencil
- Eraser
- Ruler
- Colored pencils or markers (red, yellow, green, black)
Now that you have all the necessary materials, let’s dive into the step-by-step process of drawing a traffic light.
Step 1: Draw the Outline
Start by drawing a vertical line in the center of your paper. This line will serve as the main pole of the traffic light. Use a ruler to keep the line straight and neat.
Step 2: Add the Lights
Draw three small circles on top of the vertical line. These circles will represent the red, yellow, and green lights of the traffic light. Make sure to leave some space between each circle.
Step 3: Outline the Lights
Using a slightly thicker outline, trace the circles you drew in the previous step. This will make the lights stand out more and give them a three-dimensional appearance.
Step 4: Add the Housing
Draw a square or rectangular shape around the lights to create the housing of the traffic light. Make sure the top corners of the housing are rounded. This will give it a more realistic and polished look.
Step 5: Add Details
Draw lines inside the housing to indicate the separation between the lights. These lines should extend from the top of the housing to the bottom, dividing the housing into three equal sections. Add small diagonal lines within each section to give the appearance of reflection.
Step 6: Add the Pole
Extend the vertical line that you drew in Step 1 below the housing to create the pole of the traffic light. It should be long enough to give the traffic light a proportional look.
Step 7: Add the Base
Draw a rectangular shape at the bottom of the pole to create the base of the traffic light. This will provide stability to the traffic light and complete the overall structure.
Step 8: Add Shadows and Shading
Using your pencil, add some shading to the housing and the pole of the traffic light. This will give it a three-dimensional effect and make it appear more realistic. Shade the areas where the light would be blocked, such as the side facing away from the viewer.
Step 9: Color the Lights
Now it’s time to add some color to your drawing. Use your colored pencils or markers to color in the lights. The top light should be red, the middle light should be yellow, and the bottom light should be green. Make sure to color within the outlines you drew earlier.
Step 10: Add the Finishing Touches
To make your drawing look even more realistic, add some final touches. Use a black colored pencil or marker to outline the entire traffic light, emphasizing its shape and defining the edges. You can also add some highlights to the lights using a white colored pencil or an eraser.
Congratulations! You have successfully learned how to draw a traffic light. With practice, you can experiment with different colors, textures, and styles to create your own unique traffic light drawings.
Conclusion
Drawing a traffic light may seem challenging at first, but with the right approach and step-by-step guidance, it becomes a fun and rewarding experience. By following this tutorial, you have learned how to draw a realistic traffic light using simple shapes and basic shading techniques. So, grab your materials and let your creativity flow!