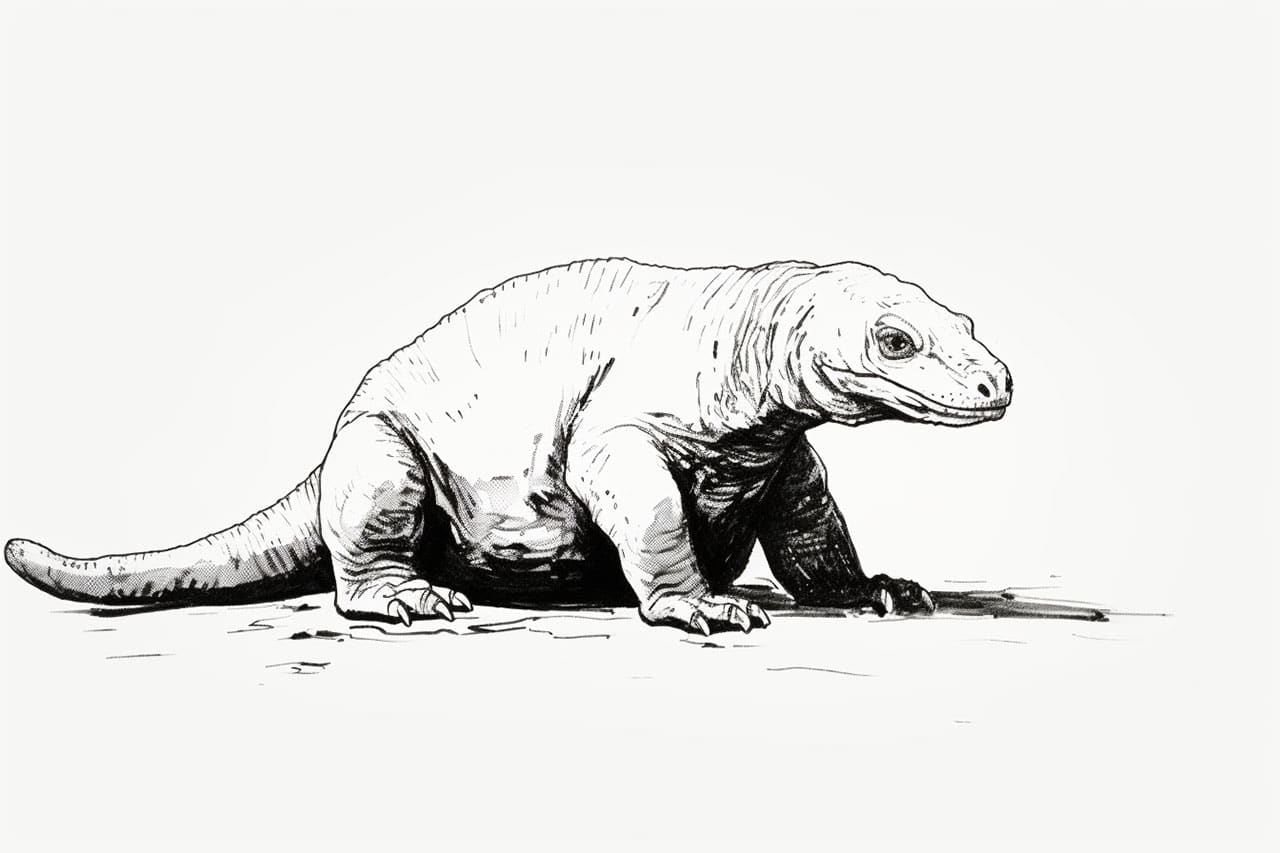
Welcome to this step-by-step guide on how to draw a Komodo dragon. Whether you are a beginner or an experienced artist, this tutorial will help you capture the essence of this fascinating reptile. Komodo dragons are renowned for their size and strength, making them an exciting subject for any artist. So grab your drawing materials, and let’s get started!
Materials Required
To begin drawing a Komodo dragon, you will need the following materials:
- Pencil: It is recommended to start with a regular graphite pencil to create the initial sketch.
- Eraser: A good quality eraser will allow you to easily correct any mistakes as you go along.
- Paper: Choose a sheet of paper that suits your preferred drawing size and texture.
- Colored pencils or markers (optional): If you wish to add color to your drawing, have a set of colored pencils or markers ready.
Now that you have your materials ready, let’s dive into the step-by-step process of drawing a Komodo dragon.
Step 1: Observe and Sketch Basic Shapes
Observation is crucial when drawing any subject. Take a few moments to study images of a Komodo dragon and notice its key features. Begin by lightly sketching the basic shapes that form the body of the dragon. Use simple ovals and circles to outline the head, body, and limbs.
Step 2: Define the Proportions and Skeleton
Once you have sketched the basic shapes, it’s time to refine their proportions and add the skeletal structure. Use more angular lines to indicate the placement of the legs, tail, and neck. Pay attention to the angles and curves of the body to capture the Komodo dragon’s characteristic posture.
Step 3: Outline the Body and Head
With the proportions in place, start outlining the contours of the Komodo dragon’s body and head. Use smooth, flowing lines to define the muscular structure and curves of the reptile. Pay attention to the distinct features, such as the thick neck, stocky body, and long tail. Don’t worry too much about details at this stage; focus on capturing the overall shape.
Step 4: Add Details to the Face and Limbs
Now it’s time to bring the face and limbs to life by adding details. Start by sketching the eyes, nostrils, and mouth, paying attention to their placement and shape. Move on to the limbs, carefully adding the claws and scales to enhance the realism of your drawing. Take your time with this step and refer to reference images or real-life observations to ensure accuracy.
Step 5: Refine the Body and Tail
Refine the body and tail of the Komodo dragon by adding texture and scales. Use short, curved lines to depict the overlapping scales along the reptile’s skin. Gradually build up the details, focusing on areas that catch the light or cast shadows. Take breaks to step back and assess your progress, making any necessary adjustments to ensure a balanced composition.
Step 6: Finalize the Details
At this point, your Komodo dragon is taking shape. It’s time to add the final details that will bring your drawing to life. Pay close attention to the texture and wrinkles on the dragon’s skin, emphasizing the roughness and bumpy nature of the scales. Add any remaining features such as the tongue, teeth, and horns. Take a moment to refine any areas that require additional attention.
Step 7: Optional – Add Color
If you wish to add color to your drawing, now is the time to do so. Use colored pencils or markers to carefully fill in the scales and add depth to your artwork. Observe the colors of a Komodo dragon to achieve a realistic representation or use your creativity to explore different color schemes. Remember to start with light layers and gradually build up the intensity to create a vibrant and balanced composition.
Conclusion
Congratulations! You have successfully learned how to draw a Komodo dragon. You have created a captivating artwork by following these step-by-step instructions and utilizing your observation skills. Remember, practice makes perfect, so don’t hesitate to refine your skills and explore more subjects. Happy drawing!