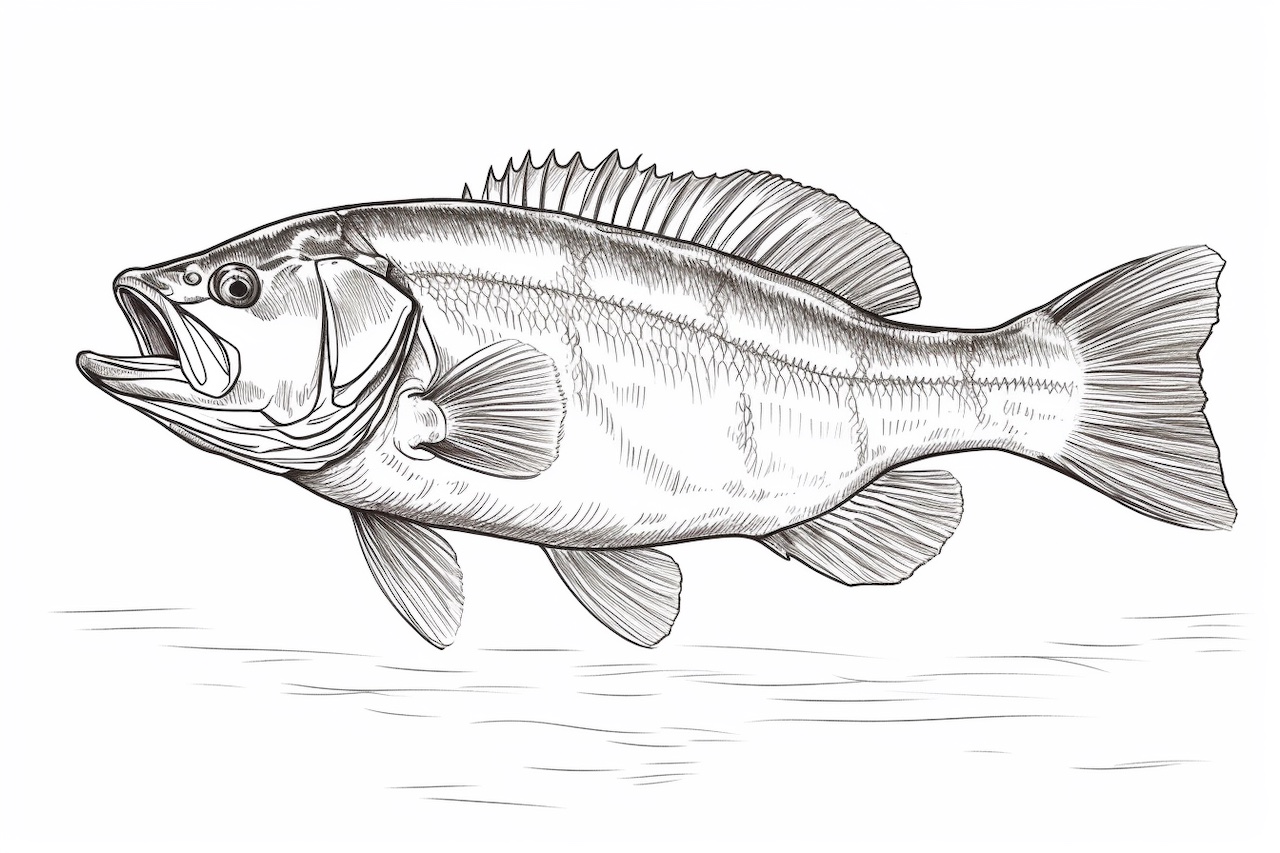
Welcome to this step-by-step guide on how to draw a largemouth bass. This majestic fish is known for its distinctive appearance and is a favorite subject for many artists. Whether you are a beginner or an experienced artist looking to improve your skills, this tutorial will provide you with easy-to-follow instructions to create a realistic drawing of a largemouth bass. So, grab your drawing materials and let’s get started!
Materials Required
To begin drawing a largemouth bass, you will need the following materials:
- Pencil: A graphite pencil of medium hardness (around HB) is recommended for sketching the initial lines.
- Eraser: An eraser will help you correct any mistakes or adjust the lines as you progress.
- Paper: Choose a smooth drawing paper that can handle the shading and details effectively.
- Medium-Tip Marker or Pen: You’ll use this for creating the final outlines and details in your drawing.
- Colored Pencils or Markers (Optional): If you want to add color to your drawing, you can use colored pencils or markers of your choice.
Once you have gathered all the necessary materials, let’s dive into the steps!
Step 1: Basic Outline
Start by lightly sketching an oval shape for the main body of the largemouth bass. Make sure the oval is tilted slightly towards the head. This will give the fish a dynamic appearance.
Step 2: Head and Mouth
Using the top of the oval as a reference, draw a curve that represents the top of the fish’s head. Then, add a curved line from the bottom of the oval to form the bottom jaw of the fish. Connect these lines to create the mouth of the largemouth bass.
Step 3: Eyes and Gills
Next, draw the eye of the bass. Start by sketching an almond shape towards the top of the head. Within the eye, draw a smaller circle representing the iris and shade it in. Leave a small portion unshaded to add a highlight. Repeat this process on the other side to create the second eye.
Below the eye, sketch a few curved lines to indicate the gills of the fish.
Step 4: Fins
Largemouth bass have several fins, and we’ll start by drawing the pectoral fin, which is located just behind the gill. Sketch a long triangular shape with rounded edges to represent the pectoral fin. Then, add a smaller triangular fin just below the pectoral fin to represent the pelvic fin.
Now, let’s move on to the dorsal fin. Draw a tall triangular shape on top of the fish’s body, slightly tilted towards the head. Give it a wavy outline to add some texture.
Step 5: Body Details
To add more depth to the drawing, sketch a series of curved lines along the side of the fish to represent the scales. Make sure these lines curve in the same direction as the body. Leave a small gap towards the center of the body to indicate the belly.
Step 6: Tail
The largemouth bass has a distinctive tail shape. To draw it, start at the end of the body and sketch two long curved lines that taper towards each other. Connect these lines at the end with a curved line, forming the tail fin.
Step 7: Final Outlines
At this point, go over your sketch with a medium-tip marker or pen to create the final outlines. Use smooth, confident strokes and vary the thickness of the lines to give the drawing more depth and dimension. Erase any remaining guidelines or stray pencil marks.
Step 8: Shading and Detailing
Now that the basic outline is complete, it’s time to add shading and detail to make your largemouth bass drawing come alive. Start by shading the body using short, overlapping lines to create a sense of texture and depth. Darken the areas where shadows fall, paying attention to the fish’s contours.
Add details such as the individual scales, the texture of the fins, and the patterns on the body. Take your time and observe reference images or real-life largemouth bass to capture the intricacies accurately.
Step 9: Optional Coloring
If you prefer to add color to your drawing, use colored pencils or markers to bring your largemouth bass to life. Research the typical colors and patterns of a largemouth bass to guide your coloring process. Use gradual layering of colors and blending techniques to achieve a realistic effect.
Conclusion
Congratulations! You have successfully learned how to draw a largemouth bass. By following these step-by-step instructions and adding your personal touch, you can create a stunning drawing of this captivating fish. Remember to practice regularly to improve your drawing skills, experiment with different poses and perspectives, and have fun with your artwork.
So, grab your pencils, pens, or markers, and let your creativity swim as you create your own masterpieces featuring the largemouth bass!


