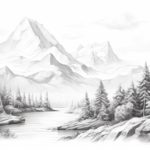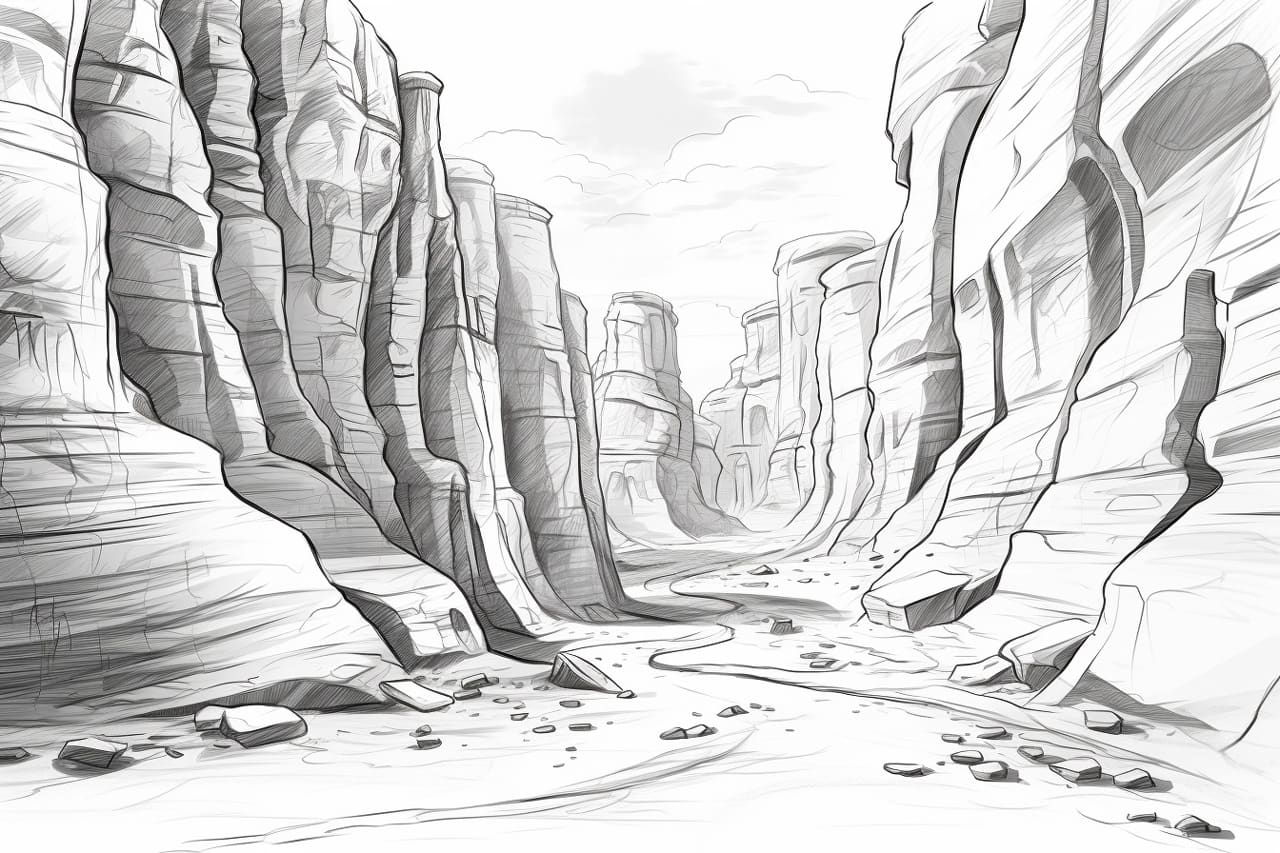
Welcome to this step-by-step guide on how to draw a canyon! Whether you’re an experienced artist or just starting out, this tutorial will help you capture the beauty and depth of a canyon on paper. So let’s grab our drawing materials and get started!
Materials Required
Before we begin, make sure you have the following materials:
- Drawing paper or sketchbook
- Pencils (preferably a range of hardness from 2H to 6B)
- Eraser (kneaded or rubber)
- Blending stumps or cotton swabs
- Graphite sticks (optional)
- Colored pencils or pastels (optional)
Now that we have everything we need, let’s dive into the process of drawing a canyon!
Step 1: Plan Your Composition
Start by envisioning the composition of your drawing. Consider the perspective, size, and shape of the canyon you want to draw. It can be helpful to sketch a few thumbnail sketches to explore different ideas. Once you’re satisfied with your composition, lightly sketch the basic outline on your drawing paper using a 2H pencil.
Step 2: Block in the Basic Shapes
Using a softer pencil like a 2B or 4B, start blocking in the basic shapes of the canyon. Focus on the major contours and features, such as the cliffs, crevices, and rocky formations. Remember to keep your lines loose and light, as these will serve as the framework for your final drawing.
Step 3: Add Detail and Texture
Now it’s time to add more detail and texture to your canyon drawing. Use a range of pencils, from harder ones for lighter areas to softer ones for darker areas. Pay close attention to the various textures found in a canyon, such as rock formations, vegetation, and the play of light and shadow.
To create realistic textures, vary your pencil pressure and use techniques like cross-hatching, stippling, or blending with a blending stump. Experiment with different strokes to capture the unique characteristics of the canyon you’re drawing.
Step 4: Focus on Light and Shadow
One of the key elements in creating depth and dimension in your canyon drawing is capturing the play of light and shadow. Observe the direction and intensity of light in your reference photo or imagination, and use shading techniques to replicate it on paper.
For darker areas, use softer pencils and build up layers of shading gradually. For highlights and reflected light, use an eraser to lift off some graphite, creating a luminous effect. Remember that the interplay of light and shadow is what brings a drawing to life.
Step 5: Add Fine Details and Refine
At this stage, take a step back and evaluate your drawing. Look for areas that need more detail or refinement. Pay attention to smaller features like cracks in the rocks, plants clinging to the cliff walls, or distant objects in the background.
Use a sharp pencil or graphite stick and a steady hand to add these finer details. Remember to blend and soften edges where necessary. Take your time with this step to ensure that every element in your canyon drawing looks realistic and well-defined.
Step 6: Optional: Adding Color
If you want to take your canyon drawing to the next level, consider adding some color using colored pencils or pastels. Choose colors that best reflect the hues of the canyon you’re drawing. Use light layers and gradual blending to build up the colors, making sure to preserve the depth and texture you’ve already created with your pencil work.
Conclusion
Drawing a canyon can be a rewarding artistic experience. By following these step-by-step instructions and using the right materials, you can create a captivating drawing that captures the beauty and grandeur of nature. Remember to plan your composition, block in shapes, add detail and texture, focus on light and shadow, and refine your drawing. And don’t forget to experiment and have fun!
So grab your pencils and sketchbook, and get ready to embark on this artistic journey. Happy drawing!