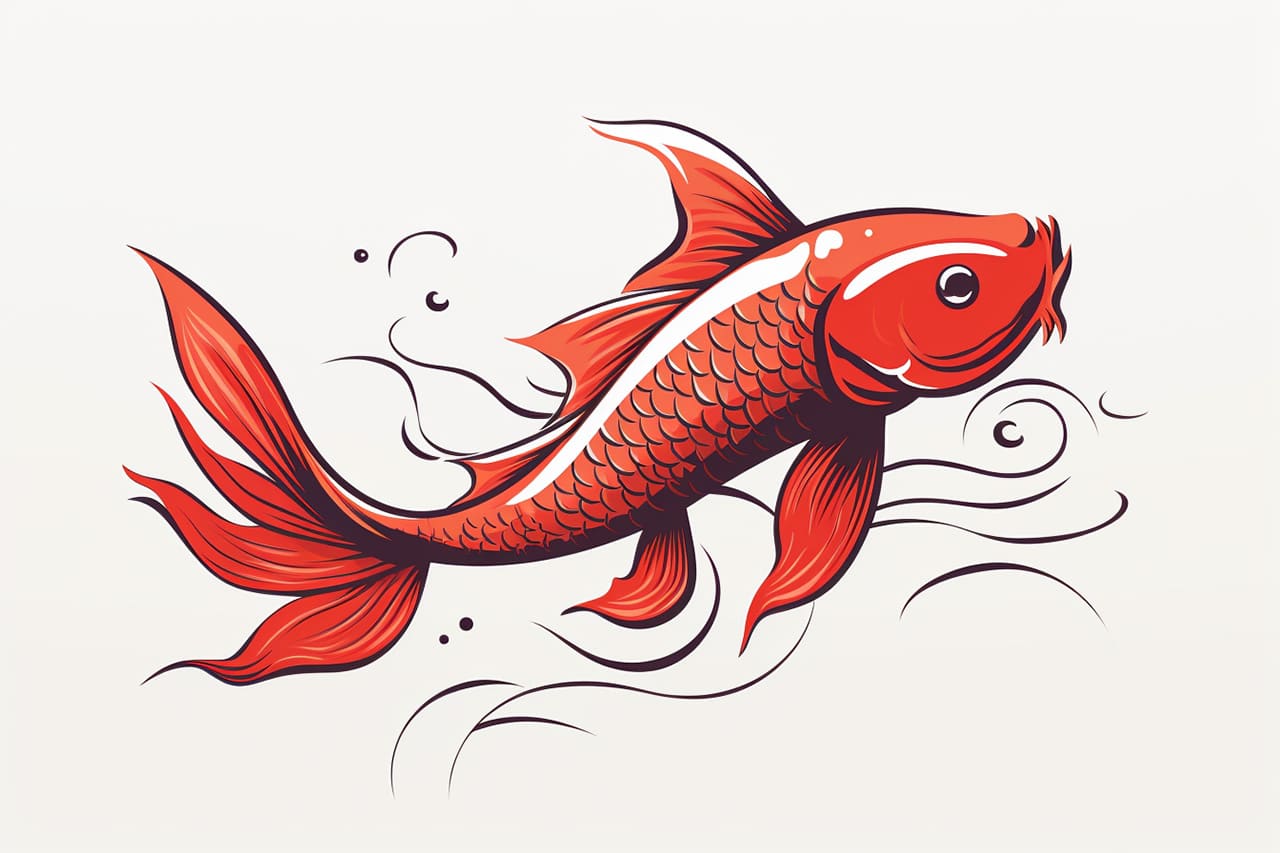
Have you ever wanted to draw a beautiful and graceful koi fish? Look no further! In this step-by-step guide, we will take you through the process of how to draw a koi fish from start to finish. Whether you are a beginner or an experienced artist, you will learn the techniques and skills needed to create a realistic and detailed representation of these mesmerizing creatures. So, grab your drawing materials and let’s dive in!
Materials Required
Before we begin, let’s gather the materials you’ll need for this project. Here’s a list of what you’ll need:
- Drawing paper or sketchbook
- Pencil (preferably HB or 2B)
- Eraser
- Fine-tip black marker or pen
- Colored pencils or watercolor paints (optional)
Now that we have our materials ready, let’s get started on our koi fish drawing!
Step 1: Outline the Body
Start by lightly sketching the outline of the koi fish’s body using your pencil. Begin with a curved line for the back, then add an elongated oval shape for the body. Remember, the shape should be slightly elongated and plump. Try to keep your lines loose and fluid, as we can refine them later on.
Step 2: Add the Fins
Next, we’ll add the koi fish’s fins. Begin by drawing a large triangular shape on the bottom part of the body for the tail fin. Then, add the pectoral fins on each side of the body, resembling the shape of an elongated teardrop. Finally, draw the dorsal fin on the top of the body, using a curved line.
Step 3: Sketch the Eye and Mouth
Now, let’s focus on the facial features of our koi fish. Start by drawing an almond-shaped eye towards the front of the body. Make it slightly slanted, as if the fish is looking ahead. Add a small circle inside the eye to represent the iris. Then, sketch a rounded triangle shape for the fish’s mouth, located just below the eye.
Step 4: Detail the Fins and Tail
In this step, we’ll bring more definition to the koi fish’s fins and tail. Begin by adding curves and lines to the fins, creating a sense of movement and flowing water. Pay attention to the details of the fin structure, ensuring they are well-defined and symmetrical. For the tail, draw wavy lines to represent the fins’ rays, giving it a delicate and elegant appearance.
Step 5: Refine the Body Shape
Return to the body of the koi fish and refine its shape. Use your pencil to smooth out any rough lines and make the body look more streamlined. Add gentle curves to define the contours of the fish, mimicking its scales and creating dimension. Take your time with this step, as it will greatly influence the final result.
Step 6: Add Details to the Face
Now, let’s add more details to the face of our koi fish. Start by carefully shaping the eye, adding shading to create depth and a sense of reflection. Use your pencil to darken the area around the eye, enhancing its prominence. Next, draw a small curved line on each side of the mouth to indicate the fish’s gills.
Step 7: Draw the Scales
One of the defining characteristics of a koi fish is its beautiful scales. To create a realistic effect, draw overlapping curved lines across the body. Start from the top and work your way down, adjusting the size and shape of the scales as you go. Pay attention to the way the scales flow along the body, emphasizing the fish’s natural curves.
Step 8: Outline with a Fine-Tip Pen
Once you are satisfied with your pencil sketch, it’s time to outline the koi fish with a fine-tip black marker or pen. Go over the main lines of your drawing, tracing the contours of the body, fins, and other details. Be careful and take your time to create smooth and confident lines. Remember, this step will give your drawing a polished and finished look.
Step 9: Add Color (Optional)
If you prefer working with colors, this is the step where you can bring your fish to life! Grab your colored pencils or watercolor paints and carefully fill in the different parts of the fish. Koi fish come in various vibrant colors, so don’t be afraid to experiment and create your own unique design. Add a touch of shading to create depth and dimension, making your koi fish appear more three-dimensional.
Conclusion
Congratulations, you’ve successfully learned how to draw a captivating koi fish! By following these easy step-by-step instructions, you can create your own masterpiece. Remember to be patient with yourself and embrace any imperfections along the way. Drawing is a journey, and each stroke of the pencil brings you closer to becoming a skilled artist. So, grab your pencil and let your creativity flow as you embark on this artistic adventure. Happy drawing!


