Welcome to this step-by-step guide on how to draw a megalodon! In this tutorial, I will walk you through the process of creating a realistic and captivating image of this prehistoric shark. Whether you are a beginner or an experienced artist, this guide is designed to help you achieve impressive results. So, let’s dive in and start drawing!
Materials Required
Before we begin, make sure you have the following materials ready:
- Drawing paper
- Pencil (preferably a range of H and B grades)
- Eraser
- Ruler
- Fine-tip marker or pen (optional)
Now that you have gathered all the necessary materials, let’s move on to the step-by-step instructions.
Step 1: Research and Reference
To accurately depict a megalodon, it is important to have a good understanding of its anatomy and features. Spend some time researching the shark’s various body parts, such as the size and shape of its head, body, fins, and teeth. Look for reference images or illustrations to guide you throughout the drawing process.
Step 2: Basic Shapes and Proportions
Begin by lightly sketching the basic shapes and proportions of the megalodon. Use simple geometric forms to outline the general structure of the shark’s body. Start with a large oval for the body and a smaller oval for the head. Add a trapezoid shape for the caudal fin, and rough outlines for the pectoral and dorsal fins.
Step 3: Refining the Outline
Using the basic shapes as a guide, refine the outline of the megalodon. Add more detail to the head, body, and fins, gradually shaping them according to your reference. Pay close attention to the curves and angles of the shark’s body to capture its dynamic and powerful presence.
Step 4: Adding Details
Now it’s time to add the distinctive features of the megalodon. Start by drawing the shark’s large, menacing eyes and the rows of sharp, triangular teeth. Pay attention to the placement and size of the teeth, as they play a crucial role in the shark’s character. Next, sketch the gill slits on the side of the head and add texture to the skin by drawing short, curved lines to represent the rough surface.
Step 5: Fins and Tail
Refine the shape of the pectoral, dorsal, and caudal fins, paying attention to their specific proportions and angles. The pectoral fins should be relatively large and triangular, while the dorsal fin should be tall and slightly curved. The caudal fin should have a distinct crescent shape, emphasizing the power and speed of the megalodon. Ensure all the fins are connected smoothly to the body.
Step 6: Shading and Texture
To add depth and dimension to your drawing, it’s time to add shading and texture. Identify the primary light source in your composition and determine the areas of light and shadow accordingly. Use your pencil to gradually build up layers of shading, paying attention to the shark’s body contours and the texture of its skin. Add darker values to areas that are in shadow and lighter values to areas that catch the light.
Step 7: Final Details
In this step, you can refine any areas that need further attention. Focus on adding small details, such as wrinkles or scars, to give your megalodon drawing more character and realism. Take your time to observe and adjust any parts that don’t look quite right.
Conclusion
Congratulations on completing your megalodon drawing! By following these step-by-step instructions and using your reference materials, you have created a stunning representation of this ancient shark. Remember, practice is key to improving your drawing skills, so don’t be discouraged if your first attempt isn’t perfect. With time and perseverance, you will continue to develop your artistic abilities. Happy drawing!
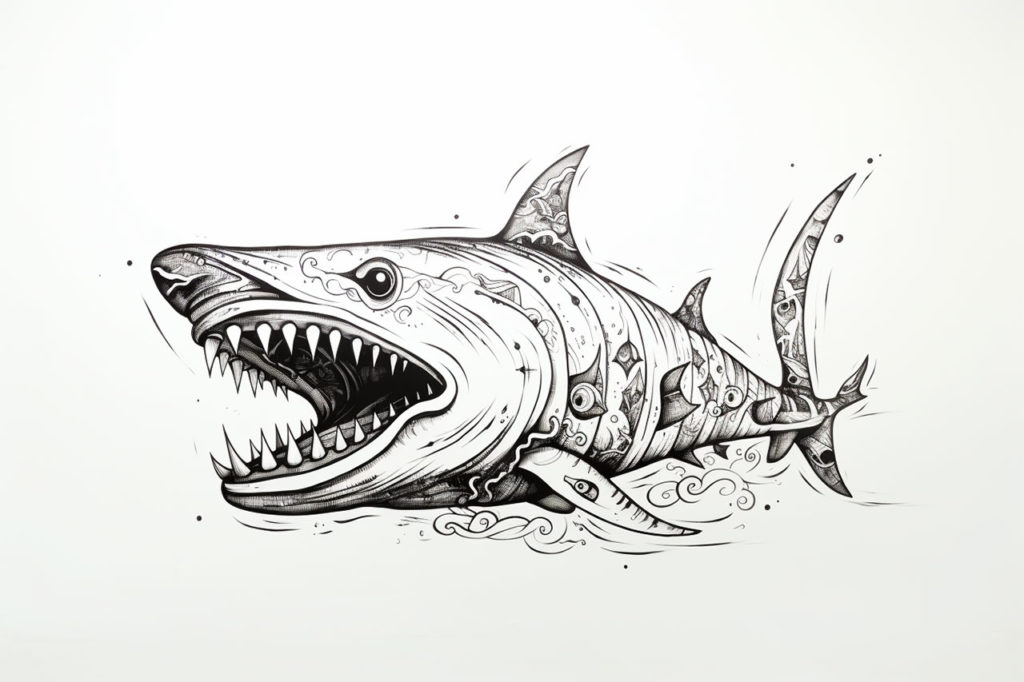
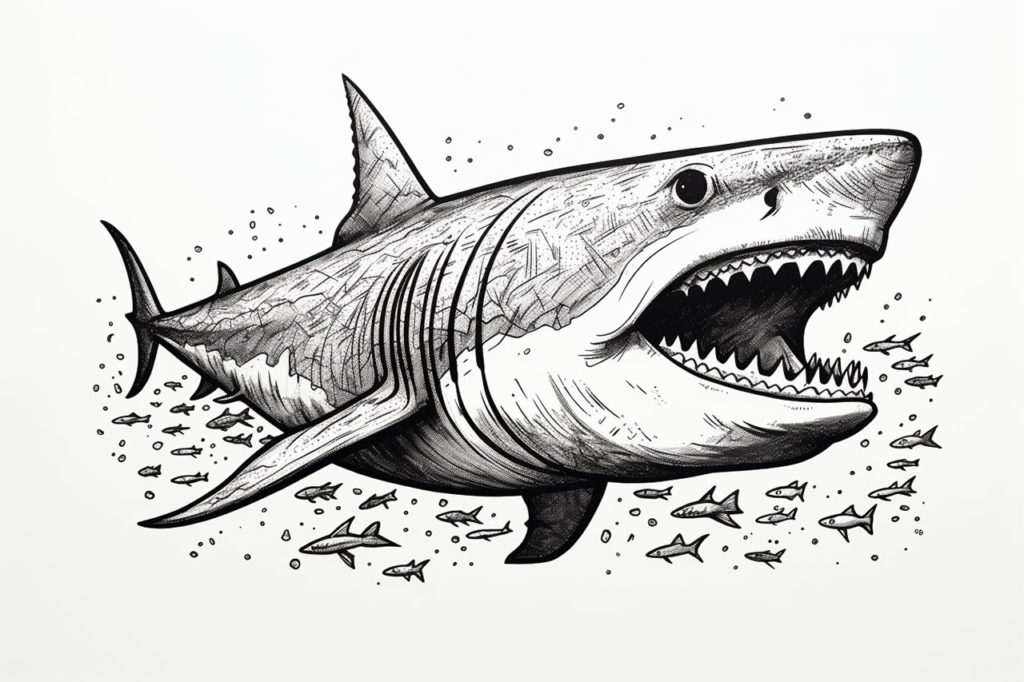
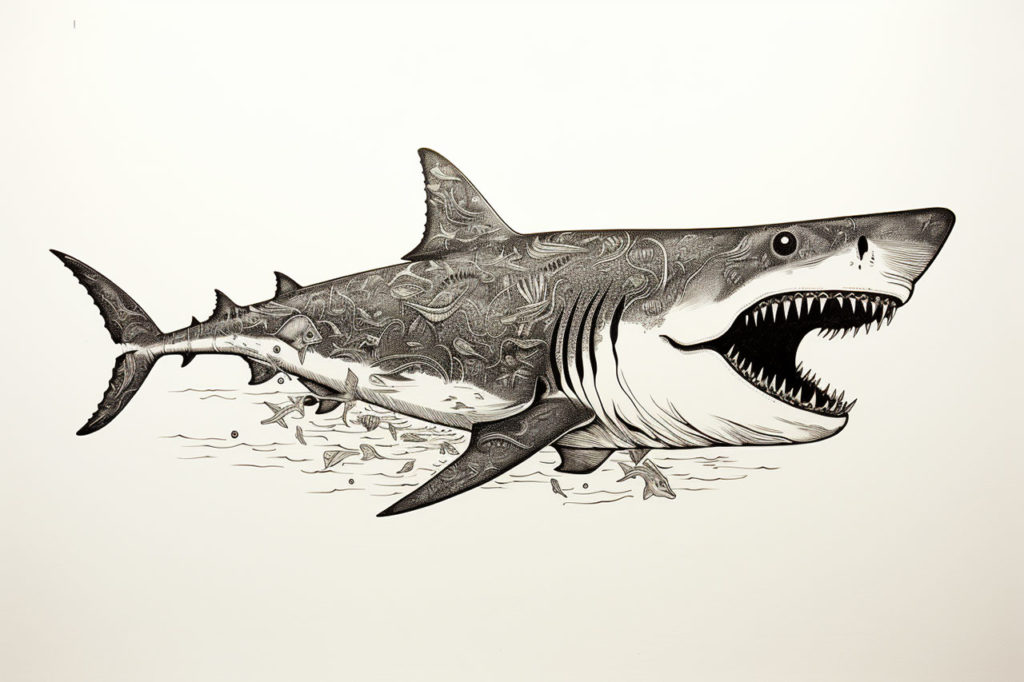
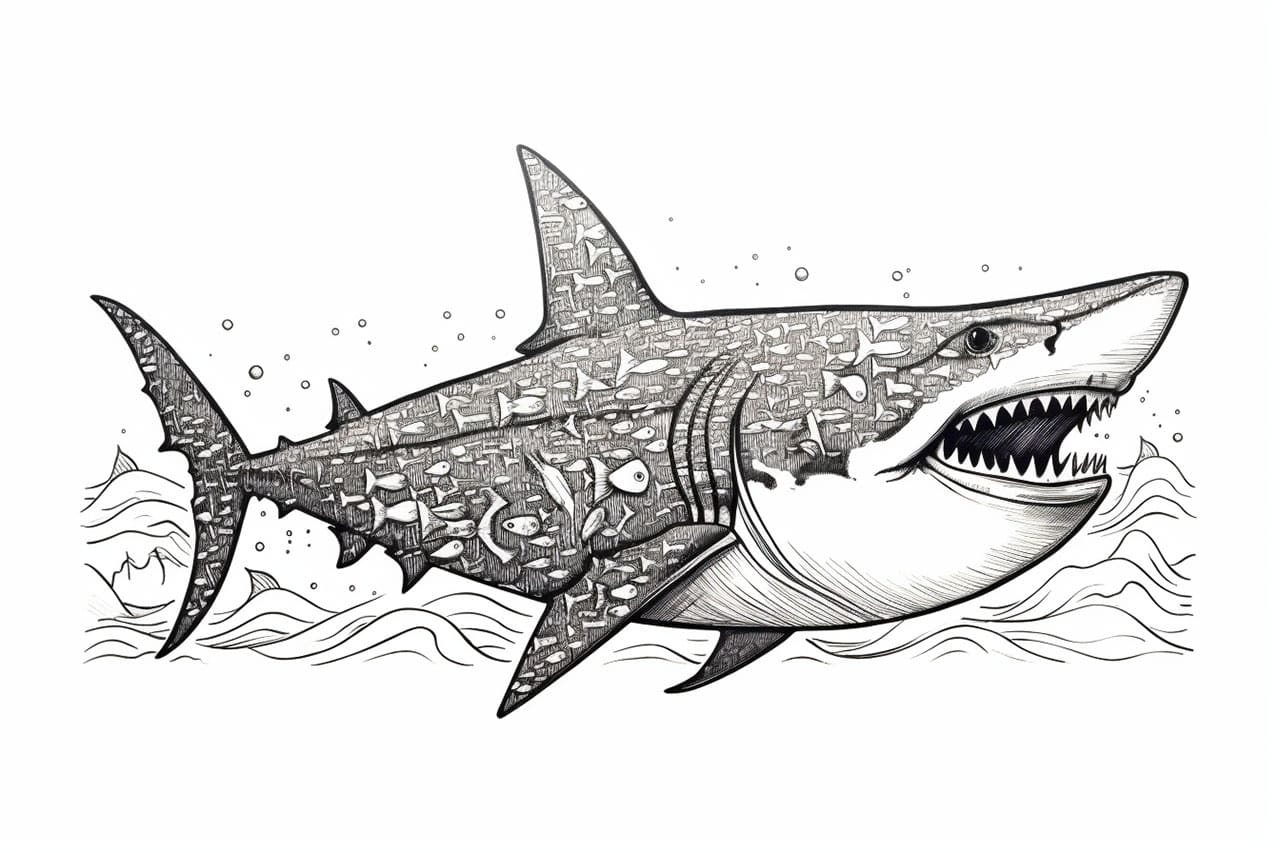
Gallery of Megalodon Drawings