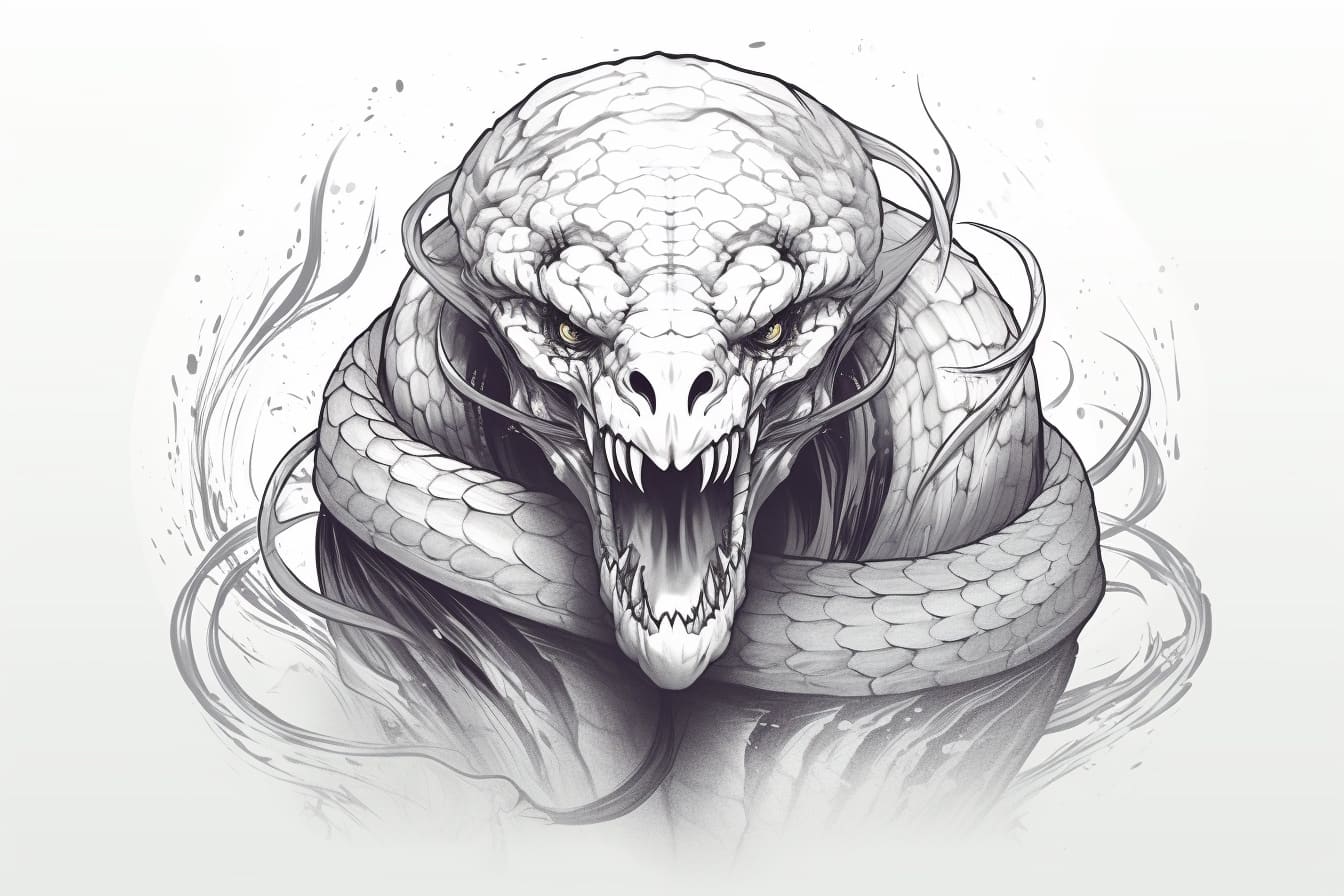
Welcome to this step-by-step guide on how to draw a serpent! Serpents have long been a subject of fascination and intrigue, appearing in mythology, literature, and artwork throughout history. Whether you are a beginner or an experienced artist, this tutorial will provide you with clear and concise instructions to help you create a captivating serpent drawing. Let’s get started!
Materials Required
Before we begin, gather the following materials:
- Paper: Choose a smooth, white paper that is suitable for drawing. A sketchbook or drawing pad works well.
- Pencil: A medium-soft graphite pencil, such as an HB or 2B, is ideal for sketching and shading.
- Eraser: Have a good quality eraser handy for making any necessary adjustments or corrections.
- Fine-tipped Pens: Optional, but can be used for outlining and adding details to your drawing.
- Colored Pencils or Markers: Optional, if you wish to add color to your finished drawing.
With your materials ready, let’s dive into the step-by-step process of drawing a serpent!
Step 1: Start with Basic Shapes
Begin by lightly sketching a circle for the serpent’s head and a long, curved line for its body. These basic shapes will serve as a foundation for your drawing.
Step 2: Outline the Head and Jawline
Using your pencil, carefully outline the shape of the serpent’s head by following the circle you sketched earlier. Add a curving line to define the jawline, tapering towards the back.
Step 3: Add Facial Features
Next, draw two almond-shaped eyes within the head shape. Add a small, rounded nose and a slightly open mouth, showing some teeth if desired. You can also include a forked tongue for added detail.
Step 4: Create the Body Structure
Extend the curved line you drew earlier to form the body of the serpent. Add small, curving lines to indicate the segments of the body. Remember to make the back end of the serpent slightly thinner compared to the front.
Step 5: Add Scales and Texture
To bring your serpent to life, add scales along the body. These can be represented by small, overlapping lines or curved shapes. Pay attention to the way the scales wrap around the body, following the curvature.
Step 6: Define the Tail
Extend the body line further to create the tail of the serpent. Make it gradually thinner and add some texture to mimic the scales. You can also give the tail a pointed tip for a more menacing look.
Step 7: Refine and Add Detail
Take a step back and observe your drawing so far. Refine any areas that need adjustment and add more detail if desired. You can incorporate additional texture, shading, or patterns to enhance the overall look of your serpent.
Step 8: Ink or Outline Your Drawing
If you prefer a cleaner look, you can now go over your pencil lines with a fine-tipped pen. Be careful and precise, tracing the main outlines and adding any additional details you wish to emphasize.
Step 9: Erase Unnecessary Pencil Lines
Once the ink has dried, gently erase any visible pencil lines, making sure not to smudge the ink. Use a soft touch with your eraser to avoid damaging the paper.
Step 10: Color Your Drawing (optional)
If you want to add color to your serpent, use colored pencils or markers to bring it to life. Consider the color scheme you’d like for your serpent, whether it be realistic or vibrant and imaginative. Experiment and have fun with different shades and tones!
Congratulations! You have successfully completed a serpent drawing. Take a moment to appreciate your creation and the skills you have developed. We hope you enjoyed this step-by-step guide on how to draw a serpent.
Conclusion
In this tutorial, we explored the step-by-step process of drawing a serpent. By following these instructions and using your creativity, you can create a stunning serpent drawing that captures the allure and mystery of these magnificent creatures. Remember to start with basic shapes, gradually add details, and refine your drawing as you go. Feel free to experiment with different styles, colors, and mediums to make your serpent unique. Enjoy the process and happy drawing!