Welcome to this step-by-step guide on how to draw a realistic rainbow trout. Whether you are an aspiring artist or simply looking for a fun and creative activity, learning how to draw a rainbow trout can be an enjoyable and rewarding experience. In this tutorial, we will break down the process into easy-to-follow steps, allowing you to create a beautiful and lifelike representation of this magnificent fish. So let’s get started!
Materials Required
Before we begin, let’s gather the materials you will need for this drawing:
- Drawing paper or sketchbook
- Pencil (preferably an HB or 2B)
- Eraser
- Fine-tip black marker or pen
- Colored pencils or markers (optional)
Once you have gathered these materials, you are ready to get started on your rainbow trout drawing.
Step 1: Outline the Shape of the Fish
Begin by lightly sketching the basic outline of the rainbow trout. Start with an oval shape for the body, slightly elongated and tapering towards both ends. Add a small triangular shape at one end for the tail and a slightly larger shape at the other end for the head.
Step 2: Add the Details
Next, let’s start adding the important details that will bring your drawing to life. Begin by sketching the mouth of the fish, which is typically thin and pointed. Then, draw the eye of the trout, which is round with a small pupil in the center. Pay attention to the positioning of the eye, as it can greatly affect the overall expression of the fish.
Step 3: Sketch the Fins
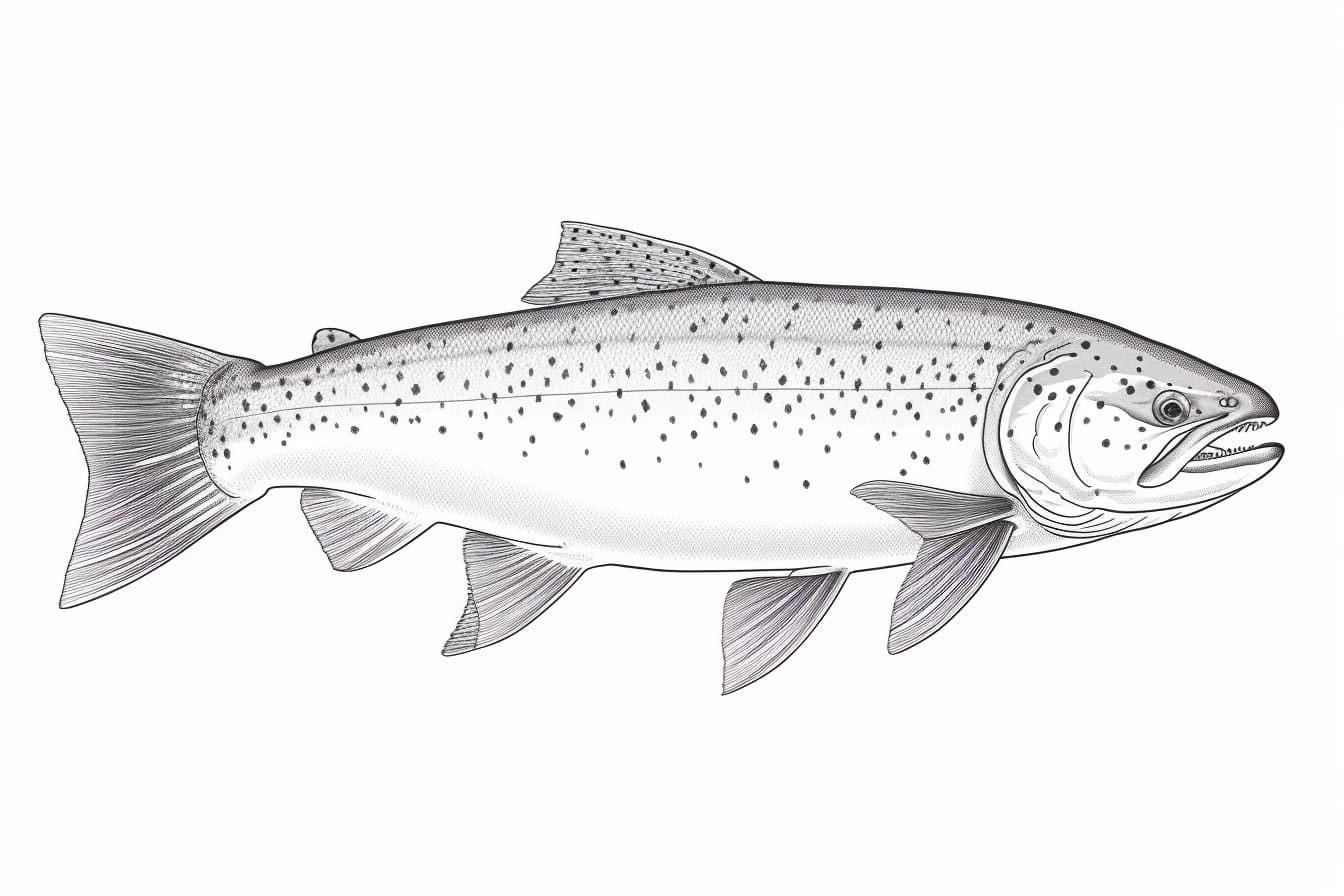
Rainbow trout have several fins that are important for their movement and balance. Start by drawing the dorsal fin, which runs along the back of the fish. It has a triangular shape with a slightly curved top. Then, sketch the pectoral fins, which are located on the sides of the fish near the head. These fins are generally smaller and more pointed. Lastly, draw the caudal fin, also known as the tail fin, which has a distinctive forked shape.
Step 4: Add Texture and Scales
To create a more realistic look, it’s important to add texture and scales to your drawing. Start by lightly sketching diagonal lines across the body of the fish. These lines represent the scales and should follow the contours of the fish’s shape. Be careful not to press too hard with your pencil, as we will be adding more definition later on.
Step 5: Define the Body
Now it’s time to add more definition to the trout’s body. Using your pencil, go over the outline and important details, such as the mouth, eye, and fins, with slightly darker lines. This will help make these features stand out and give the drawing more depth.
Step 6: Refine the Details
Take a closer look at the reference image of a rainbow trout or search for pictures online to observe the finer details of its features. Pay attention to the patterns and colors on its body, as well as any additional markings or spots. Use your pencil to add these details to your drawing, taking your time to get them as accurate as possible.
Step 7: Ink Your Drawing
Once you are satisfied with the pencil sketch, it’s time to ink your drawing. Using a fine-tip black marker or pen, carefully go over the lines of your drawing, making them more defined and bold. Take your time and work slowly to avoid any mistakes. You can also erase any remaining pencil lines after inking.
Step 8: Color Your Drawing (Optional)
If you prefer to add color to your drawing, now is the time to do so. Rainbow trout have a beautiful combination of colors, with shades of green, blue, silver, and pink. Use colored pencils or markers to carefully color in the body, fins, and other features of the fish. Take your time and blend the colors smoothly for a more realistic effect.
Step 9: Add Shadows and Highlights
To add depth and dimension to your drawing, it’s important to add shadows and highlights. Observe the reference image or use your imagination to determine the light source and where the shadows would fall on the fish. Using darker shades of the colors you used for the body, carefully add shadows in these areas. Then, use a white colored pencil or a white gel pen to add highlights to the areas that would catch the light.
Conclusion
Congratulations! You have successfully completed a drawing of a rainbow trout. By following these step-by-step instructions, you were able to create a realistic representation of this stunning fish. Remember, practice makes perfect, so don’t be afraid to keep experimenting and refining your skills. Happy drawing!