If you’re interested in improving your drawing skills, learning to draw a fish eye can be a great exercise. The eye is often considered the window to the soul, and capturing its unique structure and details can bring life and realism to your artwork. In this step-by-step guide, I will show you how to draw a fish eye in a simple and accessible way.
Materials Required
To get started on your fish eye drawing, gather the following materials:
- Pencil (preferably a mechanical pencil with a variety of lead thickness options)
- Eraser (preferably a kneaded eraser for easy shaping and cleaning)
- Drawing paper (a smooth and sturdy surface is ideal)
- Reference photo or a live fish for observation
Now that you have your materials ready, let’s dive into the step-by-step process of drawing a fish eye.
Step 1: Outline the Basic Shape
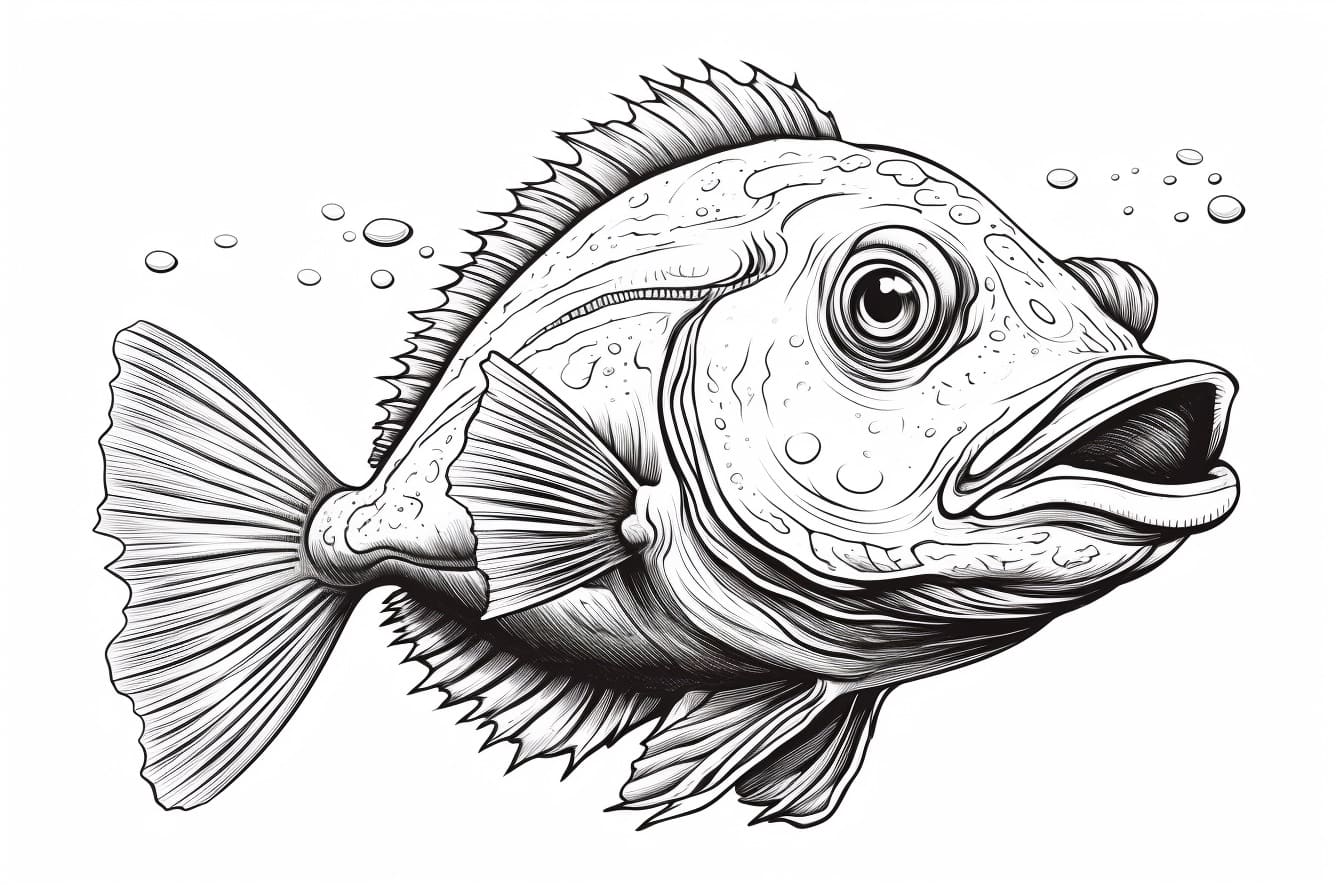
Begin by lightly sketching a basic oval shape to outline the overall form of the eye. Keep your lines loose and light, as you’ll refine them later. Remember that the shape of a fish eye can vary depending on the species, so it’s crucial to have a reference photo or a live fish on hand for accurate observation.
Step 2: Draw the Pupil
Within the oval shape, draw a smaller circle to represent the pupil. The size of the pupil can vary depending on the lighting and the species of fish you’re drawing. Pay attention to the shape and placement of the pupil within the eye.
Step 3: Add the Iris
Next, draw a slightly larger circle around the pupil to represent the iris. The iris is the colored part of the eye that surrounds the pupil. It can have various patterns and textures, so observe your reference photo or the live fish carefully to capture these details accurately.
Step 4: Create the Highlight
To make the eye look more realistic and alive, add a small highlight to the pupil. The position of the highlight will depend on the direction of the light source in your reference photo or observation. Typically, it is placed towards the top-left or the top-right of the pupil.
Step 5: Define the Eyelids
Now, it’s time to define the upper and lower eyelids. Observe the shape and curvature of the eyelids in your reference and lightly sketch them around the eye. Keep in mind that fish eyelids tend to be thin and translucent, so avoid heavy and dark lines.
Step 6: Refine the Details
Carefully observe your reference photo or the live fish to capture the finer details of the fish eye. Pay attention to any unique textures, scale patterns, or wrinkles around the eye. Use your pencil to add these details, keeping your strokes light and precise.
Step 7: Shade and Add Depth
To create depth and dimension in your drawing, it’s essential to add shading. Observe the areas of light and shadow in your reference photo or observation and carefully shade the appropriate areas of the eye. Use a range of pencil lead thicknesses to create different shades and textures.
Step 8: Blend and Smooth
To achieve a more realistic and seamless look, use a blending tool or your finger to gently blend and smooth the shaded areas. This will help to soften any harsh lines and create a gradual transition between light and dark.
Step 9: Finalize and Clean
Once you’re satisfied with the overall result, take a step back and evaluate your drawing. Make any necessary adjustments and clean up any stray lines or smudges with an eraser. Pay attention to subtle details and strive for a polished and refined finish.
Conclusion
Drawing a fish eye can be a challenging yet rewarding experience. By following these step-by-step instructions and practicing regularly, you’ll develop your observation skills and enhance your artistic abilities. Remember to be patient with yourself and enjoy the process of creating realistic and captivating fish eyes in your artwork.
With practice and dedication, you’ll soon be able to incorporate beautifully detailed fish eyes into your drawings. So grab your pencils, gather some fish references, and dive into the wonderful world of fish eye drawing!