Welcome to this step-by-step guide on how to draw a gremlin! Gremlins are mischievous creatures with unique features that make them both intriguing and fun to draw. In this tutorial, we will break down the process into simple steps, allowing you to create your own adorable gremlin masterpiece. So grab your pencils and let’s get started!
Materials Required:
To begin drawing a gremlin, make sure you have the following materials:
- Paper: Choose a smooth, white sheet of paper that is suitable for drawing. A sketchbook or drawing pad works well.
- Pencils: Use a range of pencils with different lead hardness, such as HB, 2B, and 4B. These will allow you to create various tones and textures.
- Eraser: Have a good quality eraser handy to correct any mistakes or lighten areas of your drawing.
- Sharpener: Keep a pencil sharpener nearby to ensure your pencils are always sharp and ready for precise lines.
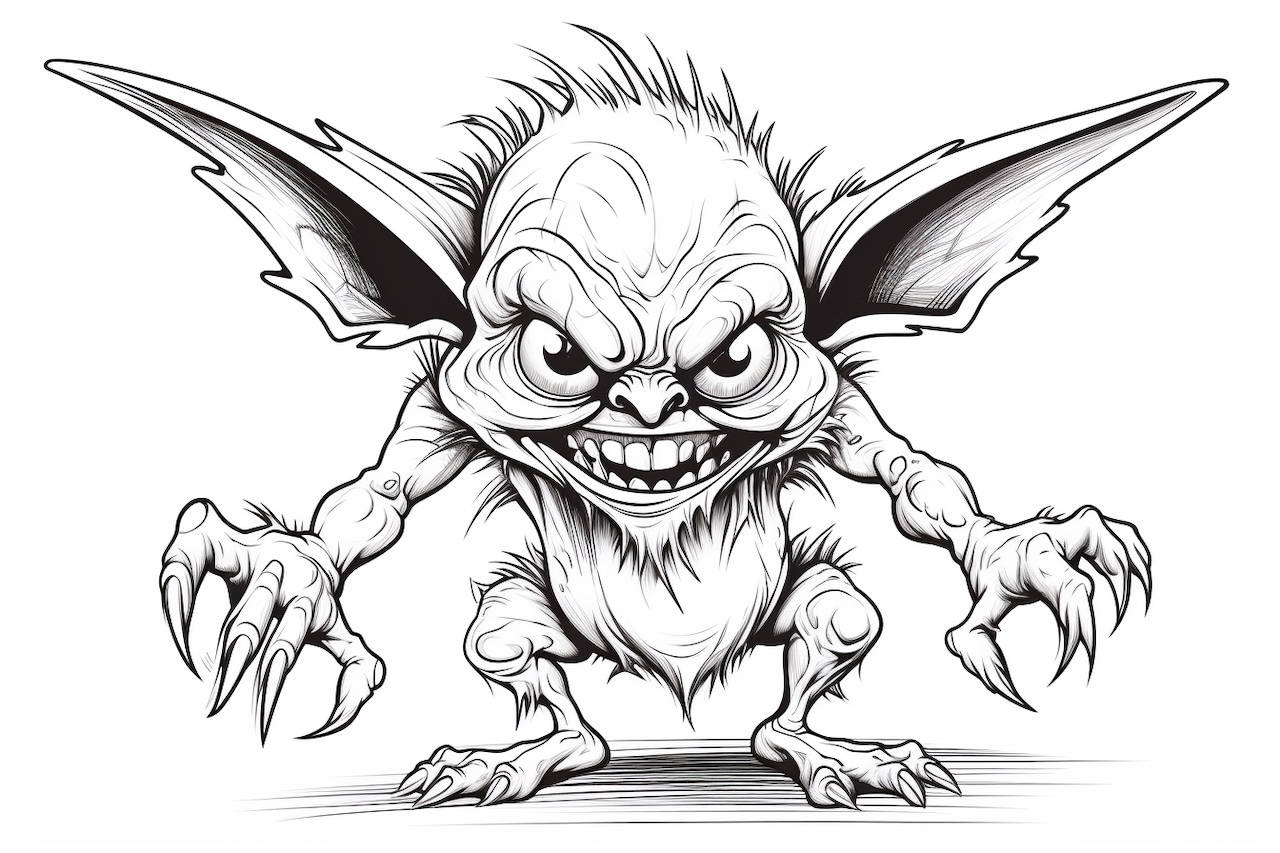
- Reference Image: Find a clear reference image of a gremlin to use as a visual guide during the drawing process. This will help you capture the creature’s unique characteristics accurately.
Now that you have all the necessary materials, let’s dive into the step-by-step process of drawing a gremlin.
Step 1: Basic Shapes
Start by lightly sketching the basic shapes that will form the gremlin’s body. Use a light pencil, like an HB, to create loose, simple shapes. Begin with an oval for the head and a larger oval below it for the body. Connect these two ovals with a slightly curved line representing the gremlin’s neck.
Step 2: Facial Features
Now that you have the basic shapes, focus on the facial features. Sketch two small circles within the head oval to represent the gremlin’s eyes. Place them slightly above the middle line of the head. Add a small oval shape beneath the eyes to indicate the gremlin’s nose. Then, draw a curved line below the nose for the mouth.
Step 3: Ears and Hair
Next, draw the gremlin’s ears on either side of the head. These can be pointy or rounded, depending on your preference. Above the head, sketch the gremlin’s hair using quick, wispy strokes. Make the hair appear messy and uneven to reflect the creature’s mischievous nature.
Step 4: Body and Limbs
Refine the shape of the body by adding more detail. Extend two curved lines beneath the body oval to create the gremlin’s legs. Make them slightly bent to convey a sense of movement. Similarly, add two curved lines on each side of the body to represent the arms. At the end of each arm, sketch small ovals for the hands.
Step 5: Facial Details
Now it’s time to add more detail to the gremlin’s face. Start by refining the shape of the eyes. Draw pupils within the eye circles, and add some highlights to make them appear lively. Add eyebrows above the eyes, using short, upward strokes to give the gremlin a mischievous expression. Use small lines and curves to define the shape of the nose and mouth further.
Step 6: Hands and Feet
To give the gremlin more character, work on the hands and feet. Add more details to the ovals you sketched for the hands, creating fingers by drawing lines for each digit. Similarly, refine the shape of the feet by adding small curves and lines to indicate toes. Remember to keep the gremlin’s hands and feet slightly larger than proportionate to emphasize their unique features.
Step 7: Clothing and Accessories
Gremlins often wear clothing and accessories, so let’s add some to complete the drawing. Start with a simple shirt or jacket by sketching its shape on the body. Add details like collar lines, buttons, or pockets to make it more interesting. If you want, you can also give your gremlin a hat, glasses, or any other accessories that you think would suit its personality.
Step 8: Final Details and Shading
At this stage, focus on refining the overall drawing and adding any remaining details. Clean up any rough lines and make necessary adjustments to ensure the gremlin’s proportions are correct. Use an eraser to remove any stray pencil marks. If you’re happy with the line work, you can start shading the gremlin to give it depth and dimension. Use your range of pencils to create different values and textures in the drawing. Pay attention to areas where shadows fall, such as under the gremlin’s chin, beneath the clothing, or between fingers.
Conclusion
Congratulations! You have successfully learned how to draw a gremlin step by step. Remember, practice makes perfect, so don’t be discouraged if your first attempt doesn’t turn out exactly as expected. Keep experimenting with different styles and techniques, and soon you’ll be able to create gremlins with your unique artistic touch. Have fun and enjoy the process of bringing these mischievous creatures to life on paper!