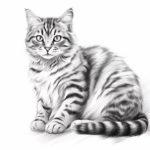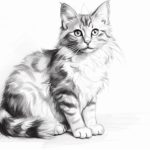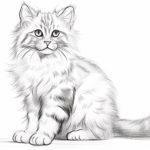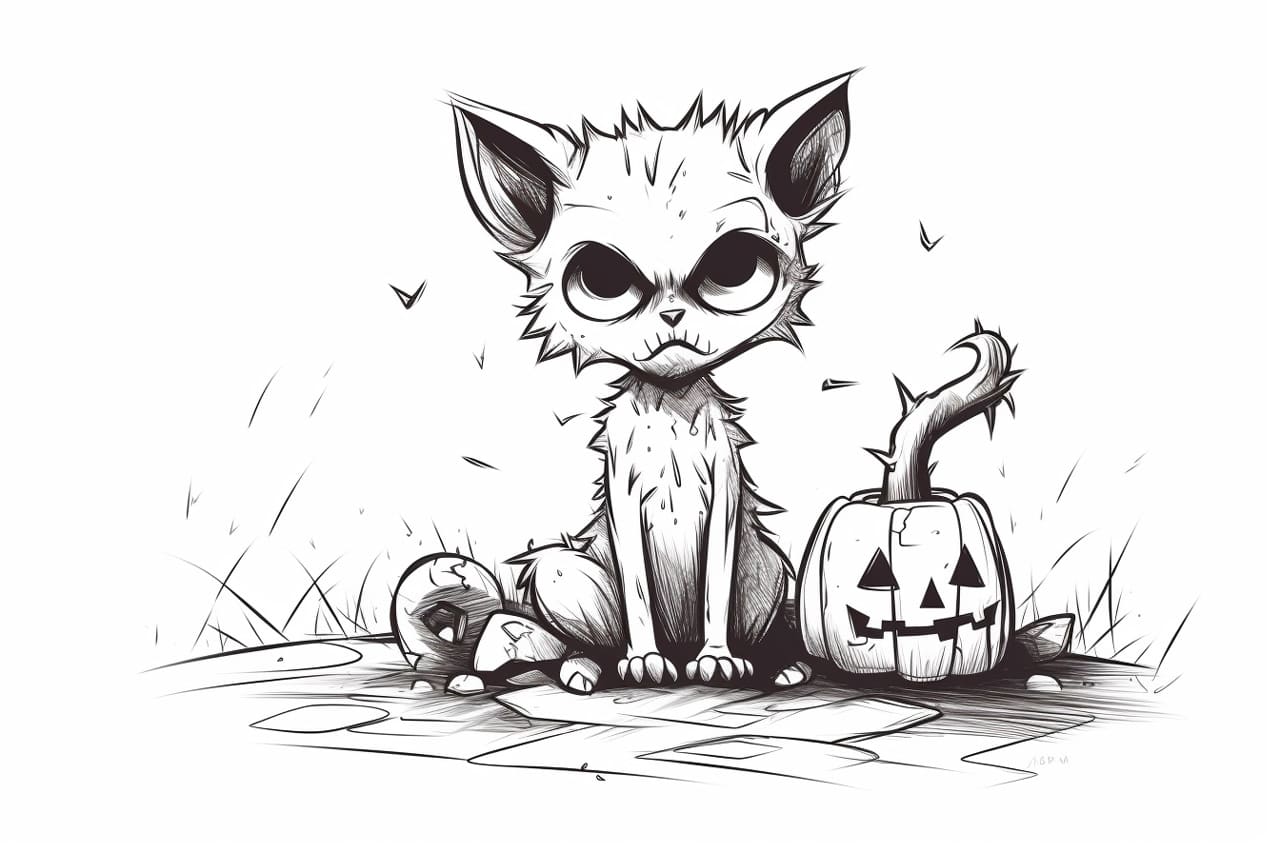
Welcome to this step-by-step tutorial on drawing a Halloween cat! Whether you’re a beginner or an experienced artist, this guide will help you create a spooky and adorable feline that is perfect for the Halloween season. Just grab your drawing materials and follow along!
Materials Required
Before we get started, make sure you have the following materials:
- Drawing paper
- Pencil
- Eraser
- Fine-tip black marker or pen
- Colored pencils or markers (optional)
Now that you have all your materials ready, let’s begin drawing our Halloween cat!
Step 1: Sketching the Basic Shape
Start by drawing a large circle in the center of your paper. This will be the cat’s head. Next, add two slightly curved lines coming out from the bottom of the circle to create the cat’s neck. This will serve as our guide for the body proportions.
Step 2: Adding the Face Details
Now, let’s focus on the cat’s face. Draw two almond-shaped eyes within the circle, leaving some space between them. Add two small circles inside the eyes as highlights. Beneath the eyes, draw a small triangular nose. Then, draw a curved line to create the mouth, slightly turning it upwards to give the cat a mischievous smile.
Step 3: Ears and Whiskers
To give our Halloween cat some character, we’ll add pointy ears and long whiskers. Start by drawing two triangular shapes on the top of the cat’s head for the ears. Extend the lines from the top of the head, curving them slightly outward. Next, draw three long, curved lines on each side of the cat’s face to represent the whiskers. Make sure to leave some space between each whisker.
Step 4: Body and Tail
Now, let’s work on the cat’s body. Begin by drawing a curved line that connects to the neck and extends downward to create the back. Then, draw another curved line starting from the bottom of the first line to form the belly. For the tail, draw a long, curved line extending from the back of the body. You can add some jagged edges to make it look spookier.
Step 5: Legs and Paws
To complete the body, add the cat’s legs and paws. Start by drawing two sets of curved lines extending down from the bottom of the body. These will serve as the front and back legs. Following the shape of the legs, draw small circles at the ends to represent the paws. Don’t forget to add some small lines within the paws to indicate the toes.
Step 6: Adding Details and Patterns
Now that we have the basic structure of our Halloween cat, let’s add some details and patterns to make it more festive. You can draw some stripes or spots on the cat’s body, or even add some intricate Halloween-themed designs like bats or pumpkins. Be creative and have fun with it!
Step 7: Inking the Drawing
Once you’re satisfied with your pencil sketch, it’s time to ink your drawing. Grab your fine-tip black marker or pen and carefully go over all the lines to make them bold and defined. Take your time and be patient to ensure clean and smooth lines. Allow the ink to dry before erasing any stray pencil marks.
Step 8: Coloring (Optional)
If you prefer, you can leave your drawing as a black and white illustration. However, if you want to add some color, grab your colored pencils or markers and start filling in the different parts of the cat. You can choose traditional Halloween colors like black, orange, and purple, or get creative with your own color scheme.
Conclusion
Congratulations! You’ve successfully learned how to draw a Halloween cat. By following these step-by-step instructions, you’ve created a spooky and adorable feline that is perfect for the Halloween season. Remember, practice makes perfect, so keep honing your drawing skills and experiment with different designs. Happy Halloween!