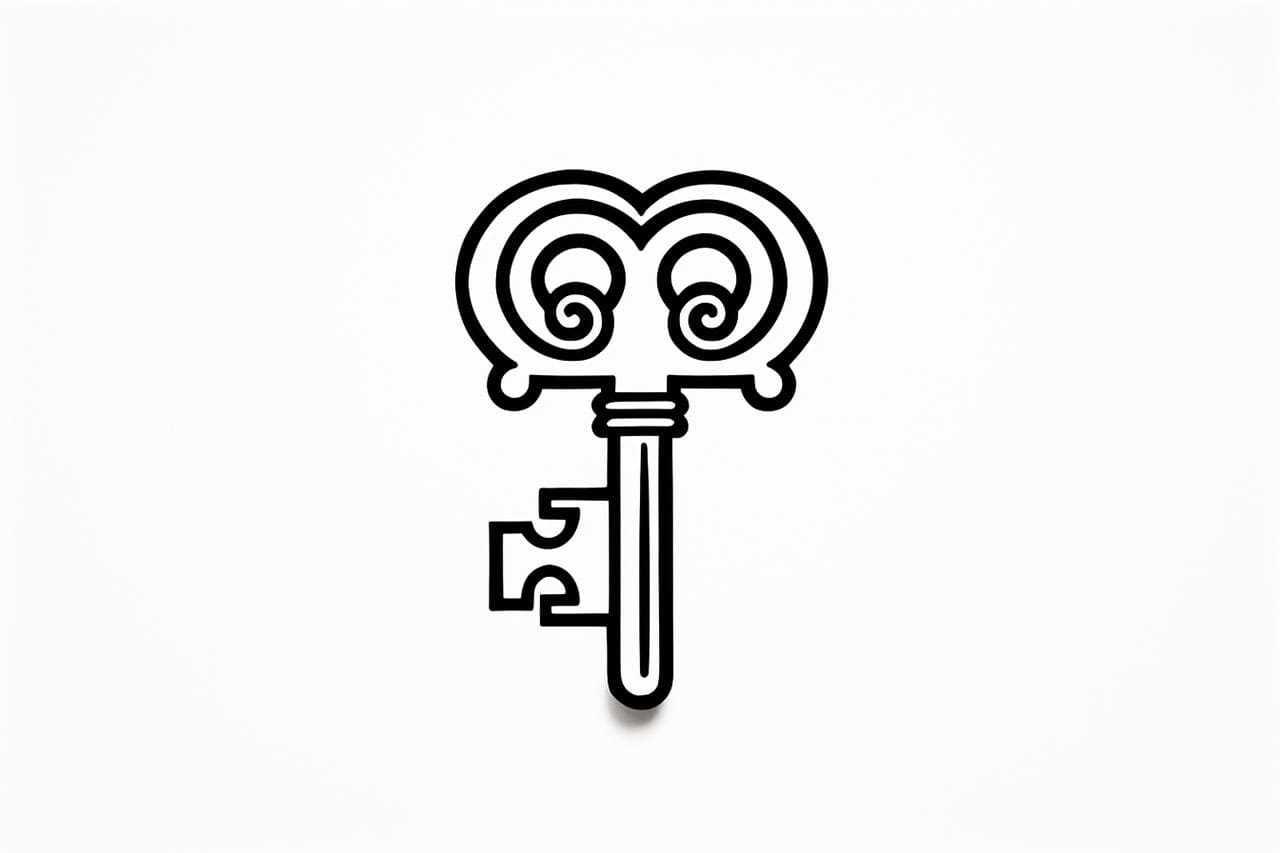
Welcome to this step-by-step tutorial on how to draw a key. Keys are not only functional objects but also have a rich symbolic meaning. Drawing a key can be a great way to explore your artistic skills and create unique designs. In this tutorial, we will break down the process of drawing a key into simple and easy-to-follow steps. So grab your sketchpad and let’s get started!
Materials:
To begin drawing a key, you will need the following materials:
- Paper: Any type of drawing paper will work well for this tutorial. You can choose from sketchbooks, printer paper, or even a plain sheet of paper.
- Pencil: A regular graphite pencil will be sufficient for sketching out the key’s initial shape.
- Eraser: Keep an eraser handy to correct any mistakes or make adjustments as you go along.
- Fine-tip or felt-tip pens: These will be used for outlining and adding details to your drawn key.
- Colored pencils or markers (optional): If you want to add color to your key drawing, colored pencils or markers can be used to bring your artwork to life.
Now that you have gathered your materials, let’s move on to the step-by-step instructions on how to draw a key.
Step 1: Sketch the Basic Shape
Start by lightly sketching a horizontal line. This line will act as the base of your key. Next, draw a vertical line intersecting the horizontal line towards the bottom, forming the key’s handle.
Step 2: Add the Key’s Teeth
Below the horizontal line, draw a series of rectangular shapes. These will represent the “teeth” of the key. Make sure to leave some space between each tooth.
Step 3: Refine the Handle
Refine the shape of the key’s handle by adding curved lines on each side. These lines should be parallel to the vertical line you drew in the first step. The handle can be shaped in various ways, so feel free to experiment with different designs.
Step 4: Outline the Key Shaft
Draw two parallel lines extending from the handle towards the teeth. These lines will form the key’s shaft. Make sure the lines are evenly spaced and aligned with the teeth.
Step 5: Shape the Key’s Bow
At the top of the key’s handle, draw a half-circle shape to create the bow. The size of the bow can vary depending on your preference and the style you want to achieve.
Step 6: Define the Teeth
Refine the teeth of the key by rounding the corners and adding small details. You can also experiment with different tooth shapes to give your key a unique look.
Step 7: Finalize the Key’s Shape
Go over your initial sketch and darken the lines of the key, erasing any unnecessary guidelines. Add more details such as texture or patterns if desired.
Step 8: Add Shading and Highlights (optional)
If you want to add depth and realism to your key drawing, you can add shading and highlights. Use your pencil to create darker areas on the key’s surface and utilize an eraser to highlight certain parts that would catch light.
Conclusion
Congratulations! You have successfully learned how to draw a key. Drawing a key may seem challenging at first, but by breaking it down into simple steps, you can create a stunning piece of artwork. Remember to practice and experiment with different designs to add your personal touch to each drawing. So grab your sketchpad, gather your materials, and start unlocking your creativity with key drawings!
Gallery of Key Drawings