How to Draw a Fairy in 8 Simple Steps
Learn how to draw with this step-by-step tutorial.
Materials You'll Need
- Drawing paper
- Pencil (HB or 2B)
- Eraser
- Colored pencils
- Markers
Do you believe in magic? Or, better yet, are you ready to make some? Whether you're a budding artist or just dipping your toes into the world of creativity, learning how to draw a fairy is like taking a step into a magical realm—wings, sparkles, and all. In this step-by-step guide, we'll walk you through the process, helping you create your own enchanting fairy, right from that first pencil stroke to the final sprinkle of magic. So, dust off those art supplies, summon your inner muse, and get ready to bring a little bit of fantasy to life on paper. Let the fairy tales begin!
Materials Required
Before we embark on our artistic journey, let's gather all the necessary materials:
-
Pencils of various grades (2B, 4B, and 6B are recommended)
-
Eraser (preferably a kneaded eraser for easy manipulation)
-
Fine-tipped markers or pens (optional for outlining)
-
Colored pencils or markers (optional for adding color)
Step-by-Step Instructions for How to Draw a Fairy
Now that we have everything we need, let's dive into the enchanting world of fairy drawing.
Step 1: Sketching the Magical Basics
Begin by lightly sketching the basic shapes that will form the foundation of your fairy. Start with an oval for the head—this is where all the magic begins! Add a smaller oval or circle below it for the body, and connect the two with a gentle curve for the neck. Now, add a pair of simple lines extending out from the body for the arms, and another pair reaching downward for the legs. Keep it loose; the details can wait. For now, let's just focus on getting those proportions and positions just right, as if the fairy is gracefully hovering.
Step 2: Bringing the Face to Life
Time to add a little personality! Start by sketching two almond-shaped eyes, leaving just enough space between them to give room for the nose and a bit of fairy charm. Add a tiny curved line for the nose and a gentle smile for the mouth—this fairy is here to enchant! Draw a pair of pointed ears peeking out from where the hair will fall; fairies can't help but look a little mystical. Play around with eye shapes and expressions. Is your fairy mischievous, thoughtful, or joyful? Let the face tell the story.
Step 3: Flowing Hair and Fairy Fashion
Tip: As you sketch your fairy, don't hesitate to incorporate elements from your own imagination—consider adding unique accessories or magical companions that reflect her personality, like a tiny creature or a magical staff. This personal touch not only enhances the character of your fairy but also allows you to experiment with different designs and themes, making your artwork truly one-of-a-kind.
Now let's add some magic to that hair! Fairy hair isn't just hair—it's a personality of its own. Sketch it flowing around the face and shoulders, whether it's wild and wavy, short and sassy, or ethereally floating as if lifted by the wind. Next, it's outfit time. Fairies are known for their unique styles, often inspired by nature. Perhaps a dress made of petals, a tunic woven from leaves, or even a gown that shimmers like moonlight. Add ruffles, patterns, or anything that hints at your fairy's world. Think delicate, intricate, and just a touch otherworldly.
Step 4: Shaping the Body and Limbs
Now that you have the basics down, it's time to refine the body and limbs. Go over the lines of the arms and legs, giving them a graceful curve to suggest movement. Add delicate fingers and dainty, pointed toes, making sure to keep everything balanced and soft. Fairies aren't known for their bulk; they're all about elegance and lightness. Imagine your fairy mid-flight or perhaps balanced on a flower petal—this is a creature of pure grace, after all.
Step 5: Adding Those Iconic Wings
What's a fairy without a pair of wings? Let's make this little being ready to take flight. Sketch the wing shapes on either side of the back. You can go for classic butterfly wings, delicate dragonfly wings, or your own unique design. Feel free to experiment! Once you're happy with the outline, add some delicate details—maybe a few intricate veins or an ethereal pattern. These wings should be nothing short of mesmerizing, catching the light in that magical way only fairy wings can.
Step 6: Finishing the Face with Fairy Spark
It's time to add those final touches to the face, bringing it to life with a bit of magic. Refine the shape of the eyes, adding lashes and soft brows. Think about what might give your fairy a hint of enchantment—twinkling eyes, a faint blush, or maybe a sprinkle of fairy dust across the cheeks. Try adding tiny details like freckles or a slight sparkle around the eyes to make them shine. This is where your fairy's unique personality shines through, so let your creativity play!
Step 7: Outlining with Ink
Once you're happy with your pencil sketch, it's time to bring your fairy to life in ink. Use a fine-tipped pen or marker to trace over your lines, paying close attention to essential features like the face, wings, and intricate details on the clothing. You might even add extra flourishes, like wisps in the hair or patterns on the outfit, to give it more charm. Take your time with this step—steady, confident lines will make your fairy look polished and vibrant.
Step 8: A Splash of Color (Optional)
If you're feeling bold, now's the time to add some color! Choose shades that reflect the fairy's personality—vibrant hues for the wings, soft pastels for the dress, or earthy tones if your fairy's more of a forest dweller. Layer colors to create depth and dimension, especially in the wings. Maybe add a hint of shimmer on the wings or soft blush on the cheeks to give your fairy that magical glow. Remember, it's your fairy, so let your imagination run wild.
With color, your fairy will be ready to flit right off the page, enchanting all who see it! ✨
A Fairy-Tale Finish: Your Magical Masterpiece Awaits
Congratulations, intrepid artist! You've ventured into the mystical realm of fairy drawing, and look what you've created—a true magical masterpiece! By following these steps, you've unlocked the secrets of wings, sparkle, and that otherworldly fairy charm. Remember, every artist brings something unique to the canvas, so keep experimenting, adding those personal flourishes, and letting your creativity dance freely. Take a step back, admire the enchanting creature you've brought to life, and know this: you're one step closer to mastering the magic of art. Who knows what other worlds you'll bring to life next? ✨
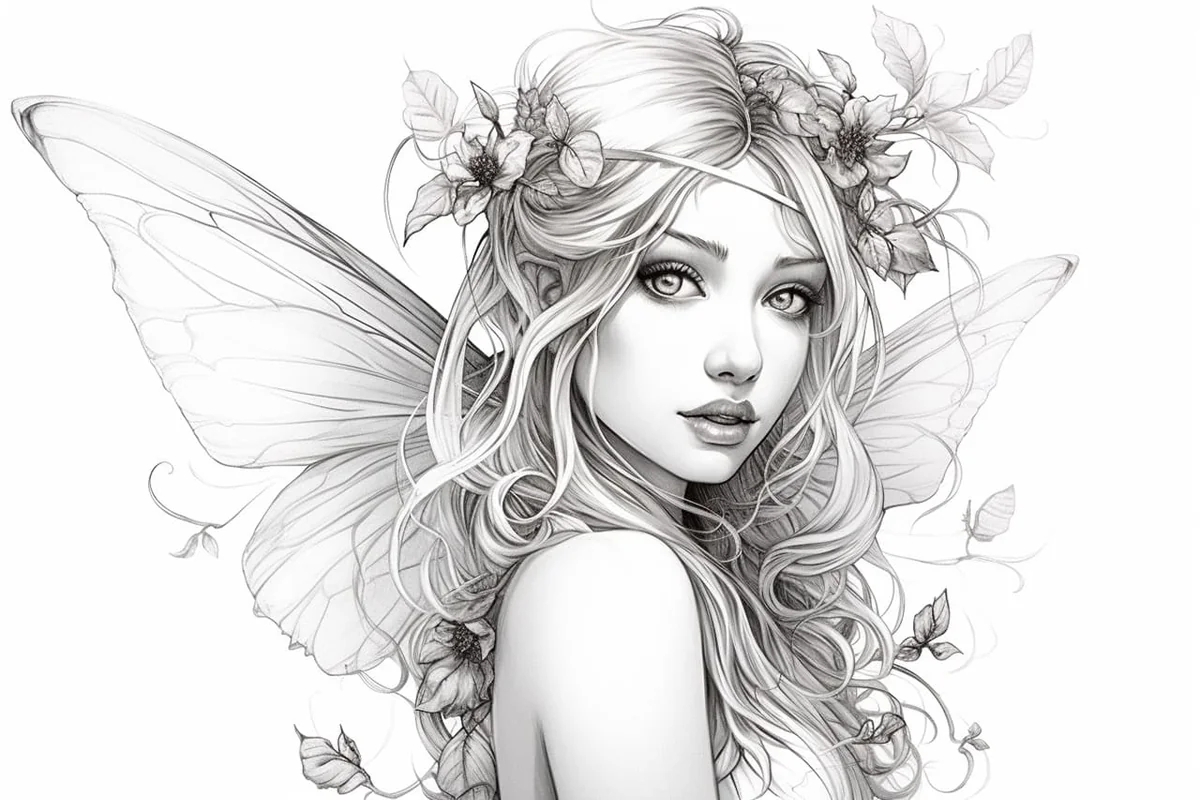
Gallery of Fairy Drawings


Wild Inspiration: Imagine your fairy not just fluttering in a garden, but dancing amidst a swirling galaxy of colors and cosmic wonders! Picture her wings shimmering with the hues of distant nebulae, each stroke of your pencil capturing the ethereal glow of stardust. Instead of a traditional setting, let her perch on a swirling comet, with trails of sparkling light and tiny planets orbiting around her. You can add unexpected elements like a tiny spaceship or a celestial creature as her companion, inviting a blend of fantasy and sci-fi into your artwork. Don't hesitate to experiment with colors and textures, perhaps using metallic or iridescent paints to bring that celestial magic to life. Let your imagination soar beyond earthly bounds, and create a fairy who embodies the awe of the universe!
Some Scene and Setting Ideas for Your Fairy Drawings
Moonlit Meadow: Fairies dancing amidst glowing fireflies and blooming night flowers.
Enchanted Forest Clearing: Fairies gathered around a mystical tree with glowing runes.
Waterfall Grotto: Fairies bathing under a cascading waterfall in a hidden cave.
Secret Garden: Fairies tending to oversized flowers and herbs in a secluded garden.
Winter Wonderland: Fairies skating on frozen pond amidst sparkling icicles and snowflakes.
Underwater Coral Reef: Fairies with shimmering scales swimming among vibrant coral and sea creatures.
Starlit Sky: Fairies riding shooting stars or painting constellations in the night sky.
Desert Oasis: Fairies resting under a palm tree with glowing oasis water and desert blooms.
Floating Island: Fairies living on a floating island amidst fluffy clouds and rainbow bridges.
Steampunk Cityscape: Fairies navigating a bustling city of gears and brass, with airships and clockwork creatures.