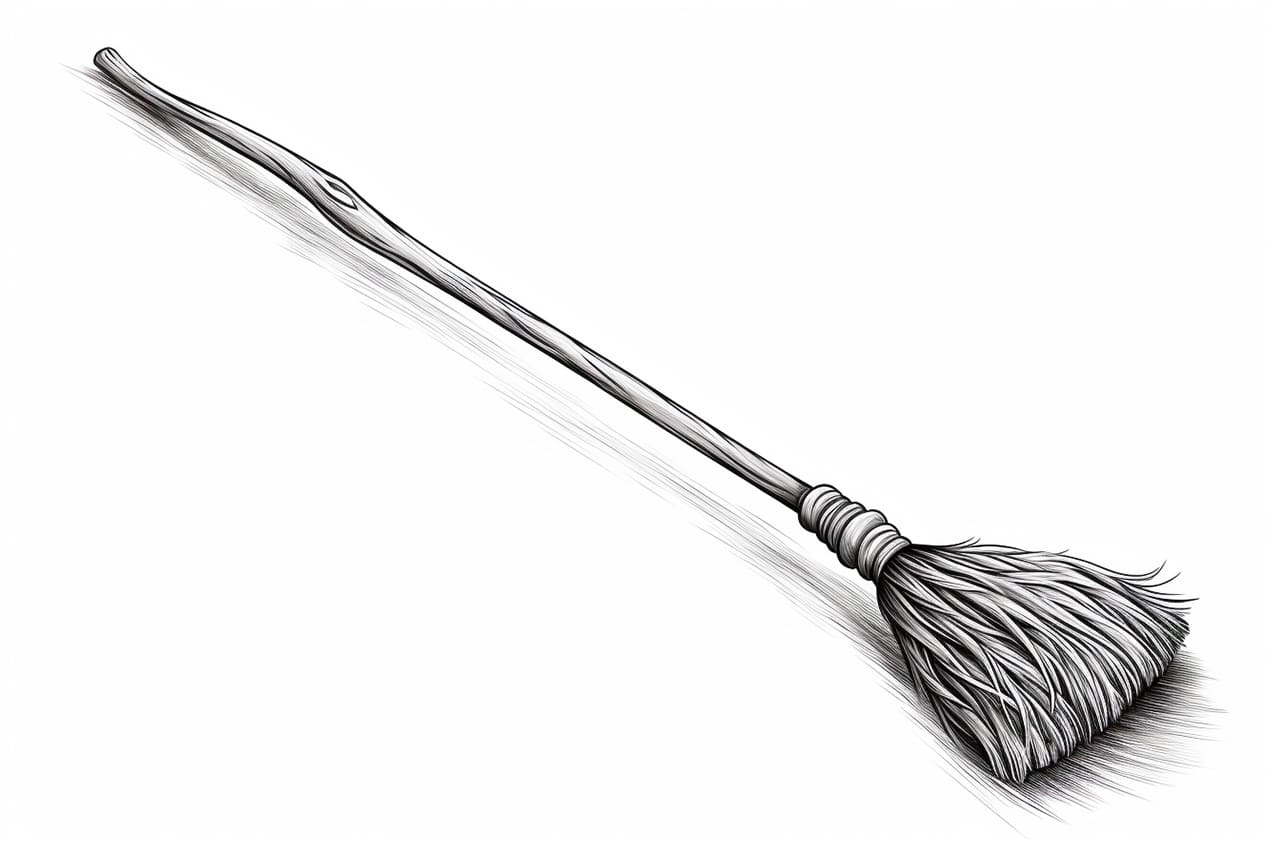
Do you love drawing and want to learn how to sketch everyday objects? In this step-by-step guide, we will explore the art of drawing a broomstick. A broomstick may seem simple, but it offers an excellent opportunity to practice your lines, shapes, and shading skills. And it’s a great accessory when drawing a witch. Follow along with this tutorial and discover how to create a stunning broomstick drawing. Let’s get started!
Materials Required
Before we begin, ensure that you have the following materials at hand:
- A sketchbook or drawing paper
- Pencils of various grades (HB, 2B, 4B, etc.)
- An eraser
- A pencil sharpener
- Optional: colored pencils or markers for adding color to your drawing
Now that you have your materials ready, let’s dive into the step-by-step process of drawing a broomstick.
Step 1: Outline the Handle
Start by drawing a long vertical line at the center of your paper. This line will serve as the broomstick’s handle. Make sure the line is straight and extend it to the desired length.
Step 2: Create the Bristles
At the bottom end of the handle line, draw a horizontal line to represent the bristles of the broomstick. This line should be slightly curved to give the illusion of a natural shape. You can make the bristles as thick or thin as you prefer.
Step 3: Add Volume to the Handle
To make the handle appear three-dimensional, we need to add depth and volume. Draw another line alongside the initial handle line, parallel to it. This line should be slightly curved, following the shape of the handle. By doing this, you’re creating a border for the handle, which will make it look rounded and more realistic.
Step 4: Define the Bristles
To make the bristles more defined, add short horizontal lines at the bottom of the broomstick’s bristle line. These lines represent individual bristles and give the broomstick a textured appearance. Vary the length of these lines to add depth and make the bristles look more realistic.
Step 5: Refine the Handle
Now, let’s refine the handle by adding some details. Start by drawing a line across the top of the handle, indicating where the bristles are attached. Next, add some curved lines along the length of the handle to give it a more textured look. These lines should be irregular and should follow the curve of the handle.
Step 6: Shade the Bristles
To create depth and make the broomstick drawing more realistic, we need to add some shading. Use a pencil with a soft grade (such as 4B or 6B) and lightly shade the bristles. Start at the bottom and gradually add more shading towards the top. This technique will give the bristles a tapered and lifelike appearance.
Step 7: Texture the Handle
To enhance the texture of the handle, lightly draw some lines running vertically or diagonally across the handle’s surface. These lines should be irregular and not too pronounced. They will add a wood-like texture and make the handle look more realistic.
Step 8: Add Shadows and Highlights
To make your drawing really come to life, it’s important to add some shading and highlights. Identify the direction of the light source and determine where the shadows would fall. Using a soft pencil, shade the areas that would be in shadow. Conversely, use an eraser to gently lighten areas that would catch the light, creating highlights and adding depth to your drawing.
Step 9: Optional – Add Color
If you want to take your drawing to the next level, you can add color to your broomstick. Using colored pencils or markers, carefully add color to the bristles and handle, following the natural wooden tones. Remember to layer your colors to achieve depth and variation.
Conclusion
Congratulations! You have successfully learned how to draw a broomstick. By following these step-by-step instructions, you have created a realistic and detailed representation of this everyday object. Drawing objects like broomsticks helps sharpen your observation skills and understanding of shapes and textures. Keep practicing, and soon you’ll be able to draw even more complex objects with ease. Enjoy your artistic journey!


