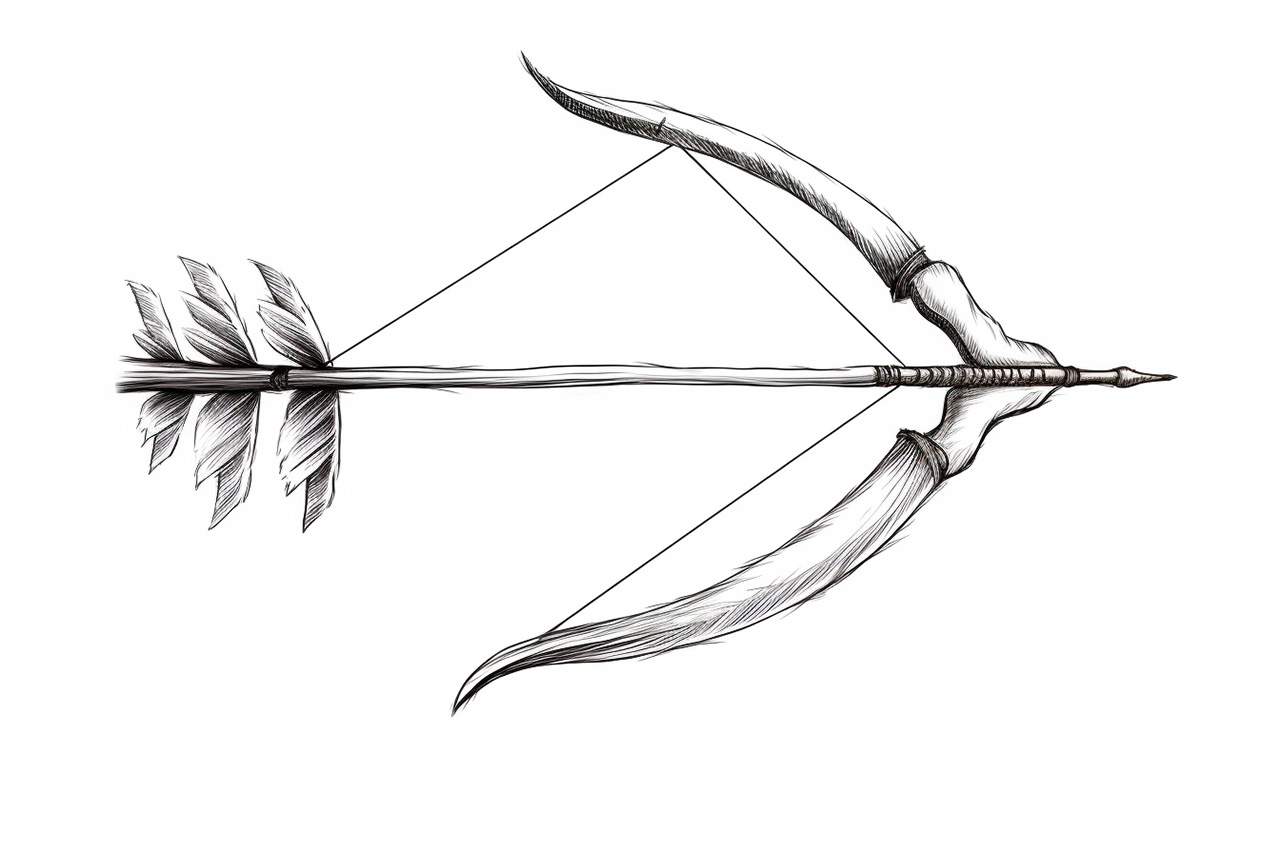
Welcome to this step-by-step tutorial on how to draw a bow and arrow! Whether you’re an aspiring artist or just looking to improve your drawing skills, this guide will walk you through the process of creating a realistic and detailed representation of this iconic weapon. So, let’s get started!
Materials Required
Before we begin, make sure you have the following materials:
- A pencil (preferably with an eraser)
- Paper
- A ruler (optional)
- Colored pencils or markers (optional, for coloring your drawing)
Now that you have everything you need, let’s dive into the drawing process!
Step 1: Draw the Bow
To start, we’ll focus on drawing the bow. Follow these steps:
- Draw a horizontal straight line that represents the center of the bow. This will act as a guideline for the rest of the drawing.
- From the center line, draw two curved lines that mirror each other, gradually getting wider as they extend outward. These lines will form the limbs of the bow.
- Connect the outer ends of the curved lines with a slightly curved line at the bottom. This will create the grip of the bow.
- Add details to the limbs of the bow by drawing small lines along their length. This will give the bow a more realistic and textured appearance.
- Erase any unnecessary guidelines and refine the shape of the bow using your pencil.
Step 2: Add the Bowstring
Next, let’s add the bowstring to our drawing:
- Draw a vertical line above the grip of the bow. This line should be slightly longer than the length of the bow.
- Starting from the top of the vertical line, draw a slightly curved line that extends downward diagonally, following the shape of the bow.
- Connect the curved line to the bottom of the bow using a straight horizontal line. This completes the bowstring.
- Add some texture to the bowstring by drawing tiny lines across it. This will give it a more realistic appearance.
Step 3: Draw the Arrows
Now let’s move on to drawing the arrows:
- Start by drawing a long, straight line for the shaft of the arrow. Make sure it’s slightly longer than the length of the bow.
- At the top of the shaft, draw a triangle shape to represent the arrowhead. The triangle should be pointed and narrow.
- On either side of the triangle, draw two triangular feathers or fletchings. These feathers help stabilize the arrow during flight.
- Add more details to the arrow by drawing small lines along the shaft to represent the wood or carbon texture.
- Repeat these steps to draw additional arrows if desired.
Step 4: Coloring and Shading
Now that you have completed the basic drawing, you can enhance your artwork by adding color and shading:
- Begin by selecting your desired colors for the bow, arrows, and background. You can use colored pencils or markers for this step.
- Start coloring in the different parts of the bow and arrows, keeping in mind light and shadow. Add darker shades to areas that would be in shadow and lighter shades to areas that would catch the light.
- Once you have finished coloring, consider adding some shading to your drawing. This can be done by adding a darker tone to areas that are in shadow or by blending colors together to create a gradient effect.
- Finally, add any additional details or highlights to make your drawing stand out. This could include textured patterns on the bow or adding shine to the arrowhead.
Conclusion
Congratulations! You have successfully learned how to draw a bow and arrow. By following these step-by-step instructions, you will be able to create a realistic and detailed representation of this powerful weapon. Remember to take your time and have fun with your drawing.
So, grab your pencil and paper, and let your creativity soar as you bring this ancient weapon to life on the page!


