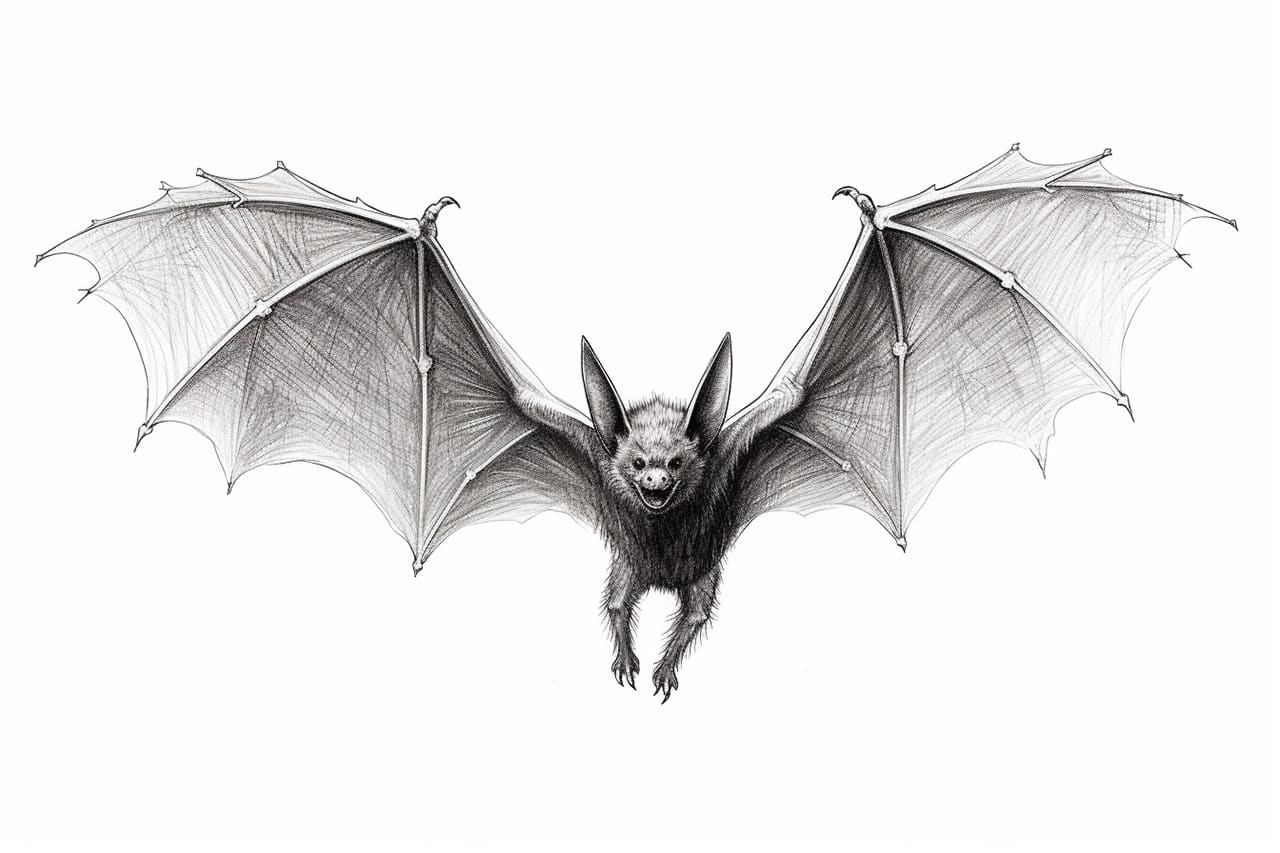
Welcome to this step-by-step guide on how to draw a bat! Whether you’re a beginner or an experienced artist looking to sharpen your skills, this tutorial will help you create a realistic and detailed representation of this fascinating creature. So, grab your drawing materials and let’s get started!
Materials Required
To successfully complete this drawing, you will need the following materials:
- Pencil: A regular graphite pencil is an ideal choice for sketching and creating the initial shapes of the bat.
- Eraser: Having a good eraser handy will allow you to make necessary corrections and adjustments as you go along.
- Paper: Use a clean sheet of white paper or a sketchbook with good quality paper.
- Fine-tip Pens: These will come in handy for adding fine details and making your drawing stand out.
- Colored Pencils (optional): If you want to add color to your bat drawing, colored pencils can be a great addition to your materials.
Now that you have everything you need, let’s dive into the step-by-step process of drawing a bat!
Step 1: Outline the Basic Shape
Start by lightly sketching a small oval shape in the center of your paper. This oval will serve as the head of the bat. To create the body, draw a larger oval shape below the head, slightly overlapping it. Remember to keep your lines light and easily erasable at this stage.
Step 2: Add the Wings
Extend two curved lines outwards from the sides of the bat’s body. These lines will represent the wings. Bats have elongated fingers and a thin membrane of skin stretching between them, forming their wings. Imagine the wingspan you want your bat to have and adjust the length of these lines accordingly.
Step 3: Sketch the Ears and Face
At the top of the bat’s head, draw two slightly curved lines pointing upwards. These lines will form the bat’s ears. Next, sketch two small circles on each side of the oval-shaped head, slightly below the ears. These circles will become the bat’s expressive eyes. Don’t forget to add a small triangle-shaped nose right beneath the eyes.
Step 4: Outline the Body and Wings
Refine the outline of the bat’s body, making it appear more organic and flowing. Pay attention to the curves and contours of the body, referencing pictures or your imagination for guidance. Add curved lines within the wings to indicate the structure of the fingers and the membrane.
Step 5: Add Details to the Face
To give the bat a more realistic appearance, take your time to add the necessary details to its face. Sketch the mouth by drawing a small, open curve beneath the nose. Next, draw small, pointed teeth by adding small triangles along the line of the mouth. You can also add some texture to the face by drawing light, short lines around the eyes and mouth.
Step 6: Refine the Wings
Focus on the details of the wings. Add thin lines to indicate the structure of the fingers within the wings, making them appear more defined and realistic. Pay attention to the spacing and proportion of these lines, as they will greatly contribute to the overall look of your bat.
Step 7: Polish the Body and Face
Take a step back and evaluate your bat drawing so far. Make any necessary adjustments to refine the overall shape, adding more depth and volume to the body. Darken the outline and erase any unnecessary construction lines. Add any additional details, such as fur or texture, to enhance the bat’s appearance.
Step 8: Finalize Your Drawing
With the basic outline complete, it’s time to add the finishing touches to your drawing. Use your fine-tip pens to carefully ink over the pencil lines, making them more prominent. Add more contrast and depth by shading certain areas of the bat’s body, particularly the areas that would be hidden from light. If desired, you can use colored pencils to add some vibrancy to your bat drawing.
Congratulations! You have successfully drawn a bat. Remember, practice makes perfect, so don’t be discouraged if your first attempt doesn’t turn out exactly as you imagined. Keep practicing, and soon you will be creating stunning bat illustrations effortlessly.
Conclusion
Drawing a bat is an exciting and rewarding experience. By following these step-by-step instructions, you can create a detailed and realistic bat drawing to be proud of. Remember to take your time, be patient, and enjoy the process. So, grab your materials and let your creativity take flight as you discover the art of drawing bats!