Welcome to this step-by-step guide on how to draw a jelly bean! Whether you are an aspiring artist or just looking for a fun and creative activity, drawing a jelly bean can be a great way to improve your artistic skills. By following these simple instructions, you’ll be able to create a realistic and vibrant jelly bean in no time. So, grab your drawing materials and let’s get started!
Materials
To begin drawing a jelly bean, you will need the following materials:
- Drawing paper
- Pencil
- Eraser
- Colored pencils or markers (optional)
- Reference image of a jelly bean (optional)
Now that you have gathered your materials, let’s dive into the step-by-step process of drawing a jelly bean.
Step 1: Draw a Basic Outline
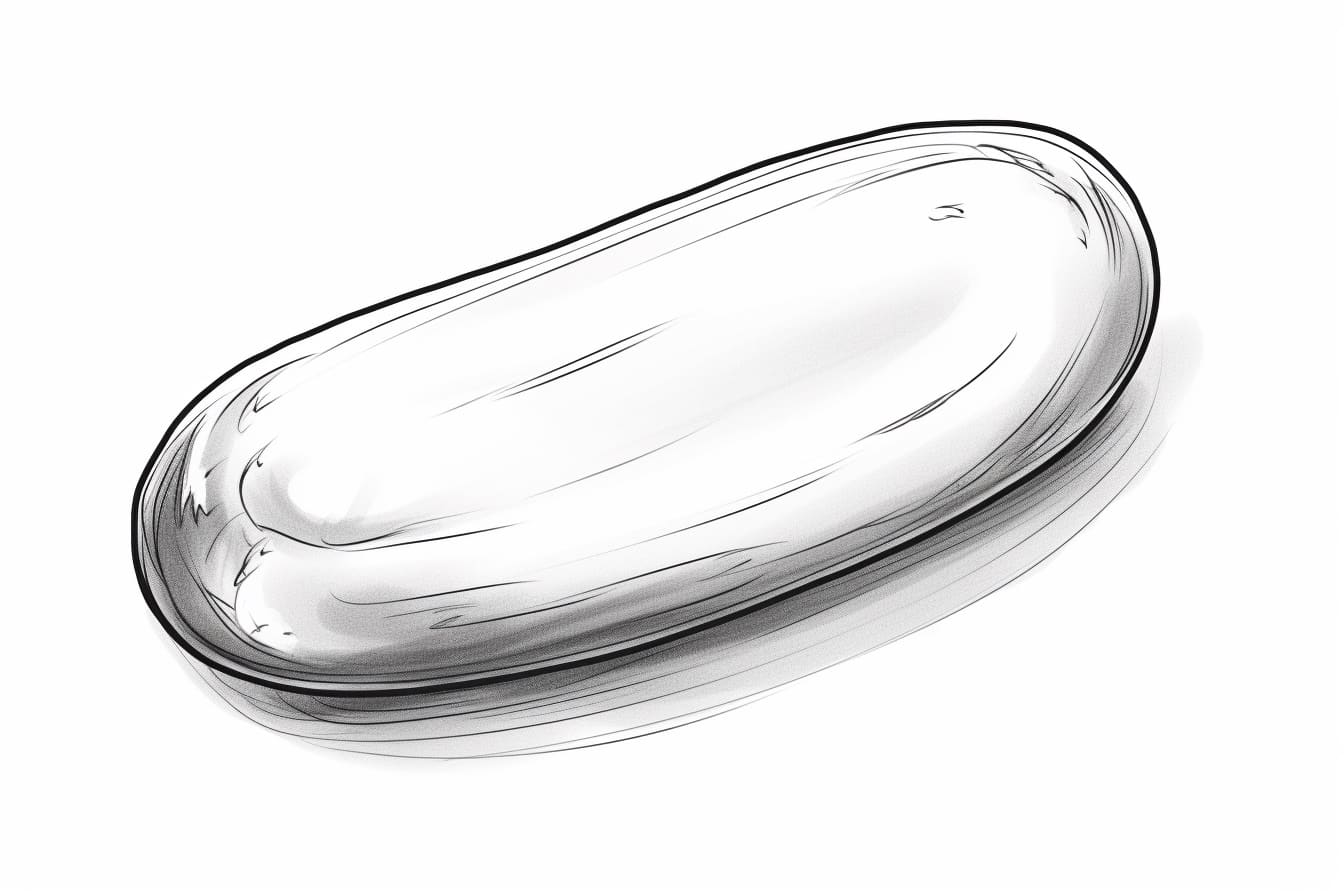
Start by lightly sketching an oval shape on your drawing paper. This will serve as the basic outline of your jelly bean. Don’t worry about getting it perfect on the first try – you can always adjust the shape later if needed. Keep your pencil strokes light and loose for now.
Step 2: Add Curved Lines
Next, add some curved lines to the outline of your jelly bean. These lines will give your drawing a three-dimensional appearance and make it look more realistic. Start by adding a curved line along the length of the jelly bean, slightly off-center. Then, add a few more curved lines that follow the shape of the jelly bean, crossing over the first line at various points. These lines will represent the folds and creases on the jelly bean’s surface.
Step 3: Define the Outline
Now, it’s time to define the outline of your jelly bean. Using your pencil, darken the lines that make up the outer edge of the jelly bean, as well as the curved lines that represent the folds and creases. Be careful not to press too hard with your pencil – you want to create defined lines without making them too harsh.
Step 4: Add Gradient Colors
To make your jelly bean look more realistic, let’s add some gradient colors. Start by selecting two or three colors that you would like to use for your jelly bean. Begin coloring the top part of the jelly bean with the lightest color, gradually transitioning to the darker color(s) as you move towards the bottom. Use light, circular strokes to blend the colors together and create a smooth gradient effect.
Step 5: Add Shading and Highlights
To further enhance the three-dimensional appearance of your jelly bean, it’s important to add shading and highlights. Determine the direction of the light source in your drawing – this will help you determine where the shadows and highlights should be placed. Use a darker shade of the color you used for the jelly bean’s base and add shading to the areas that would be in shadow, such as the folds and creases. Then, use a lighter shade or even white to add highlights to the areas that would catch the light, such as the top part of the jelly bean.
Step 6: Refine and Detail
Now that you have the basic shape and colors in place, take some time to refine and add detail to your jelly bean. Look closely at your reference image, if you have one, and observe any small patterns or textures on the jelly bean’s surface. Use your pencil to carefully add these details, making sure not to overdo it. Remember, less is often more when it comes to adding details to your drawing.
Step 7: Optional: Experiment with Different Styles and Materials
Congratulations, you have successfully drawn a jelly bean! If you’re feeling adventurous and want to explore different styles or materials, feel free to experiment with colored pencils, markers, or even watercolors to create different effects. Don’t be afraid to get creative and let your imagination run wild!
Conclusion
Drawing a jelly bean can be a fun and rewarding artistic exercise. By following these step-by-step instructions, you have learned how to create a realistic and vibrant jelly bean drawing. Remember to practice regularly and have fun with your drawings. So, grab your drawing materials, let your creativity flow, and enjoy the process of bringing a jelly bean to life on paper!

