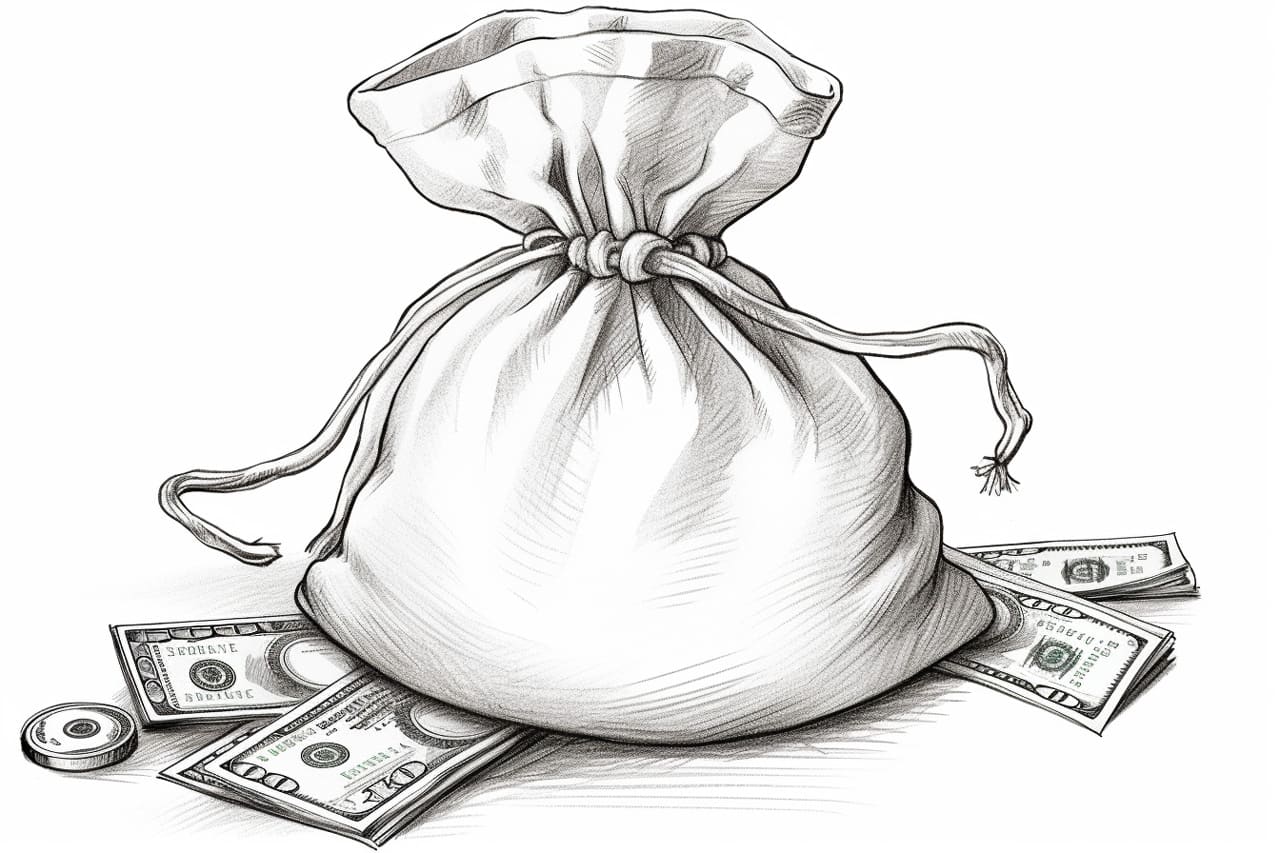
Welcome to this step-by-step tutorial on how to draw a money bag. In this guide, I will walk you through the process of creating a realistic and detailed money bag drawing. Whether you are a beginner or an experienced artist, this tutorial will help you create an impressive money bag illustration. So, let’s get started!
Materials Required
Before we begin, make sure you have the following materials ready:
- Pencil
- Drawing paper
- Eraser
- Ruler
- Fine-tip black marker (optional)
- Colored pencils or markers (optional)
Now that we have everything we need, let’s dive into the step-by-step instructions.
Step 1: Sketch the Outline
Start by lightly sketching the outline of the money bag. Draw a rectangular shape with rounded corners to represent the body of the bag. Keep the lines light and loose, as we will refine them later.
Step 2: Add the Details
Next, add the details to the money bag. Draw a horizontal line near the top of the bag to indicate the fold. Then, sketch two vertical lines on each side of the bag to represent the seams. Add a curved line at the bottom to create the illusion of depth.
Step 3: Draw the Dollar Sign
Now, let’s add the dollar sign to the money bag. Draw a vertical line in the middle of the bag, slightly below the fold line. Then, draw two horizontal lines intersecting the vertical line to form the “S” shape of the dollar sign. Add two short lines at the bottom of the “S” to complete the symbol.
Step 4: Refine the Outline
Once you have the basic shapes in place, it’s time to refine the outline of the money bag. Use your pencil to darken the lines, making them more defined and precise. Pay attention to the details and curves of the bag to bring out its realistic appearance.
Step 5: Add Texture and Shadows
To give the money bag a more realistic look, add texture and shadows. Use short, curved lines to create the appearance of fabric folds and creases. Shade the areas where the bag folds or overlaps to create depth and dimension. This will give the illustration a three-dimensional feel.
Step 6: Ink the Drawing (optional)
If you prefer a more defined and bold look, you can use a fine-tip black marker to outline the final drawing. Go over the pencil lines, making them darker and more prominent. Allow the ink to dry, and then erase any remaining pencil marks.
Step 7: Color the Money Bag (optional)
For a colorful and vibrant money bag drawing, you can use colored pencils or markers to add some color. Choose your desired colors and carefully fill in the different areas of the bag. Consider adding highlights and shading to enhance the three-dimensional effect.
Step 8: Final Touches
Take a step back and evaluate your drawing. Make any necessary adjustments or refinements to ensure a polished final result. Erase any stray marks or smudges and add any additional details or highlights to make your money bag drawing stand out.
And there you have it – a realistic and detailed money bag drawing! With a bit of practice and patience, you’ll be able to create impressive illustrations of various subjects, including money bags.
Conclusion
Drawing a money bag may seem challenging at first, but with the right techniques and guidance, it becomes an enjoyable and rewarding experience. By following the step-by-step instructions in this tutorial, you can create a stunning money bag illustration that showcases your artistic skills. Remember to take your time, be patient, and have fun with the process. Happy drawing!