As an artist, being able to draw the human body in various poses and forms is a valuable skill to have. The muscular body, in particular, holds a unique challenge as it requires an understanding of anatomy and proportion. In this article, I will guide you through the process of how to draw a muscular body step-by-step, providing clear instructions along the way.
Materials Required
Before we dive into the drawing process, let’s gather the materials you will need:
- Sketchbook or drawing paper
- Pencils (preferably a range of hardness, such as HB, 2B, 4B)
- Eraser (kneaded eraser works best)
- Sharpener
- Ruler (preferably transparent)
Now that we have everything we need, let’s begin with the first step.
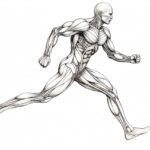
Step 1: Block in the Basic Shapes
To start, lightly sketch the basic shapes that make up the body. Begin with an oval for the head, a rectangular shape for the torso, and cylinders for the arms and legs. Keep in mind that the muscles will be added later, so focus on getting the overall proportion and pose right. Use your ruler to help establish the alignment of the figure.
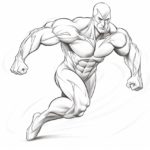
Step 2: Add the Major Muscle Groups
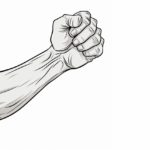
In this step, we’ll start defining the muscles. Begin by outlining the major muscle groups such as the pectorals (chest), deltoids (shoulders), and biceps/triceps (upper arms). Pay close attention to the reference you’re using, as the muscles may appear differently depending on the pose and angle.
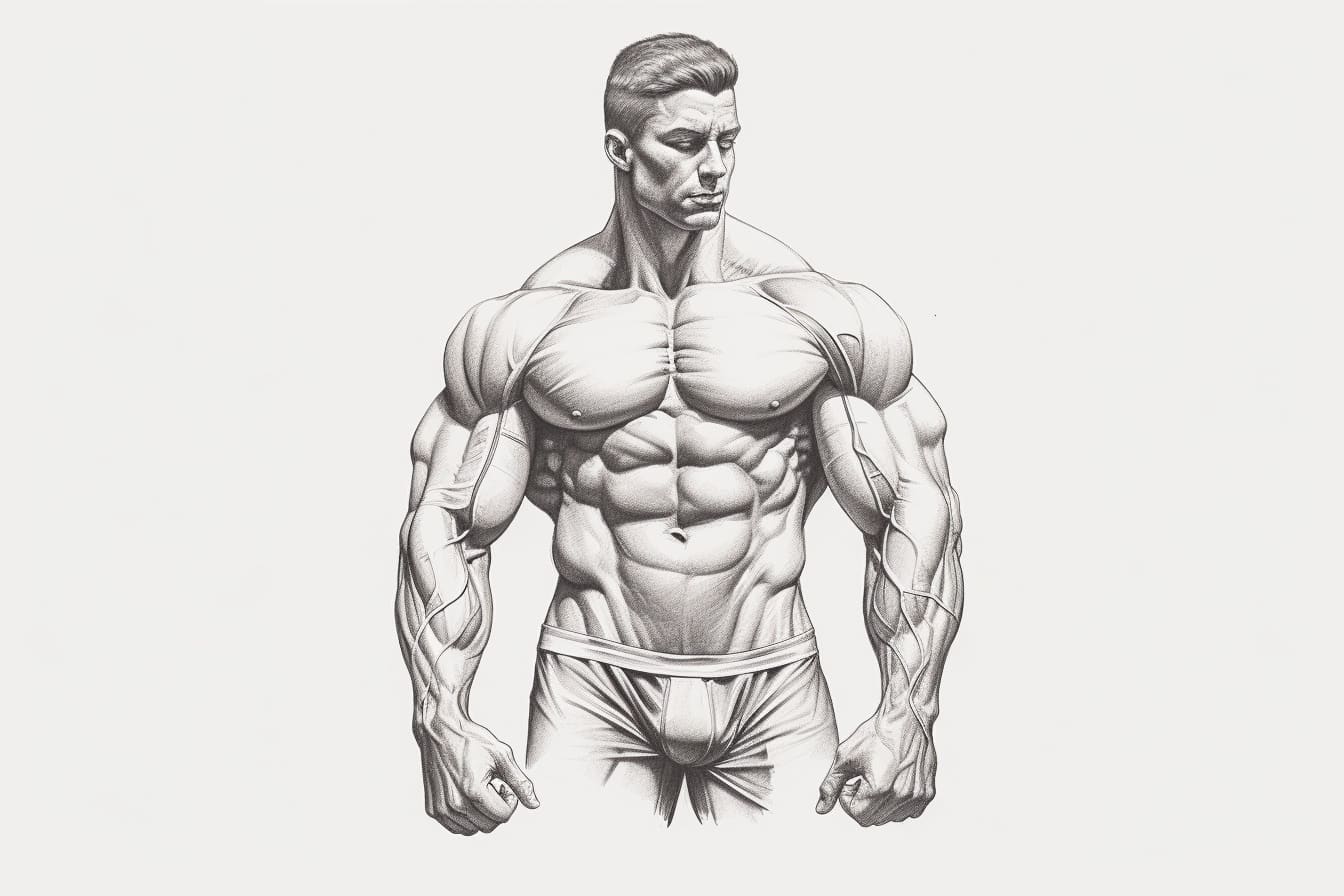
Step 3: Define the Muscles
Now it’s time to add more detail and definition to the muscles. Start by adding contours and shading to the major muscle groups. Be mindful of light and shadow, as it helps create a sense of depth and form. Use a darker pencil (e.g., 4B) to add stronger shadows and a lighter pencil (e.g., HB) for subtle shading.
Step 4: Refine the Details
At this stage, focus on refining the details of the muscles. Study the reference carefully and observe the smaller muscle groups, such as the serratus (side muscles), abs (abdominal muscles), and calves. Add in the necessary lines and shading to bring out the intricacies of the muscular body.
Step 5: Enhance Shadows and Highlights
To make the muscles stand out even more, pay close attention to the shadows and highlights. Darken the shadows to create depth and add highlights to give the muscles a three-dimensional appearance. Use your eraser to carefully lift off graphite for the brightest highlights.
Step 6: Blend and Smooth
To achieve a more realistic look, use a blending stump or a tortillon to smooth out the shading and blend the graphite. This technique helps to soften any harsh lines and gives the muscles a more natural texture. Remember to clean your blending tools regularly to maintain their effectiveness.
Step 7: Add Final Touches
Take a step back and evaluate your drawing as a whole. Make any necessary adjustments to the proportions or details that may need refinement. Pay attention to the symmetry and overall balance of the muscular body. Once you’re satisfied with the result, you can sign your artwork and be proud of your accomplishment!
Conclusion
Drawing a muscular body may seem challenging at first, but with the right techniques and practice, you can achieve impressive results. By breaking down the process into manageable steps and focusing on the anatomy, you’ll be able to capture the strength and beauty of the human form. Remember to study references, be patient with yourself, and most importantly, enjoy the creative process. So grab your materials and start sketching your way to a muscular masterpiece!