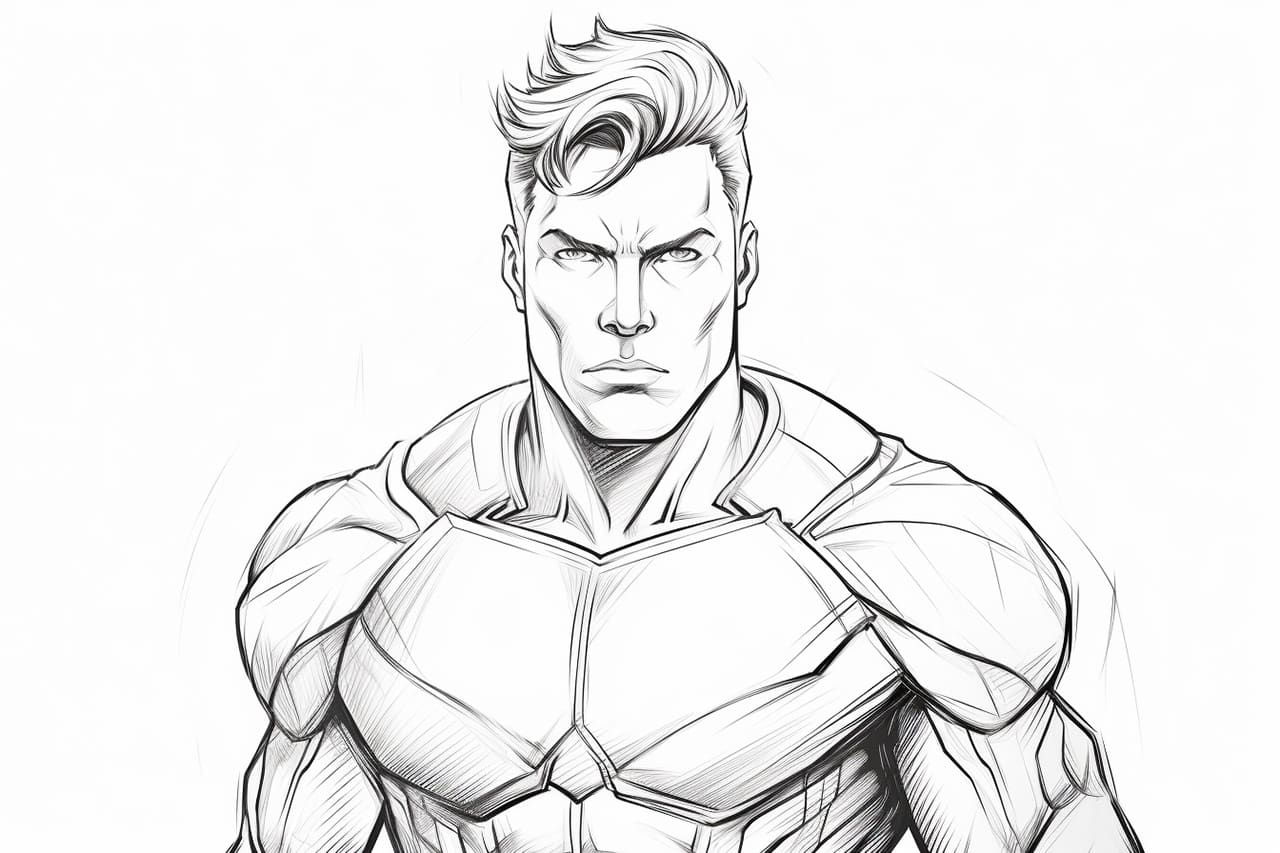
Do you ever find yourself captivated by the impressive drawings of superheroes? Have you ever wished that you could create your own superhero characters? Look no further! In this step-by-step guide, I will teach you how to draw a superhero like a pro. From the dynamic poses to the iconic costumes, you will learn all the essential techniques to bring your superhero to life on paper. So grab your favorite drawing tools and let’s get started!
Materials Required
Before we dive into the exciting world of superhero drawing, let’s gather all the materials you’ll need:
- Pencil: Start with a regular HB pencil for sketching. You can always switch to a darker pencil later for the final lines.
- Eraser: A kneaded eraser is ideal for this project as it doesn’t leave behind any residue. If you don’t have one, a regular eraser will work just fine.
- Paper: Choose a smooth, white drawing paper. A heavier weight paper will prevent smudging and allow for better control.
- Ink pen: Once you’re satisfied with your pencil sketch, an ink pen will help you create clean and bold lines. A fine-tip pen is recommended for intricate details.
- Markers or colored pencils: If you wish to add some color to your superhero, have a set of markers or colored pencils ready. This step is optional but can bring your superhero to life in vibrant hues.
Now that you have all the necessary materials, let’s begin the exciting journey of creating your very own superhero!
Step 1: Research and Reference
Before starting any drawing, it’s essential to do some research and gather references. Look for images of superheroes that inspire you. Study their poses, costumes, and facial expressions. This step will help you visualize your own superhero and give you a solid foundation to work from.
Step 2: Sketch the Basic Proportions
Start by lightly sketching an oval shape for the head. Then, draw a vertical line down the center of the oval to indicate the center of the face. Add horizontal lines to mark the position of the eyes, nose, and mouth. Sketch a rough outline for the body using simple geometric shapes like rectangles and ovals. This will serve as a guide for the final details.
Step 3: Define the Pose
Decide on a pose for your superhero. You can go for an action-packed dynamic pose or a more relaxed standing pose. Sketch out the basic gesture of the body, paying attention to the balance and weight distribution. Use simple curved lines to indicate the movement and flow of the body.
Step 4: Add Muscles and Anatomy
Superheroes are known for their strong and muscular physiques. Begin adding muscles and defining the body shape. Study some anatomy references to understand how muscles and bones work together. Don’t worry about accuracy at this stage; we will refine it further in the next steps.
Step 5: Costume Design
Now it’s time to give your superhero a distinctive and eye-catching costume. Start by sketching the outline of the costume, considering the character’s personality and powers. Add details like logos, emblems, or accessories to enhance the overall design. Don’t be afraid to experiment and get creative!
Step 6: Facial Features
Focus on the facial features of your superhero. Define the eyes, eyebrows, nose, and mouth. Experiment with different expressions to convey the character’s emotions. Remember, superheroes can have exaggerated features, so feel free to make them larger-than-life.
Step 7: Refine the Lines
Once you’re satisfied with the overall sketch, start refining the lines. Go over the pencil lines with an ink pen, following the contours and adding more precise details. Erase any visible pencil marks as you go along. This step will give your drawing a clean and professional look.
Step 8: Add Shadows and Highlights
To make your superhero drawing more three-dimensional and visually appealing, add shading. Study the light source and determine where the shadows would fall. Use gentle strokes to create gradual gradients of shading. Add highlights to areas that catch the light, such as the costume or the face. This technique will bring depth and volume to your drawing.
Step 9: Optional – Color your Superhero
If you’d like to add color to your superhero, grab your markers or colored pencils. Start by coloring the base colors of the costume, considering the lighting and shadows. Layer additional colors to add depth and dimension. Experiment with different color combinations to find the perfect palette for your superhero.
Conclusion
Congratulations! You have successfully learned how to draw a superhero from start to finish. By following these step-by-step instructions, you have unlocked the secrets of creating your very own dynamic and powerful character. Remember, practice makes perfect, so don’t be discouraged if your first attempt doesn’t turn out exactly as you envisioned. Keep drawing, experimenting, and developing your own unique style. Now go and create the superhero of your dreams!


