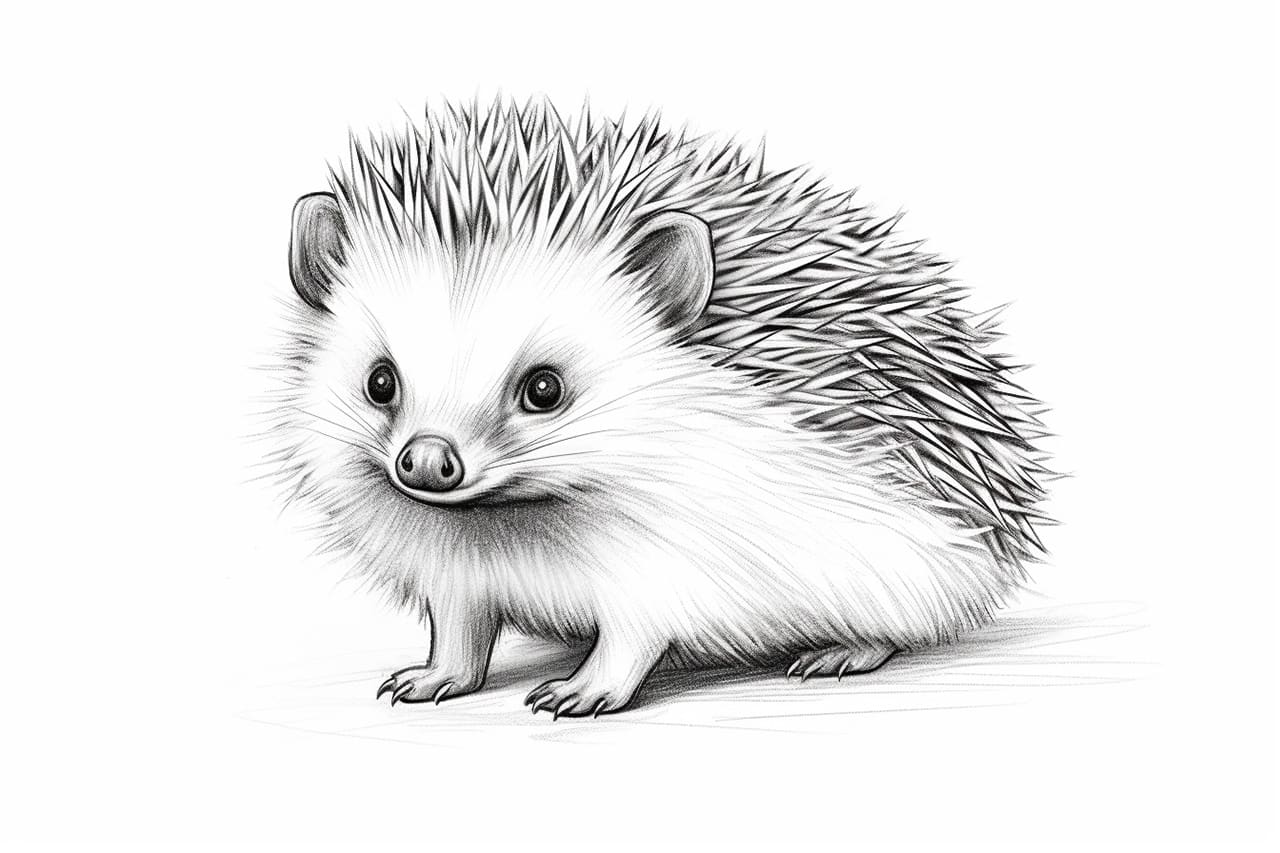
Are you interested in learning how to draw a cute and cuddly hedgehog? Look no further! In this step-by-step tutorial, I will guide you through the process of drawing a hedgehog from start to finish. Whether you are a beginner or an experienced artist, you’ll be able to create a charming hedgehog drawing to be proud of. So, let’s get started!
Materials Required
Before we begin, let’s gather all the materials required for this drawing. Here’s what you’ll need:
- Paper: Choose a smooth-surfaced paper that is suitable for drawing. A plain white paper will work just fine.
- Pencil: Use a medium or soft graphite pencil for sketching and outlining.
- Eraser: Keep a good quality eraser handy for correcting any mistakes.
- Fine-tipped Pen: You will need a pen with a fine point for inking the final lines.
Now that we have all our materials ready, let’s move on to the drawing process!
Step 1: Sketch the Basic Shape
Start by lightly sketching a circle in the center of your paper. This circle will represent the hedgehog’s body. Then, draw a smaller circle on the top-right side of the main circle to form the hedgehog’s head.
Step 2: Add the Snout and Ears
Extend a curved line from the bottom of the head circle to create the snout. Next, add two small triangle-like shapes on top of the head circle to form the hedgehog’s ears.
Step 3: Draw the Eyes and Nose
Within the head circle, draw two small ovals for the eyes. Leave a tiny gap between the eyes to add the nose. For the nose, draw a small triangle pointing downwards.
Step 4: Define the Body
Using curved lines, connect the head circle to the body circle. The body should have a slightly elongated shape, with the lower portion curving inwards.
Step 5: Sketch the Legs and Feet
Extend four lines downwards from the body circle to create the hedgehog’s legs. Add small oval shapes at the end of each leg to represent the feet. Make sure the two front legs are shorter than the hind legs.
Step 6: Add Spines
Now it’s time to draw the hedgehog’s famous spines! Starting from the back of the head, draw short, curved lines that extend towards the body. Continue adding these lines until you’ve covered the entire back of the hedgehog.
Step 7: Refine the Features
Take your pencil and start refining the hedgehog’s features. Darken the eyes, nose, and ears, adding detail and depth. Pay attention to the placement of the eyes, ensuring they are evenly spaced and symmetrical.
Step 8: Outline the Drawing
Once you are satisfied with the sketch, use a fine-tipped pen to carefully outline the entire drawing. Start with the head and work your way down, being mindful of the spines and other intricate details.
Step 9: Erase the Guidelines
Using an eraser, gently remove any remaining pencil guidelines, taking care not to smudge the inked lines. Erase the sketch lines carefully to preserve the final drawing.
Step 10: Add Texture and Shadows
To give your hedgehog drawing some texture and depth, use your pen to add small, curved lines within the spines. This will create the illusion of individual hairs. You can also add some shading beneath the hedgehog to create shadows and make it appear three-dimensional.
Conclusion
Congratulations! You have successfully learned how to draw a hedgehog from start to finish. By following these step-by-step instructions, you were able to create a charming and realistic hedgehog drawing. Remember, practice makes perfect, so keep honing your skills and experimenting with different techniques. Happy drawing!