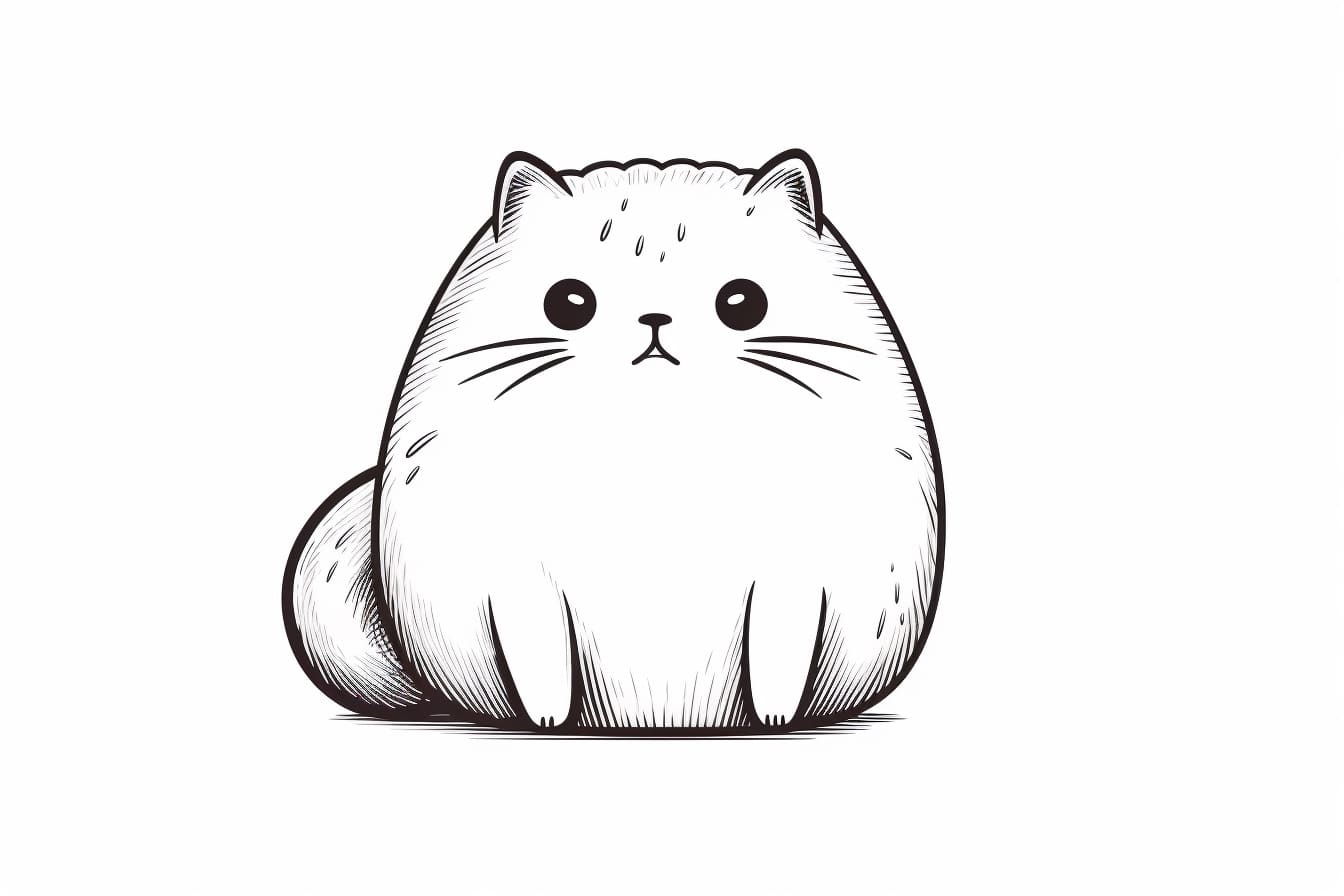
Welcome to this step-by-step guide on how to draw a Pusheen Cat! Whether you’re a beginner or an experienced artist, this tutorial will provide you with easy-to-follow instructions to create your own adorable Pusheen Cat drawing. Pusheen is a beloved cartoon cat known for its chubby body and expressive face, making it a fun and popular subject to draw. So let’s grab our pencils and get started!
Materials Required
Before we begin, let’s gather the materials you’ll need for this drawing:
- Drawing paper
- Pencils (HB and 2B)
- Eraser
- Fine-tip black marker or pen
- Colored pencils or markers (optional)
Now that you have all your materials ready, let’s dive into the step-by-step process of drawing a Pusheen Cat.
Step 1: Start with Basic Shapes
Begin by lightly sketching a large oval shape in the middle of your paper. This will be the body of your Pusheen Cat.
Step 2: Add the Face
Draw a smaller oval shape overlapping the larger one at the top. This will serve as the head.
Next, add two small circles inside the head to represent Pusheen’s eyes. Leave some space between the circles for the nose.
Draw a slightly curved line below the eyes to create a cheerful smile for Pusheen.
Step 3: Detail the Eyes and Nose
Within each eye circle, draw a smaller circle towards the top to represent the highlight. This gives Pusheen’s eyes a bright and lively appearance.
For the nose, draw a small triangle shape in the gap between the eyes.
Step 4: Ears and Whiskers
On top of the head, draw two small curved shapes to represent Pusheen’s ears. These can be rounded and slightly pointed at the tips.
Extend three whiskers on each side of the nose. These whiskers should be straight lines that gradually taper towards the ends.
Step 5: Add Details to the Face
Within each ear, draw a curved line to create the inner ear.
Using a fine-tip black marker or pen, carefully trace over the final lines of the face, including the eyes, nose, mouth, and whiskers. This will make the features more defined and bold.
Step 6: Draw the Arms and Legs
From the sides of the body, extend two short, slightly curved lines downward on each side. These will be Pusheen’s front legs.
Next, draw two longer curved lines extending from the bottom of the body. These will be the hind legs.
Step 7: Paws and Tail
At the end of each leg, draw oval shapes to represent Pusheen’s paws. These should be slightly larger and more rounded than the head and body.
For the tail, draw a long, curved line extending from the back of the body. You can add a few curved lines within the tail to give it a furry appearance.
Step 8: Facial Expressions and Details
Now that you have the basic structure of Pusheen, let’s add some fun details. You can experiment with different facial expressions such as winking or raising an eyebrow to add personality to your Pusheen Cat.
Feel free to add other details, such as stripes or accessories, to make your drawing unique and personalized.
Conclusion
Congratulations on completing your Pusheen Cat drawing! Following these step-by-step instructions, you’ve created your very own adorable Pusheen Cat. Remember, practice makes perfect, so don’t hesitate to try drawing Pusheen in different poses or scenarios. With time and patience, your artistic skills will continue to develop. Enjoy the process and have fun with your drawings!