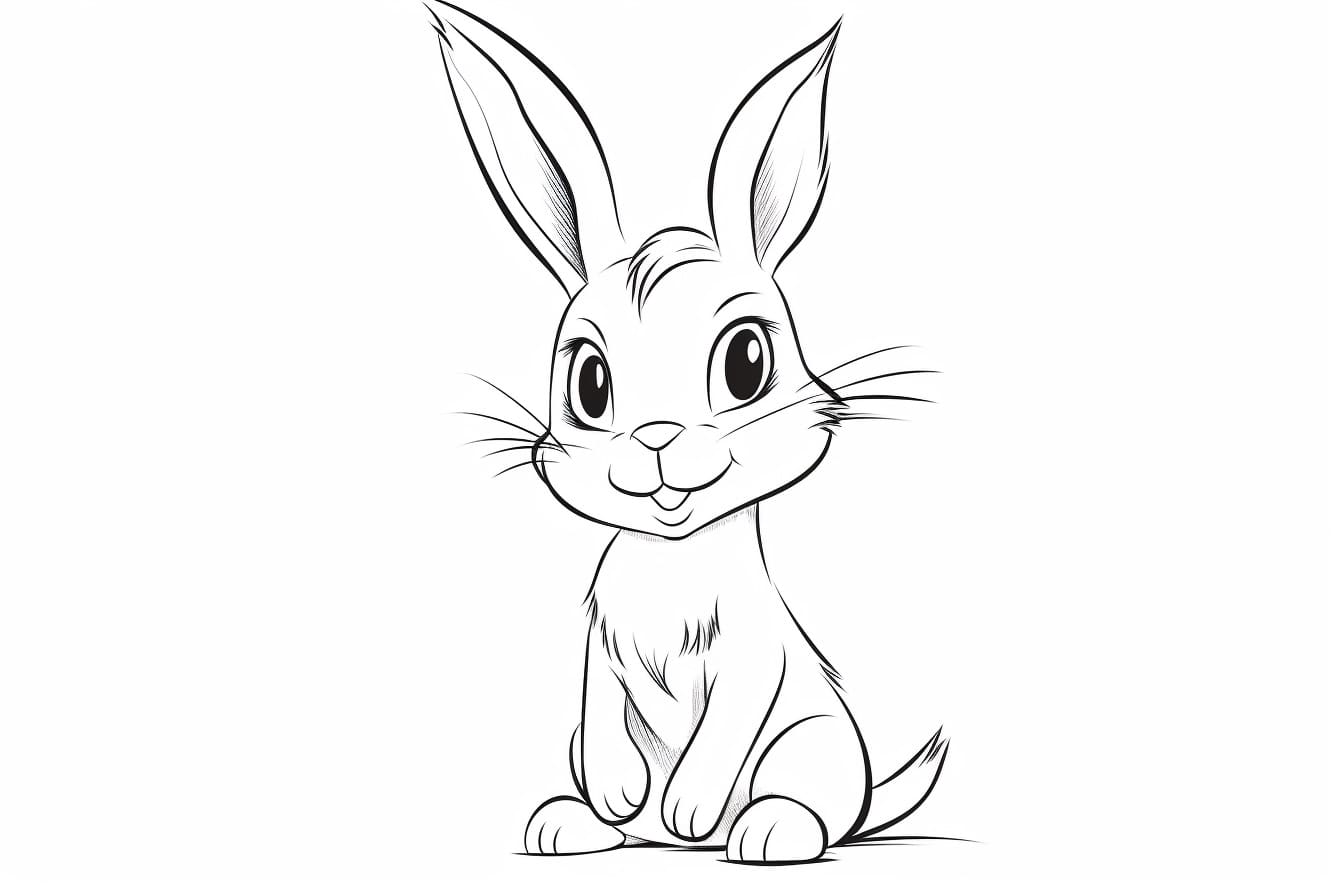
Welcome to this step-by-step guide on how to draw a cartoon rabbit! Whether you’re a beginner or an experienced artist, this tutorial will walk you through the process of creating your very own adorable bunny character. So grab your drawing materials and let’s get started!
Materials Required:
- Paper
- Pencil
- Eraser
- Fine-tip markers or colored pencils (optional)
Step 1: Basic Shapes
To begin, let’s start by drawing some basic shapes to establish the rabbit’s body. Draw a large oval shape for the body, keeping it slightly tilted to one side. Then, add a smaller oval shape on top of the body for the head. These two shapes will serve as our foundation for the rabbit’s body structure.
Step 2: Facial Features
Next, let’s focus on drawing the rabbit’s facial features. Start by drawing two large oval shapes for the eyes, placing them on the head shape. Then, add a small triangle shape just below the eyes for the nose. For the mouth, draw a curved line beneath the nose, slightly pointing upwards at the ends to create a smile.
Step 3: Ears
Now it’s time to draw the rabbit’s ears, one of its distinctive features. Start by drawing two long, curved lines extending from the top of the head shape. Make sure the lines are evenly spaced apart and slightly rounded at the tips. Add some smaller curves inside the ears to create a furry texture.
Step 4: Body Details
Let’s add some details to the rabbit’s body. Draw a small circle shape near the center of the head for the eye highlight. Then, draw a curved line starting from the top of the head, following the shape of the body, and ending near the bottom. This line will define the rabbit’s back.
Step 5: Limbs and Feet
Now, let’s draw the rabbit’s limbs and feet. Start by drawing two curved lines extending from the bottom of the body shape for the front legs. Add smaller curved lines at the ends to create the paws. Repeat the same process for the hind legs, making them slightly longer than the front legs. Remember to add curved lines for the paws as well.
Step 6: Tail
No rabbit is complete without its fluffy tail! Draw a small, rounded shape just above the rabbit’s back, slightly to one side. Make sure the tail is visible and stands out by giving it a textured appearance with some quick, small strokes.
Step 7: Final Details
To add those finishing touches to your cartoon rabbit, let’s focus on some final details. Start by giving your rabbit some cute, expressive eyes. Draw small circles inside the eye shapes you created in Step 2 and fill them in. Add eyelashes at the outer corners for a more feminine look if desired.
Next, draw some short curved lines on the rabbit’s paws to create toes. Feel free to add extra details to the face, such as whiskers or eyebrows, to give your rabbit more character. Lastly, use your eraser to remove any unnecessary guidelines and darken the lines you want to keep.
Conclusion
Congratulations on completing your cartoon rabbit drawing! With just a few simple steps, you have created an adorable bunny character. Remember, practice makes perfect, so don’t be discouraged if your first attempt doesn’t turn out exactly as you hoped. Keep practicing and experimenting with different styles and techniques. Soon enough, you’ll be able to draw cartoon rabbits with ease!
So go ahead and keep honing your drawing skills. Drawing cartoon animals is not only fun but also a great way to unleash your creativity. We hope you enjoyed this tutorial on how to draw a cartoon rabbit. Happy drawing!